The Problem:
The one thing I feel like my shop is missing is a paint booth. In the past I have used some pop-up tents, and I did find a nifty little attachment for sports canopies… but I still wanted something was a little more user friendly.
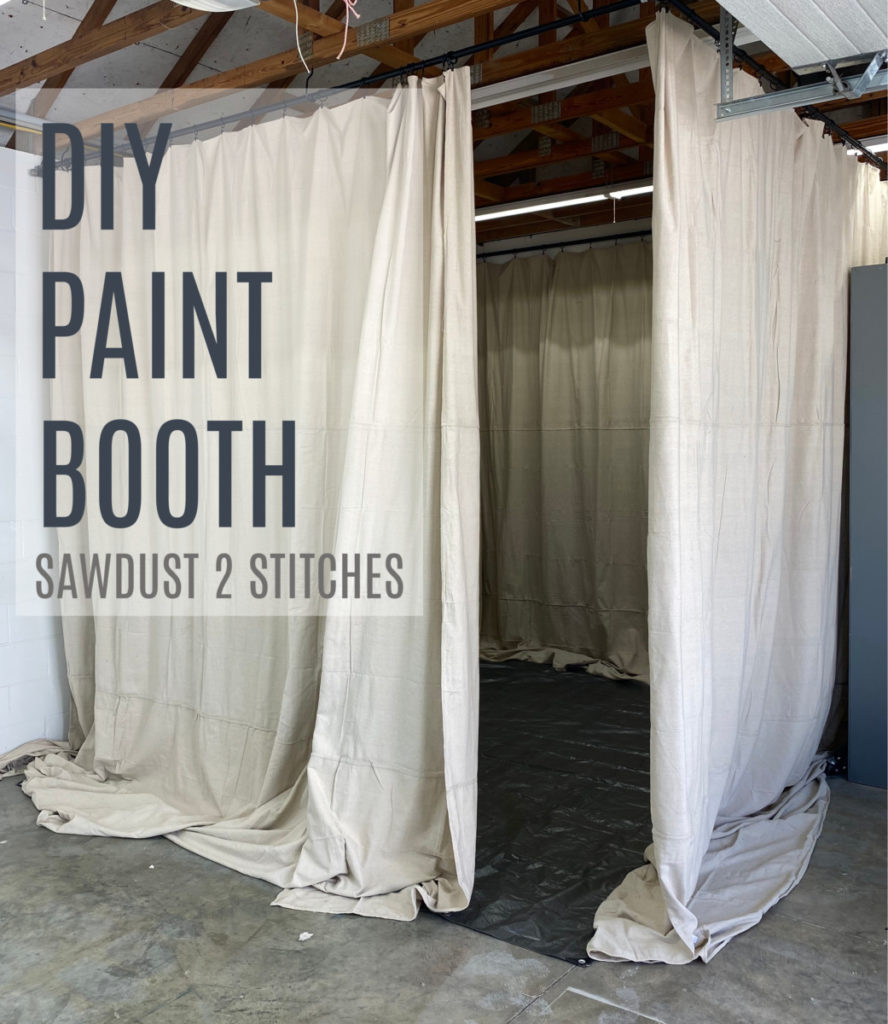
The Solution: DIY Paint Booth
My big requirement when designing a spray area was that it was easily accessible but did not take up much space. I decided to create heavy duty divider to help provide some protection to the rest of my shop from over spray. Here is what I cam up with:
I decided the best approach would be long heavy duty curtains that could be pulled open when in use and drawn shut when not in use. After a fair bit of research I decided that using IKEA curtain rods and drop cloths were the best approach.
| Tools Suggested: | Materials Used: |
| Tape Measure | IKEA Curtain Rods |
| Drill | Utility Hooks |
| Ladder | Curtain Clips |
| Drop Cloths | |
| Tarp |
* This is one of those projects that I will just show you in broad strokes what I did. Every space will be different and require different dimensions. For the sake of this tutorial, my ceilings are 10′ and the “paint booth” is approximately 13′ by 13′.
Installing Hooks for Paint Booth
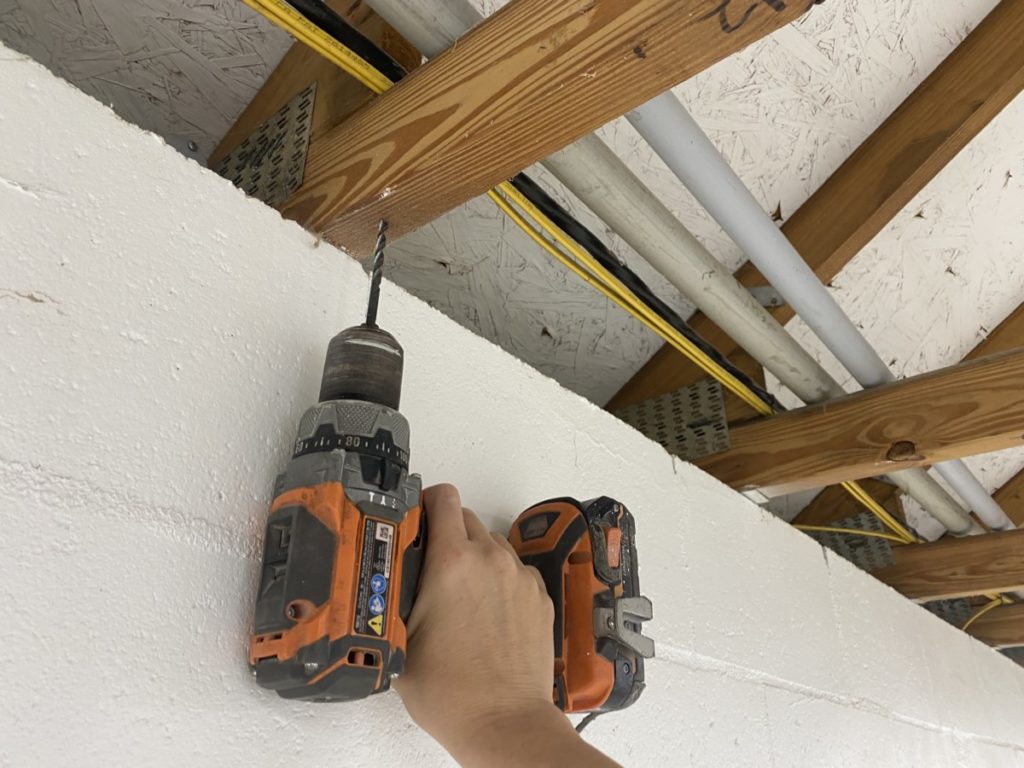
I first mapped out how large I wanted my DIY paint booth to be. I then marked those dimesnions on my ceiling. My ceiling has exposed trusses which made this process very simple! I used my trusses to anchor my utility hooks. I understand that this is probably not the case in most garages/shops. It will take a little bit of work to map out where you have available trusses and/or ceiling joists.
Once anchor points are located, use a 1/4″ drill bit to pre-drill the location for the utility hooks.
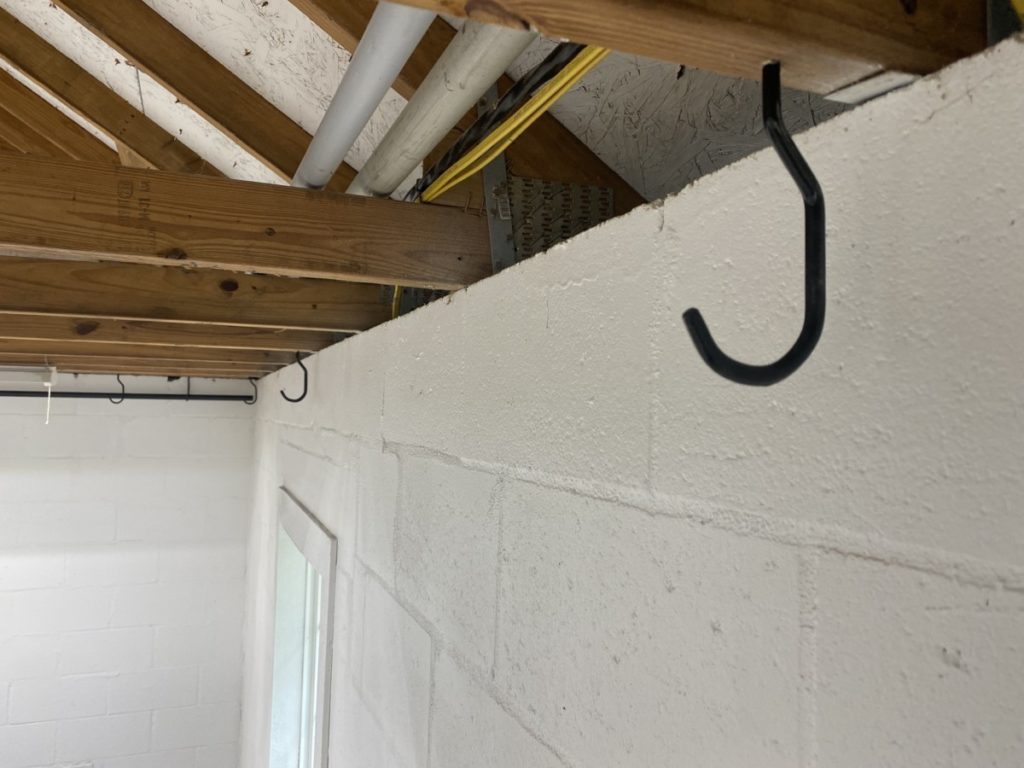
After the holes are drilled hand screw in the utility hooks. ( I used rubber coated hooks so that it would prevent the curtain rod from slipping.)
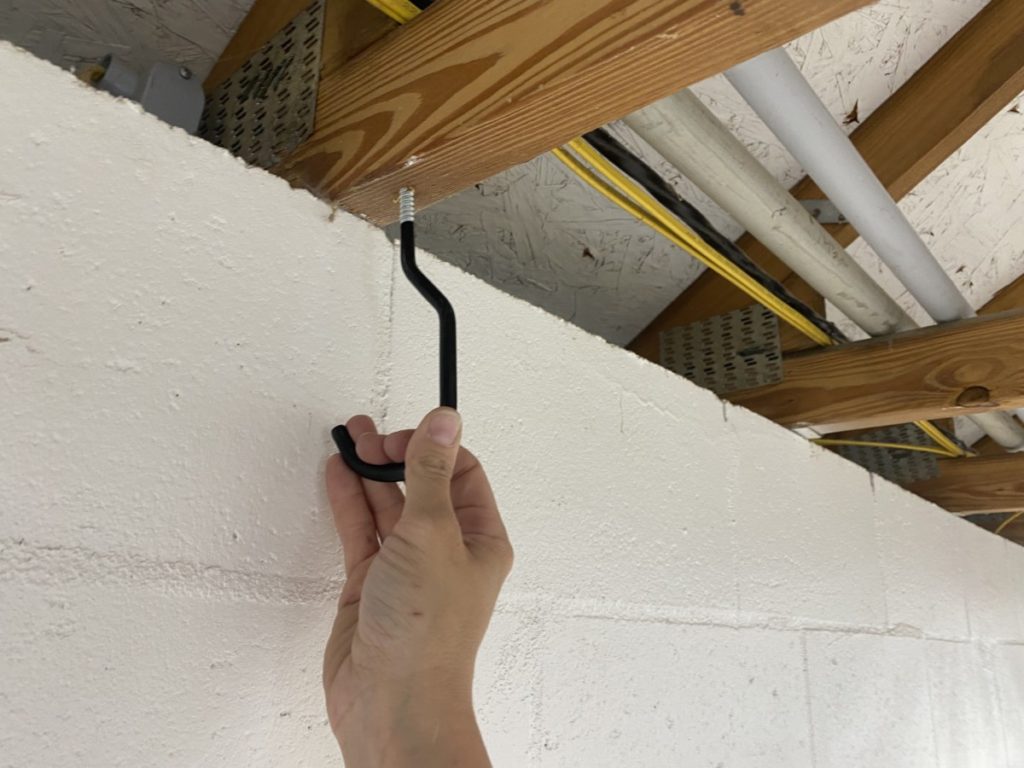
I used the 1″ curtain rods from IKEA so they had some rigidity to them. After playing around with their strength I decided that one hook every 5′ was more than adequate.
Prep Curtains for Paint Booth
When preparing for this project I did experiment with several options. The front runners were tarps and drop cloths. Tarps where cheaper, but they were very light weight and blew all over the place. I tried adding some weights to the bottom of the tars using several different methods but ultimately decided the hassle wasn’t worth saving a few dollars. I went with the drop cloths.

the great thing about drop cloths is that they have a hefty weight to them, they are fairly affordable and come in many different sizes! I ended up using (x4) 12’x15′. ( I didn’t hem mine but if you wanted to make these more custom to your space, hemming is always an option.) If you want to know more about how to hem, check out this tutorial here: Hemming Curtains.
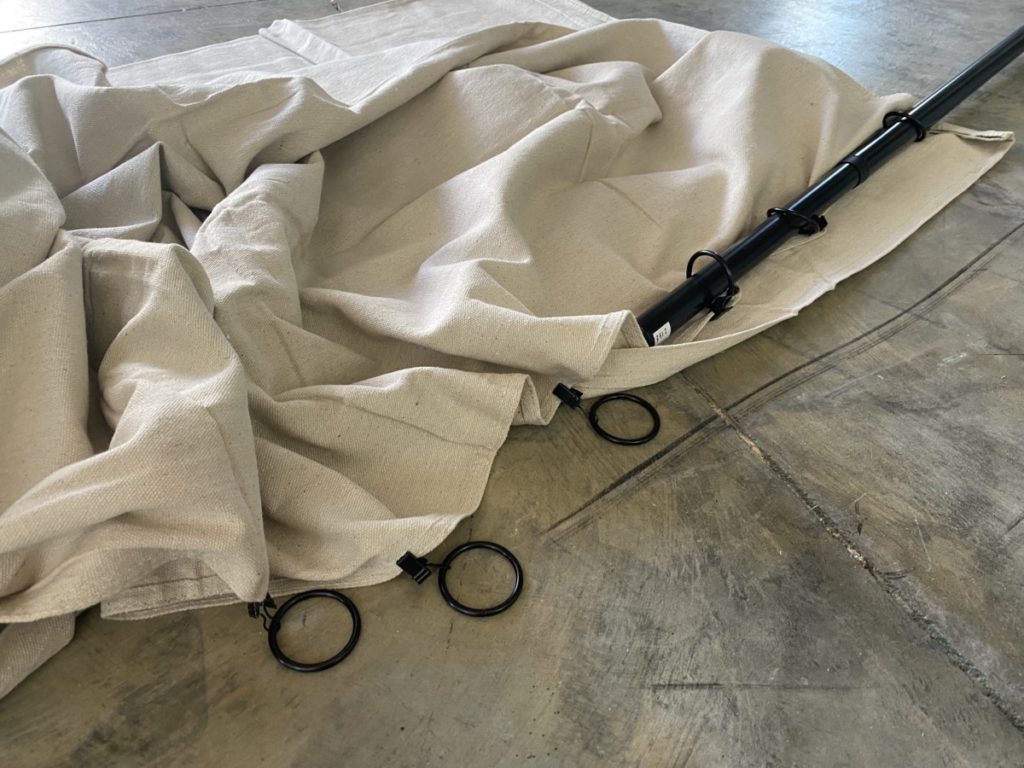
To make things simple I used curtain rings. There are pros and cons to using them; yes, it is cheaper to sew a pocket for the rod… however using the rings will make the curtains slide effortlessly. I ordered bulk packs of clips from Amazon and placed a ring approximately every 8″. ( Like I said these drop cloths are heavy and they will need the support.)
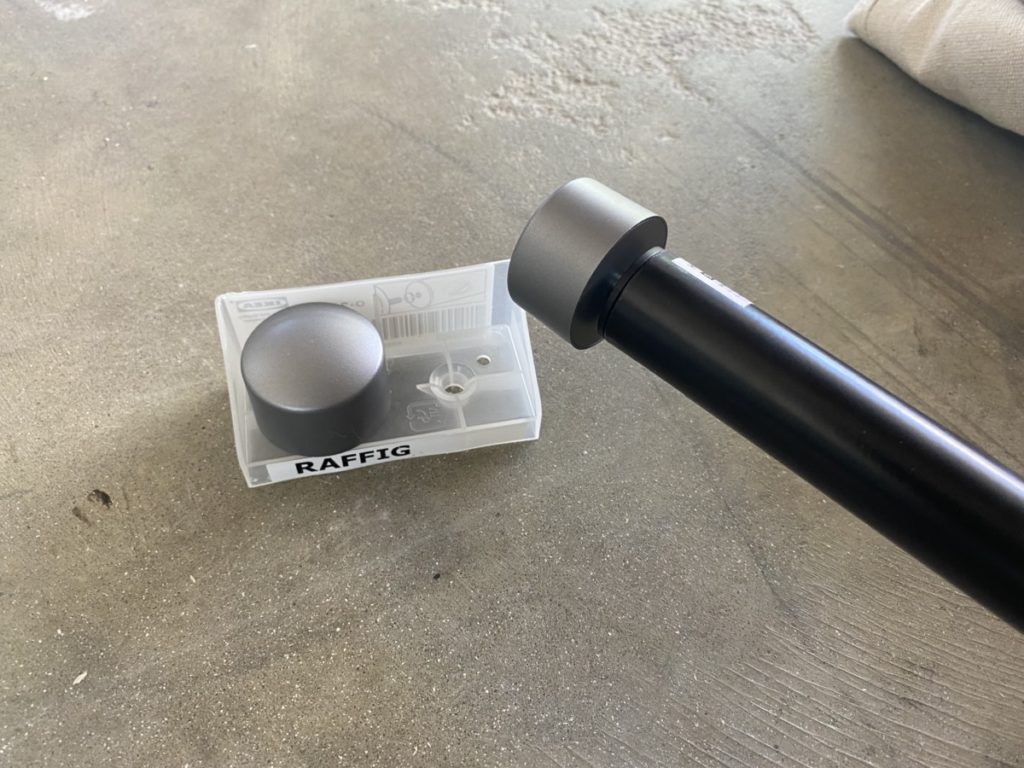
In order to prevent the rings from sliding off the end I used IKEA rod ends, also known as finials. (They were all out of the matching black, so gray will have to do.)
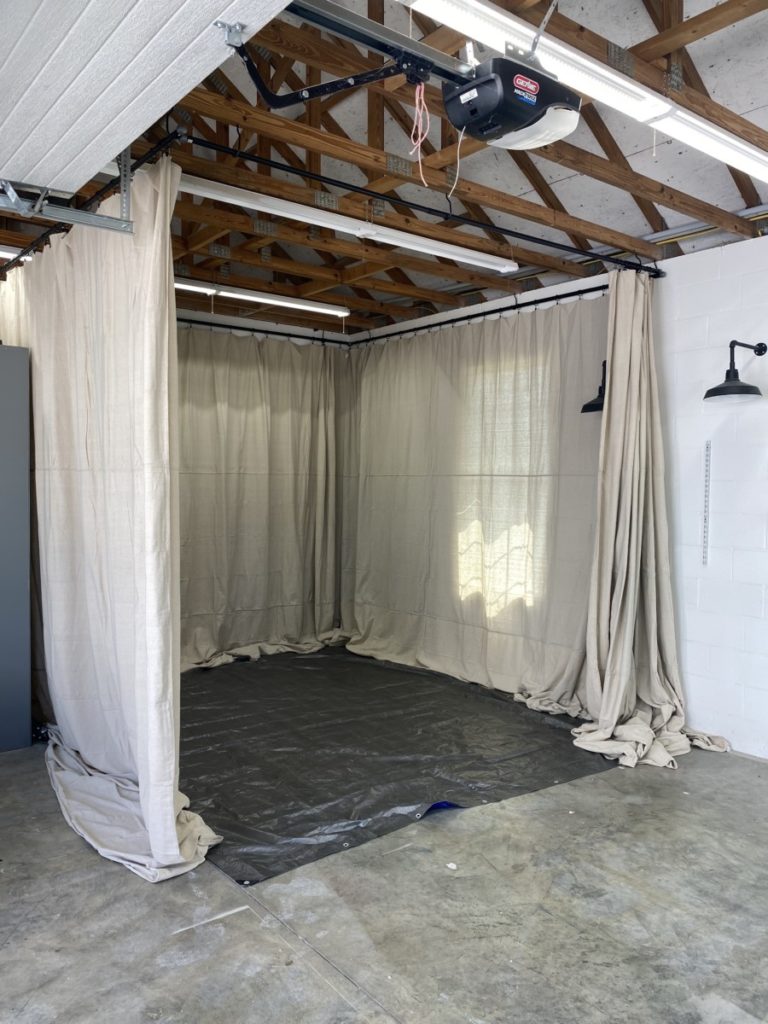
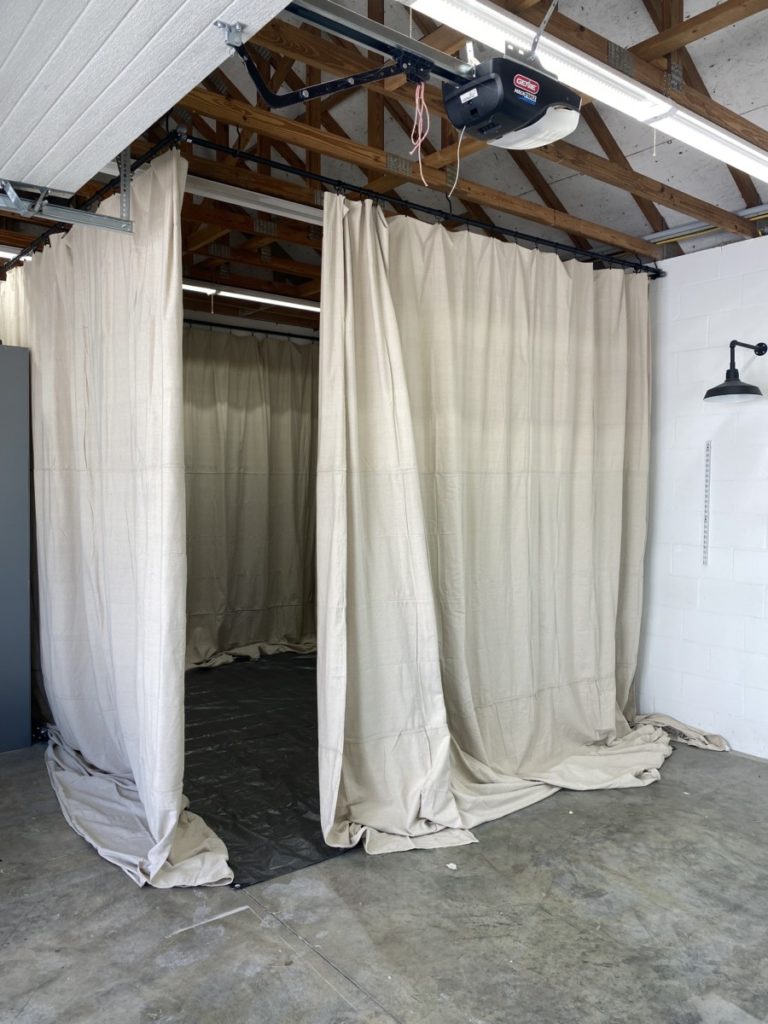
Hang Them Up!
I simply hung up the rods and can easily pull them out when in use, and tuck them away when not needed.

When in use, I have a tarp that I lay down on the floor. It is nothing fancy, but it is cheap and it does the trick.
Ventilation
As I states before, this is just a broad stroke tutorial on a concept that could easily be adapted to any space. My shop has and industrial fan that is directly above my paint booth. I simply turn it on and it sucks the paint fumes up and out. (Yes, my ceiling is exposed and there will be some paint that will accumulate over time.) This is not a sterile environment, but it will mitigate the amount of over spray that ends up all over my shop during a paint project.
Another suggestion would be to strategically situate your paint booth in front of a window and cut a hole in the drop cloth to accommodate the window and place a box fan with a air filter in the window. ( Again, not a professional setup but it definitely DIY level boujie spray booth.)
Sources:
- Utility Hooks: Amazon
- Curtain Rods: IKEA
- Curtain Ring Clips : Amazon
- Drop Cloths (x4): Amazon
- Tarp: The Home Depot