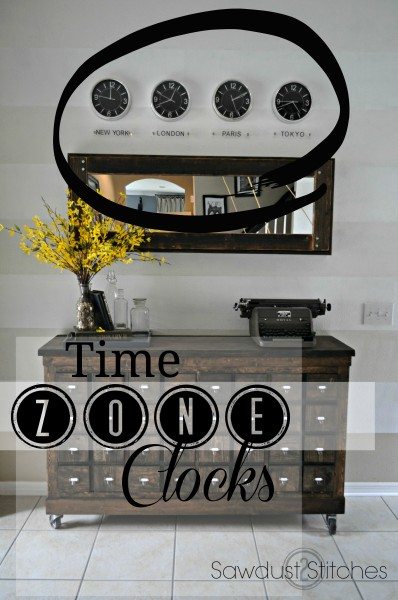
- Clocks
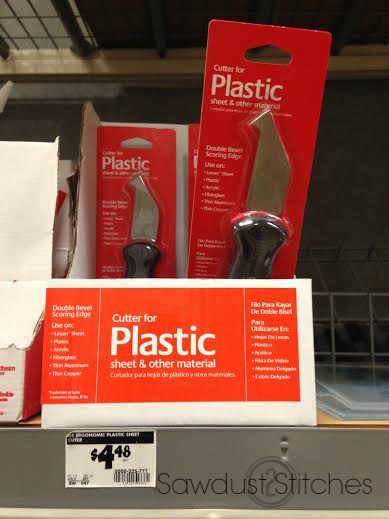
- Plexiglass
- Vinyl
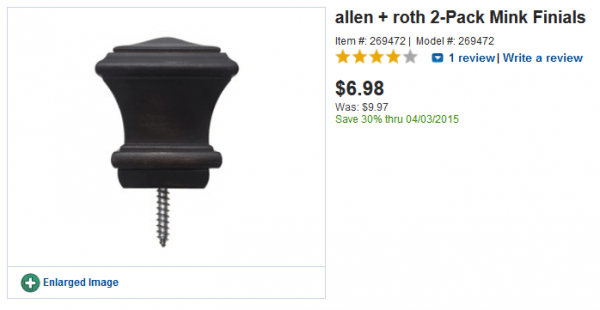
- Screws
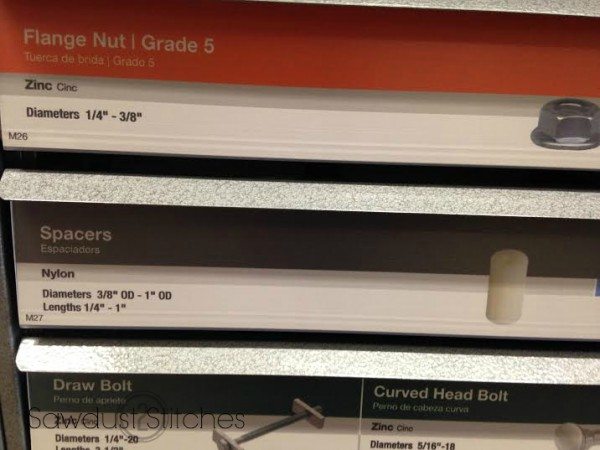
- Spacers
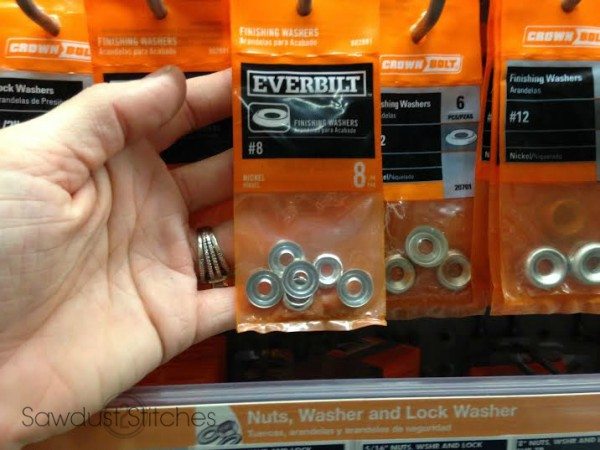
- Finishing Washers
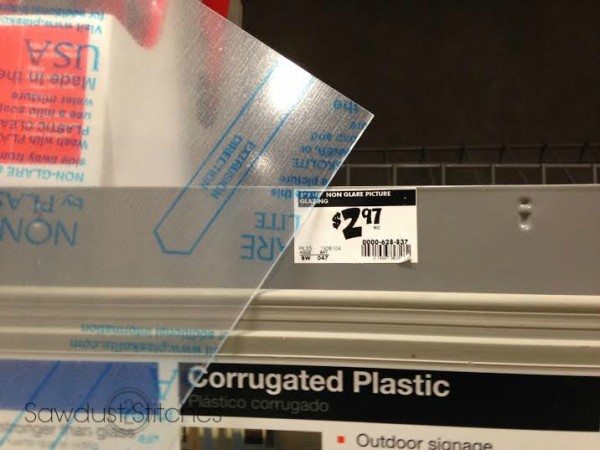
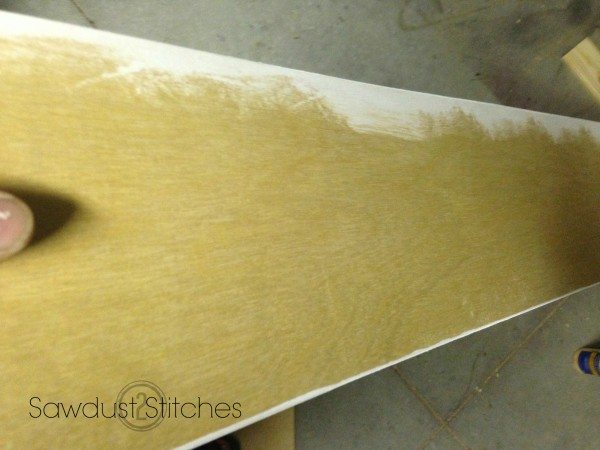
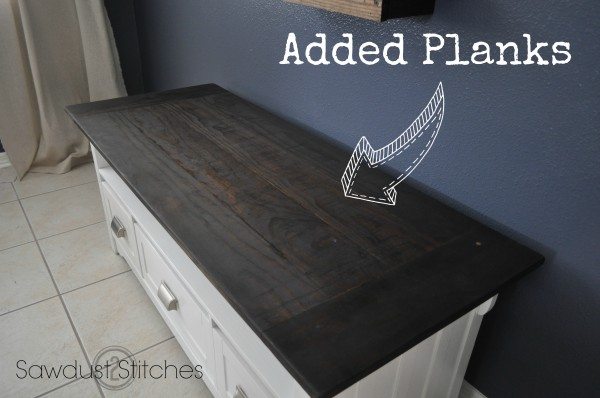
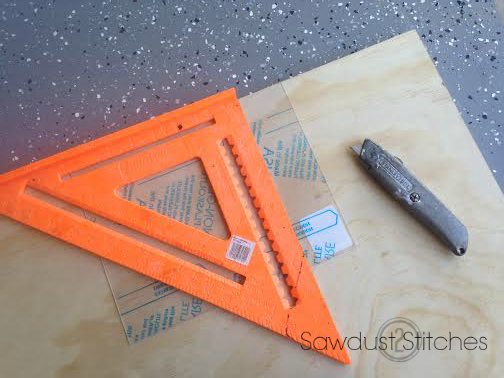 Make sure you score the plexiglass well.
 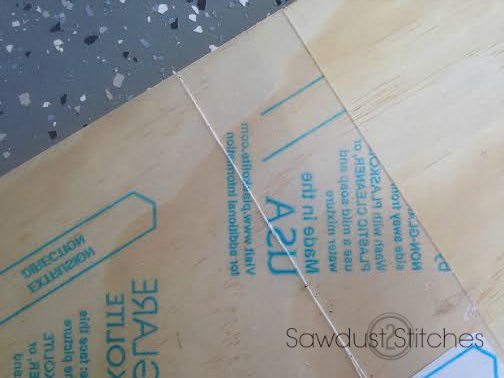 To break it, I kept flat pressure on the score line and then apply pressure to break off the plexiglass.
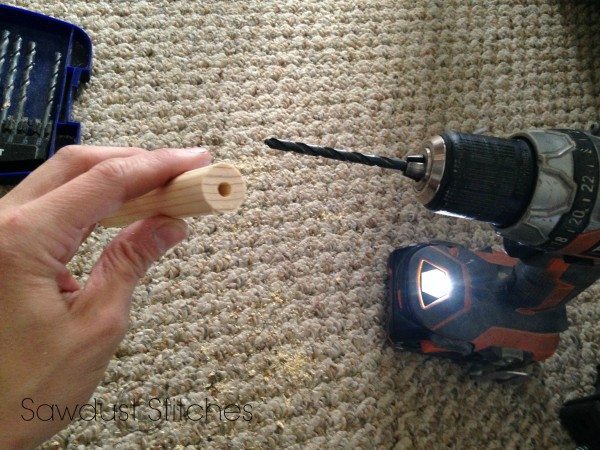
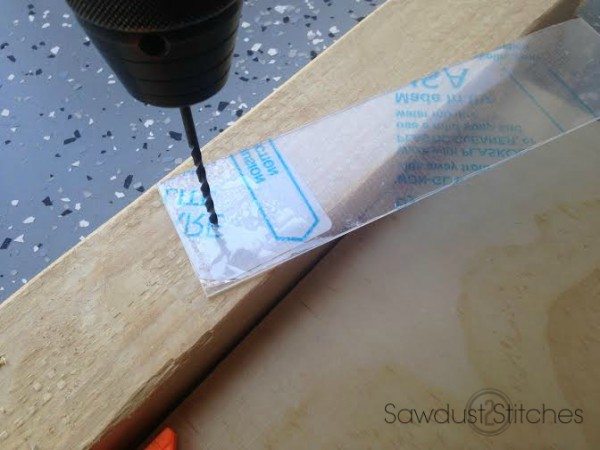 Using a 1/8″ drill bit. drill through the plexiglass, On the plexiglass I purchased there was a film applied. At this point I removed it.
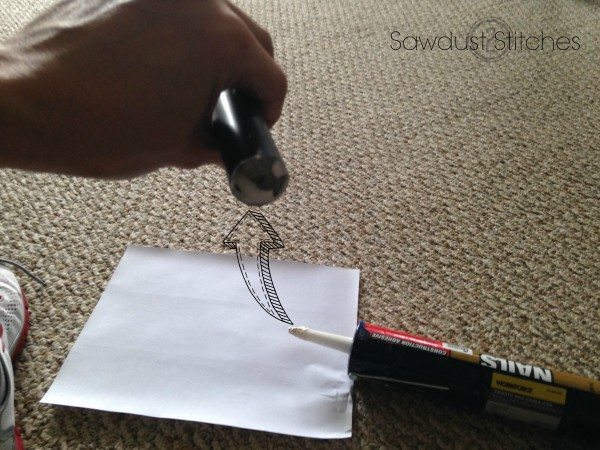
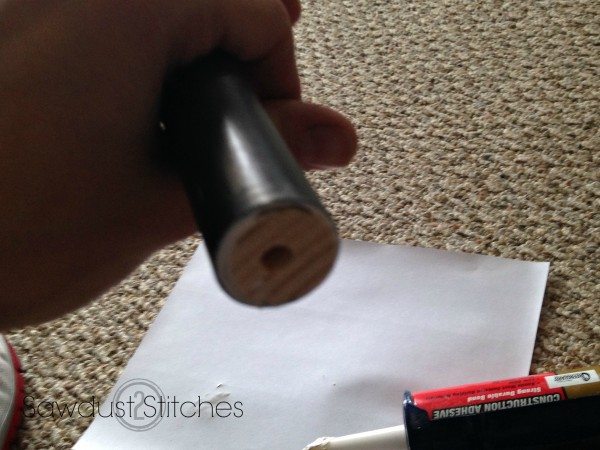
 At this point you can add your location cities. I used my silhouette to cut out my cities. If you don’t have a vinyl cutter, there is an easy solution. Trace it! You are working on a clear surface. Just place a printed version of the word/city behind the plexiglass, then trace the word using a black permanent marker. Easy peasy.
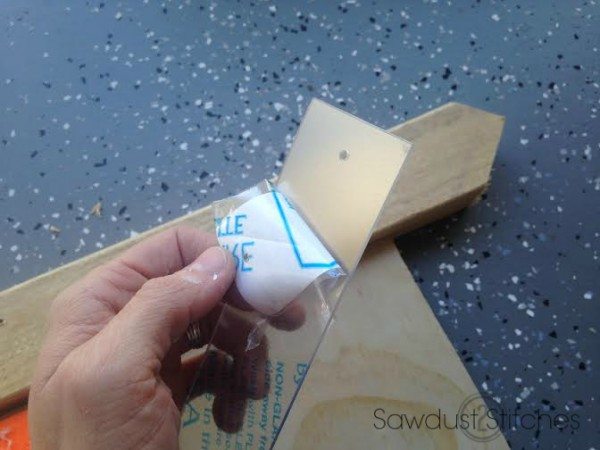
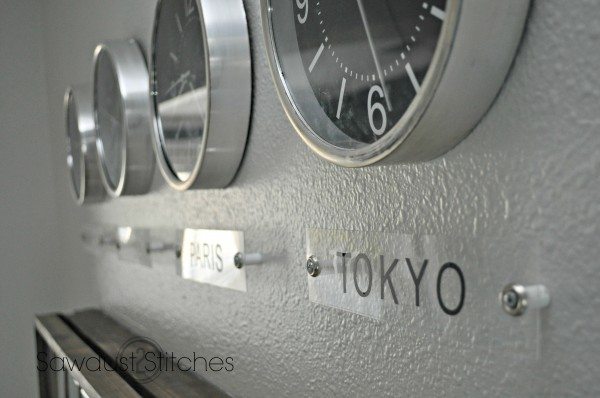
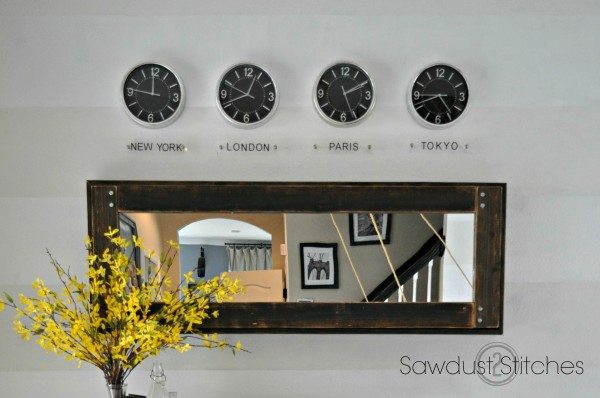
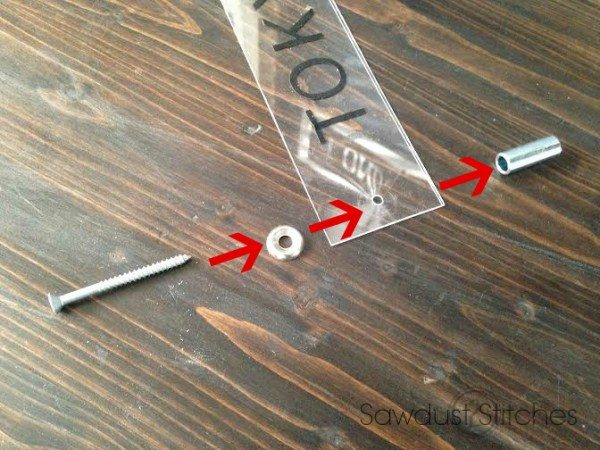 Now is time to put those up on the wall. I used a 1.5″ screw. Thread the screw through the “finishing washer” then thread through the plexiglass signs, and then finally through the spacer. Once it is all sandwiched together you simply screw it into the wall. Then hang the clocks centered above the city plaques.
 …and that is all there is to it!


