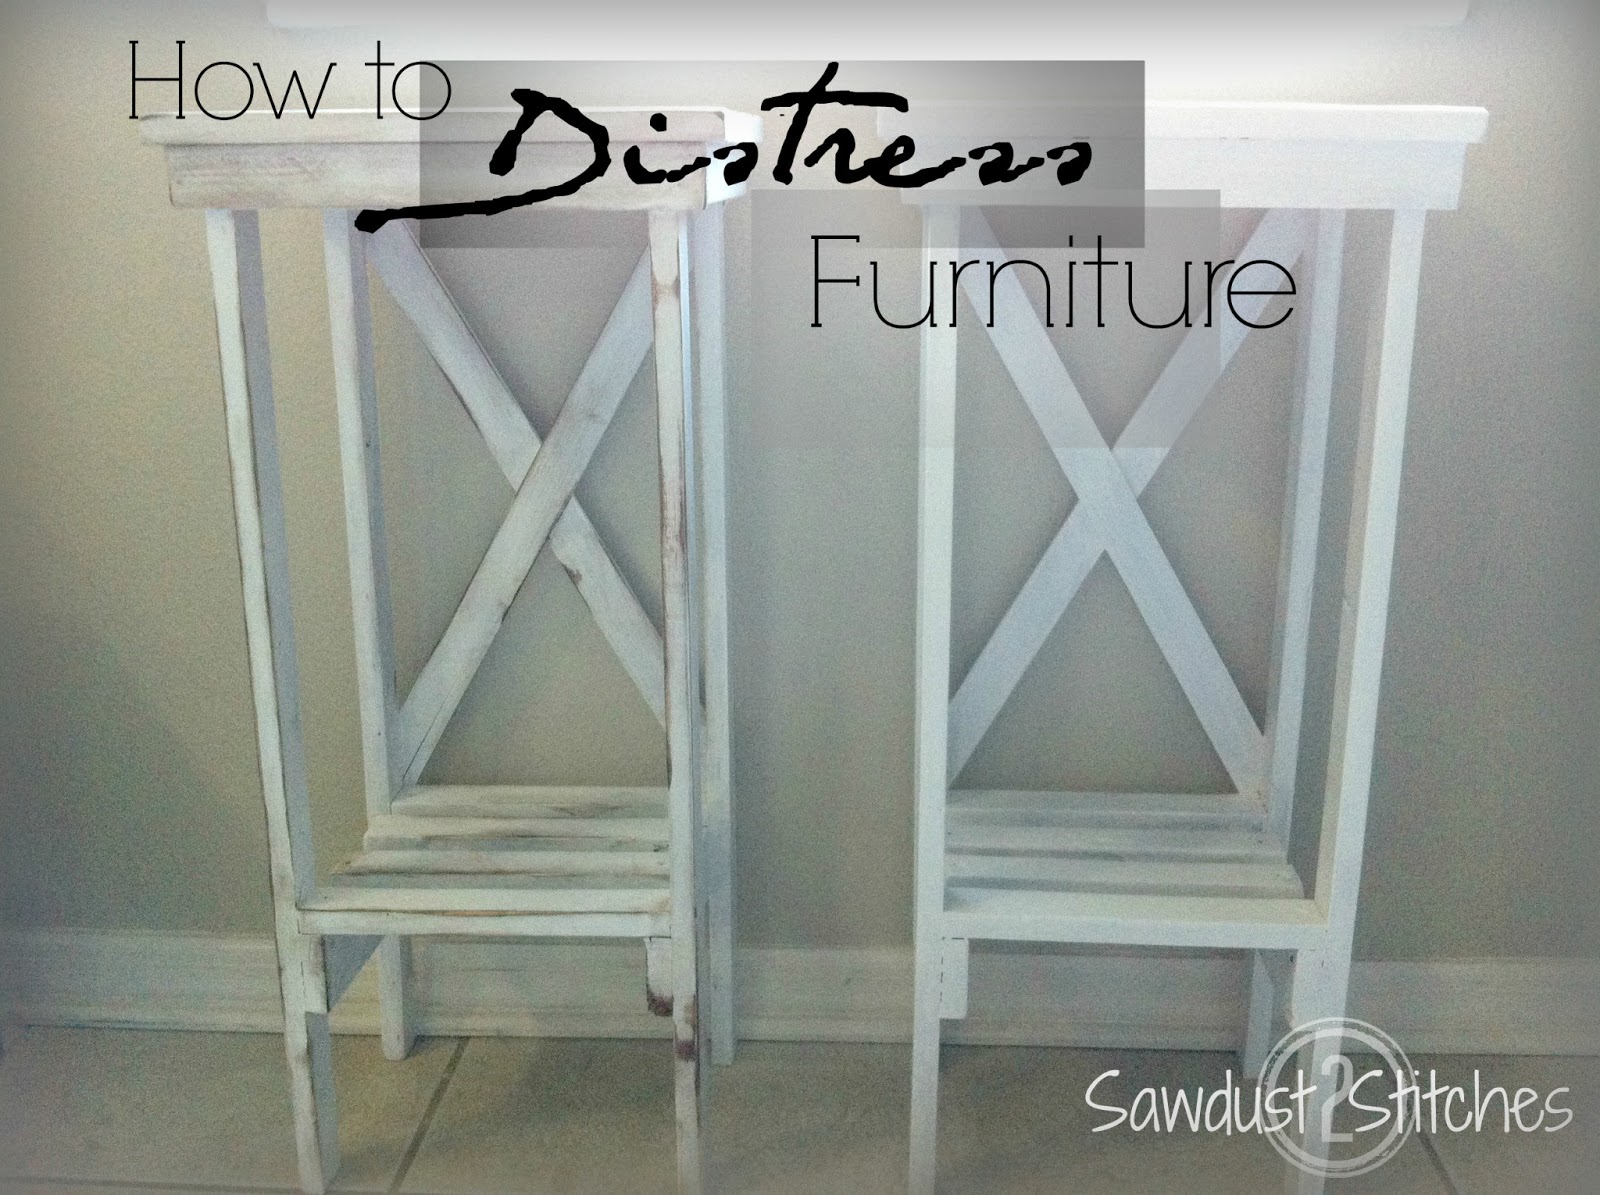
I make a lot of the furniture in my home, so a majority of the time they have imperfections. I have found the best way to mask imperfections is to make it look intentional! “It’s Shabby Chic”.
Distressing furniture can add a lot of character and hide wood/paint imperfections!
Here is what I do….
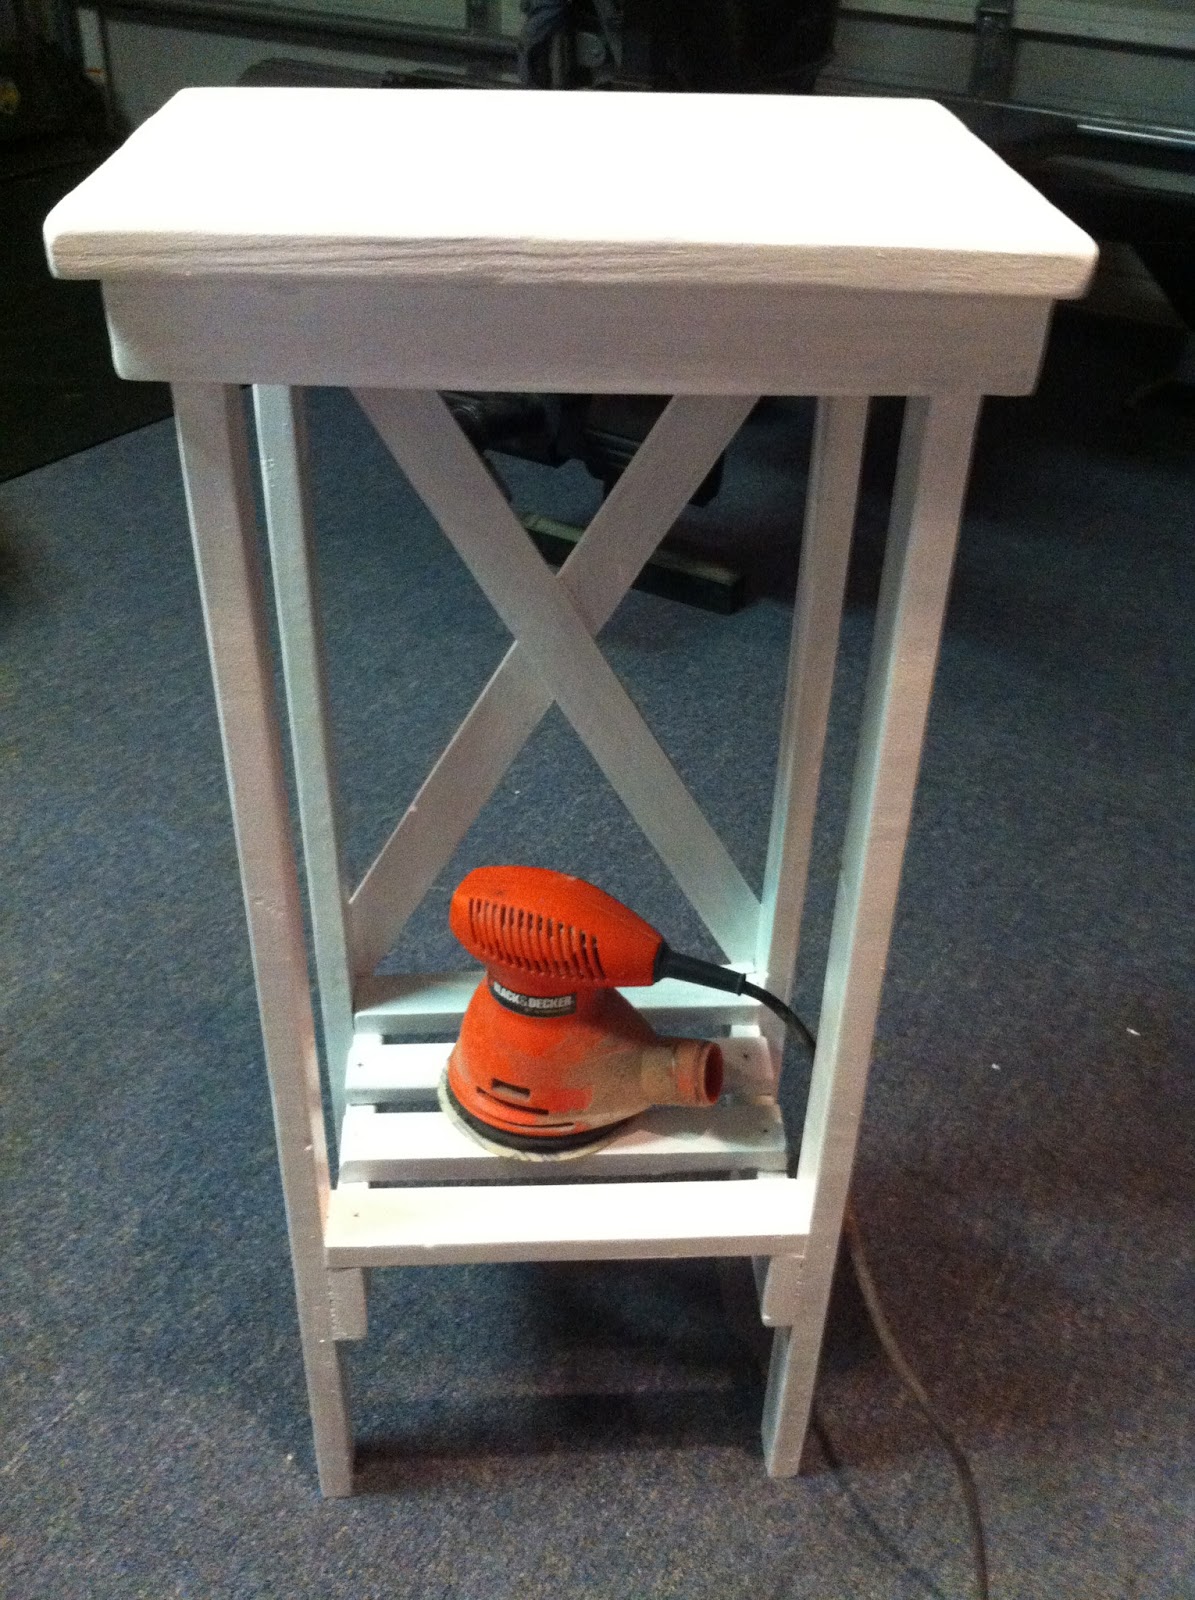
Take either an electrical or hand sander and scuff the piece of furniture up. In my case I will be showcasing the side tables I made for the new guest room (Pictures coming soon.)
When sanding, it is best to try and sand the areas that would naturally get the most wear, ie. the edges.
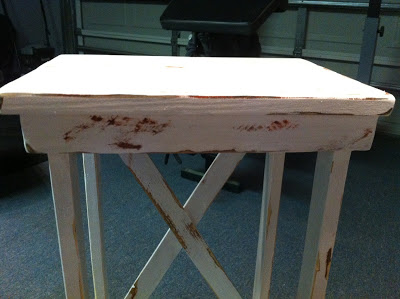
After sanding, I take a LITTLE bit of stain and apply it a small section of the table. (Always work in small sections, the stain can dry very quickly and leave a streaky effect instead of “aged”.)
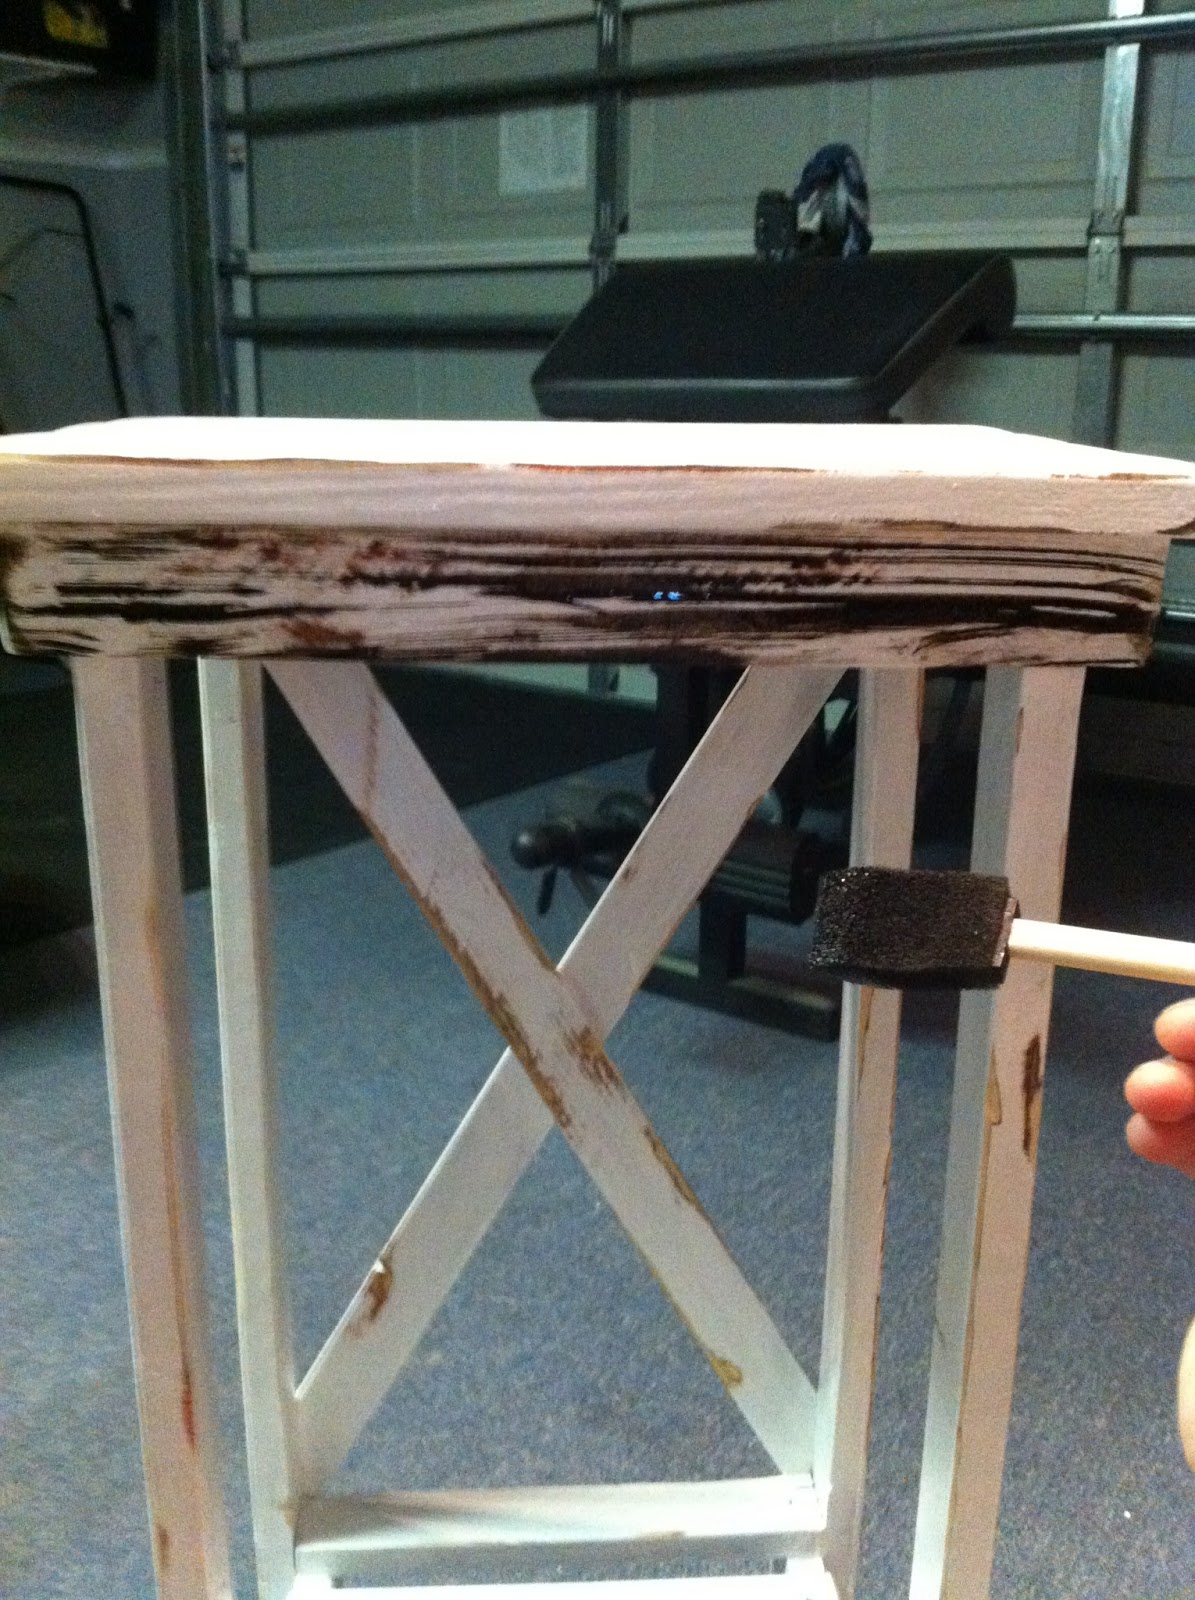
Then apply a little bit of baby oil to an old rag and rub over the freshly applied stain. The baby oil makes the stain much easier to work with.

Continue the same process over and over until you have completed the entire project.
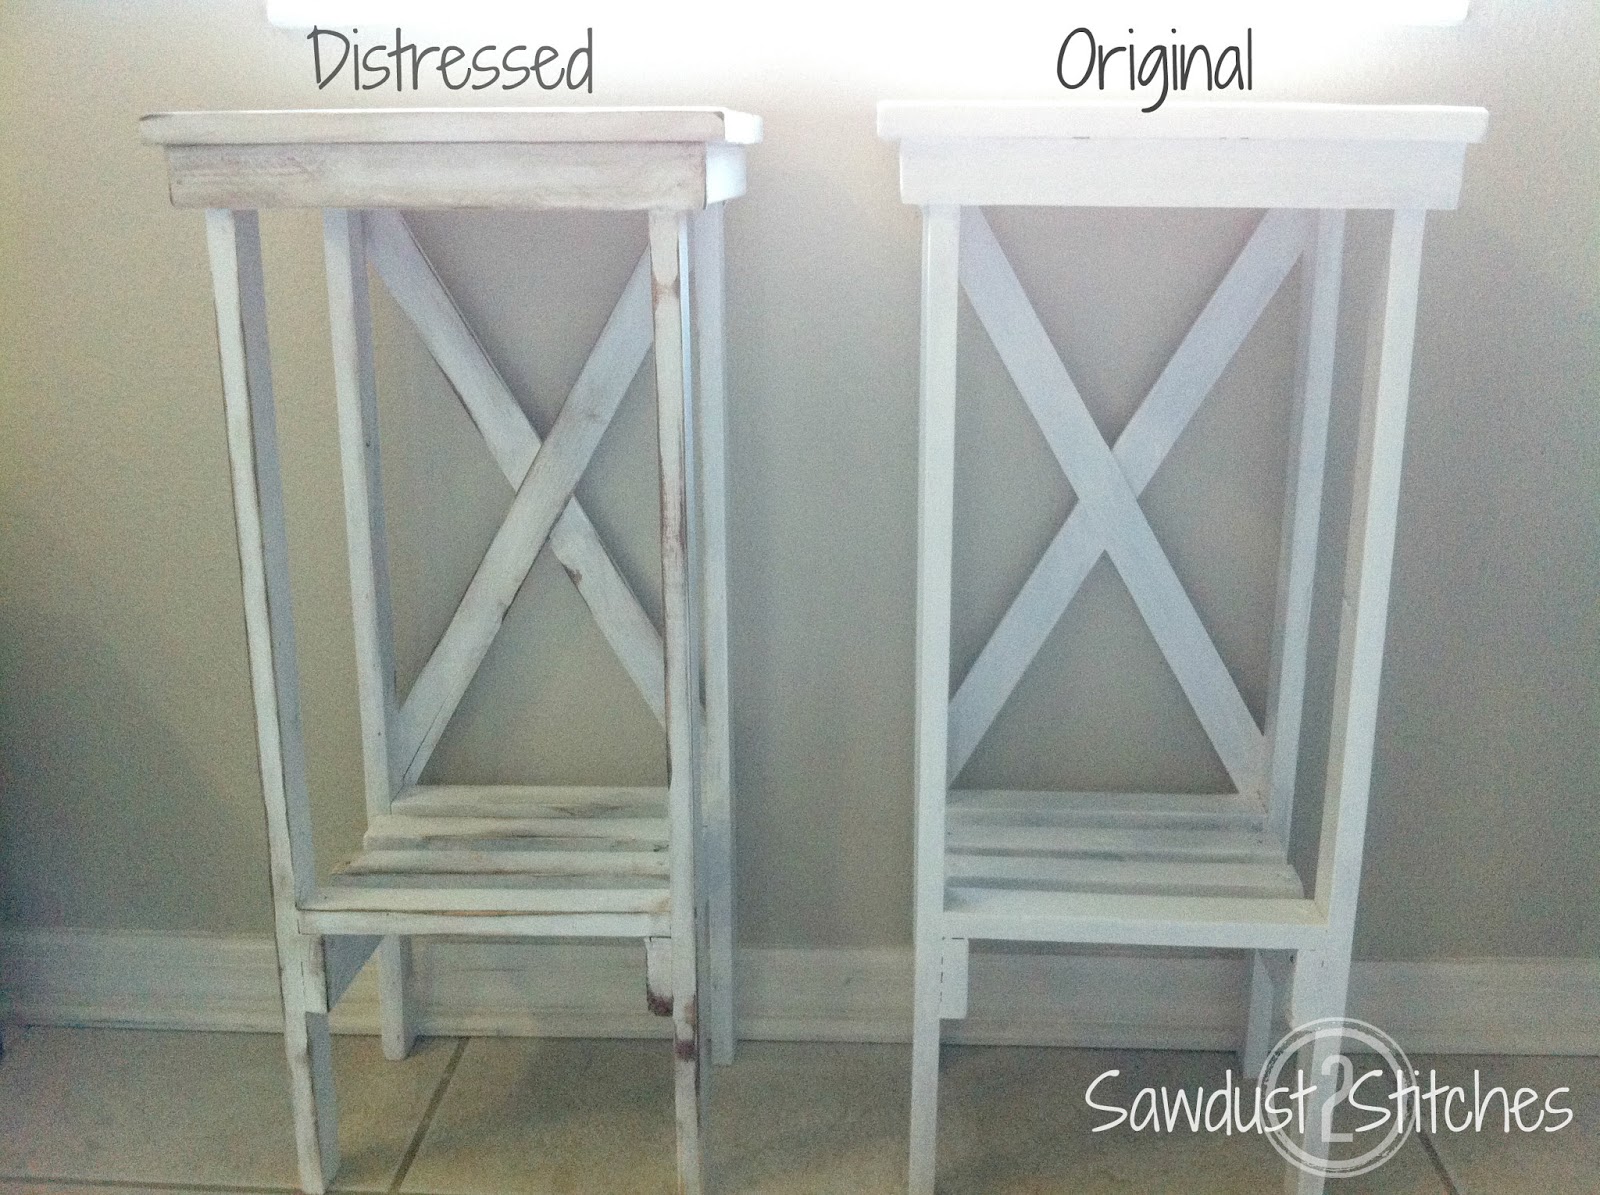
Here are both of the night stands, one distressed and one original. It is a subtle difference that make a big impact.
So if you have any old furniture that could use a “pick me up” or a new paint job. Consider distressing, it can make the old paint chipping look intentional!


Distressed home furniture really rocks! 😀
This looks great.
I assume you have to use a Gloss paint in the first place to stop the wood stain from taking to everything?
Thanks
Cameron,
You are definitely right, it is much easier to work with a higher gloss finish paint… BUT it isn’t necessary. The baby oil works really, really well to help diffuse the stain. When working with a low sheen paint you simply need to work a little quicker. Work in small areas, and make sure you have a rag with baby oil ready to go. Because you are right, it will want to soak the stain up quickly. Good luck, and do a test area first, so you know what to expect.
That’s great.
Can’t wait to try it!