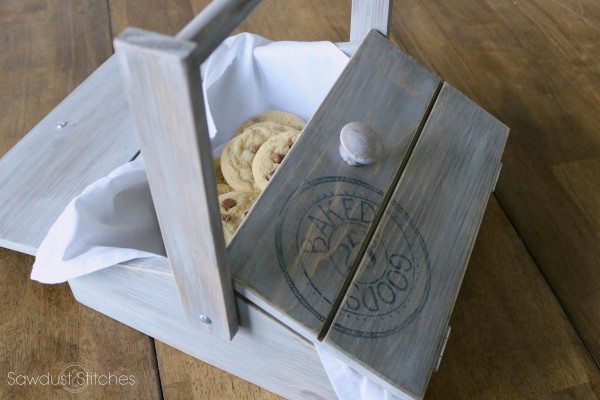
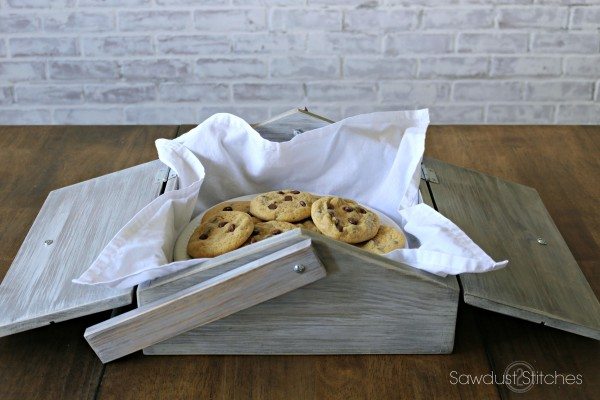
I don’t really keep it a secret that I am not necessarily a connoisseur in the kitchen. Don’t get me wrong, I can cook when I really put my mind to it, but it’s kind of like making my husband uhh, I mean KIDS take family pictures. There may be some huffing and puffing, some bribery, and possibly tears, but in the end it turns out all right. (At least nothing a little photoshop can’t fix 🙂 I digress, the inspiration behind today’s post was actually a bake sale. Our church hosts a dessert auction every year and instead of buying something from the store and trying to pass it off as homemade, I decided to play to my strengths. I am a builder not a baker. (But you have to agree those cookies look lovely! They tasted like little morsels of heaven too. Like I said, I CAN bake I would just rather chew my own arm off.) Oh man, I am two-time digresser… digresse?, like I was saying, I decided to build this adorable dessert carrier filled with cookies as my contribution and it went amazingly well!
Dessert Carrier/Pie Box
BEFORE YOU BUILD-
I did not use finish that would allow me to serve food directly on it, I still have a protective barrier between anything edible and the finish.
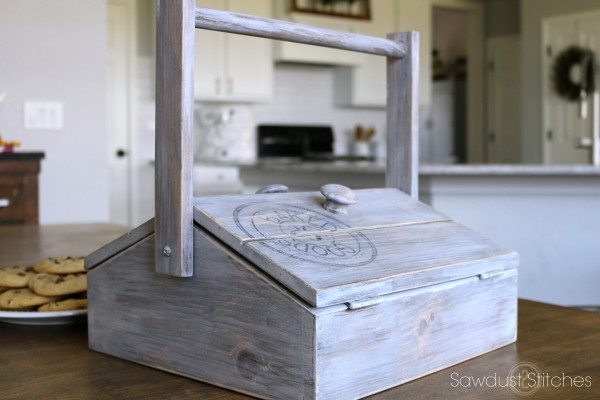
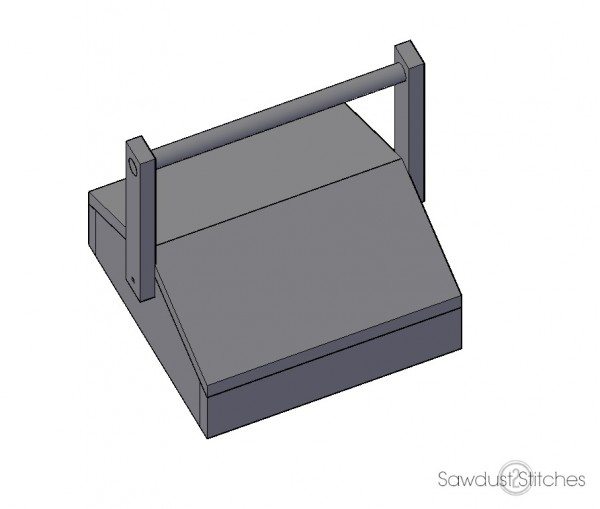
Mine vs. Yours: Today I am going to show you how to make a dessert carrier/pie box. One thing to note, I have access to a planer, and wanted to make my box a little more low profile, so I planed all my boards down to 1/2″ thickness. I realize not everyone has access to one, so I used the dimensions of a standard size board 3/4″ for these build plans!
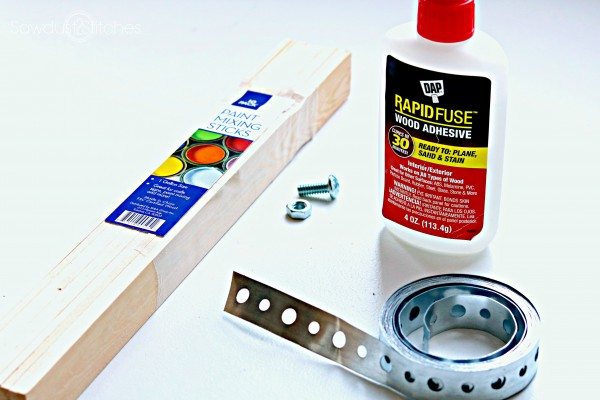
Supply List:
- 1″x 12″ x 6′ Pine Board
- 5/8″ Dowel Rod
- 2″x 1/4″ Bolt with Nuts
- (4) 1/4″ Washers
- (2) 1/4″ Locking Washer
- (2) Wooden Knobs
- (4) Small Hinges
- Carbon/Transfer Paper
 (Optional)
 - White Wash Pickling (Optional)
- Jacobean Stain (Optional)
Tools Recommended:
- Table Saw
- Miter Saw
- Drill and 1/4″ Drill Bit
- Finish Nailer
- 5/8″ Forstner Bit
Cut List:
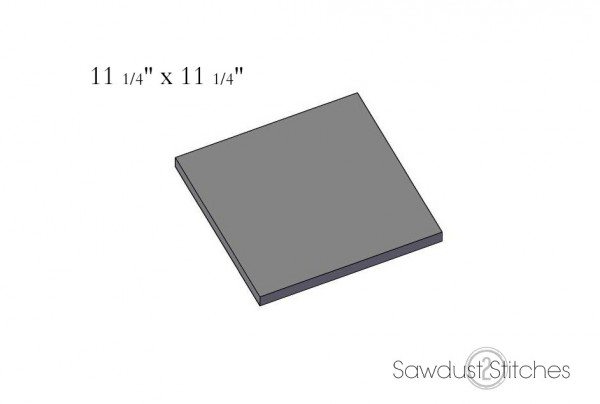
- Base: 11 1/4″ x 11 1/4″
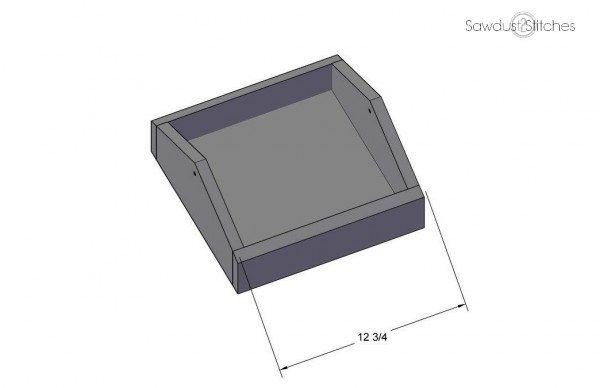
- Sides: 12 3/4″ Reference “Step 3”
- Tall Sides: See “Step 2”
- Lids:
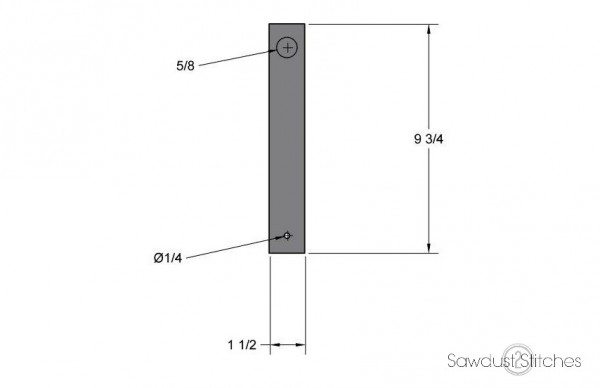
- Side Handle: 1 1/2″x 9 3/4″
- Dowel: 14 1/4″- 14 1/2″ (Depending on thickness of the washers you use.)
Disclosure: Some of the links provided are affiliate links. By purchasing through these links it supports this site and helps keep content free. You can read more about how we do this with no extra cost to you.
Step 1: Cut Diagram
Ok, the day didn’t quite go as planned, and I will have a cut diagram soon-ish.
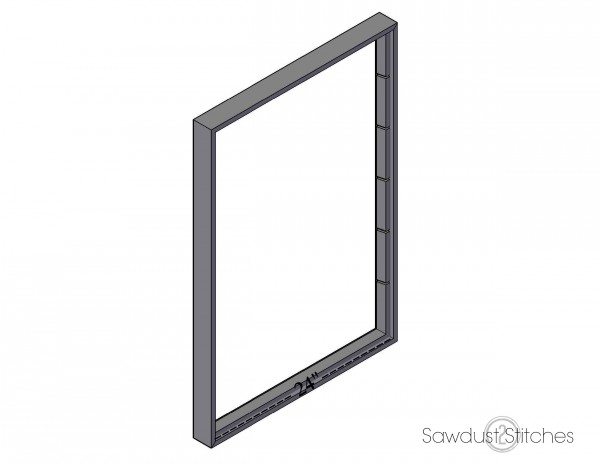
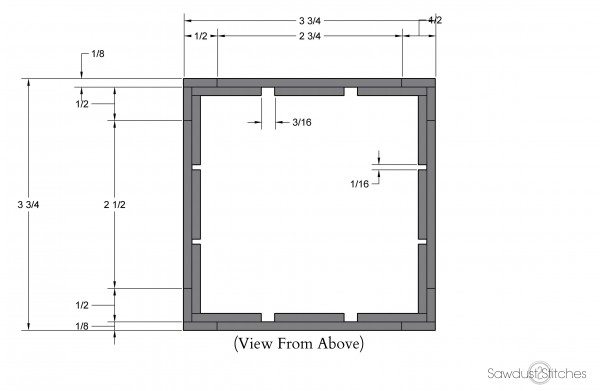
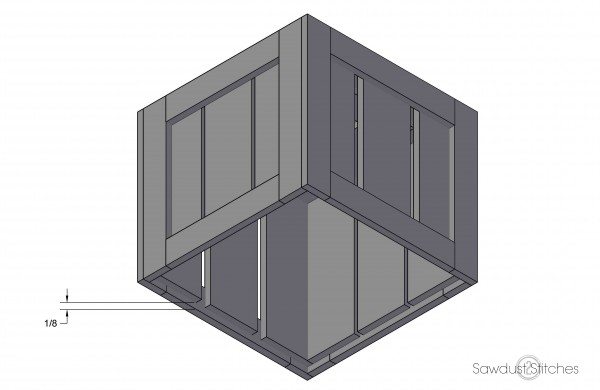
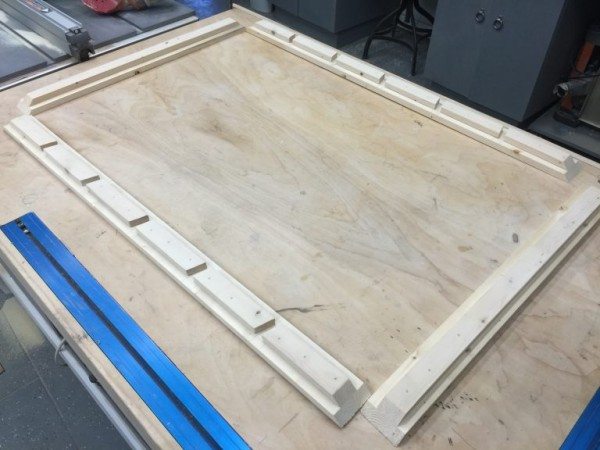
Step 2: The Base
Did you know: When you purchase a standard 1″ x 12″ board it’s finished dimensions should actually be 3/4″x 11 1/4″ so you will just need to make one cut in order to get a 11 1/4″ x 11 1/4″ base.
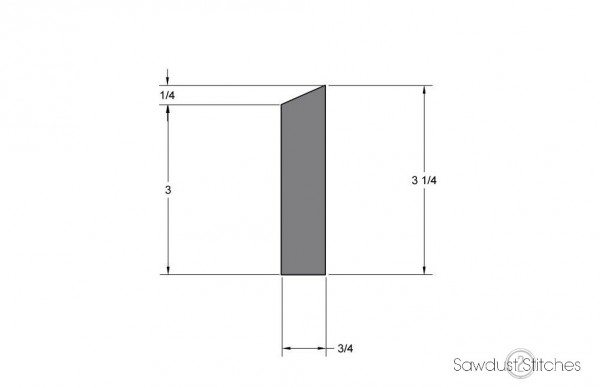
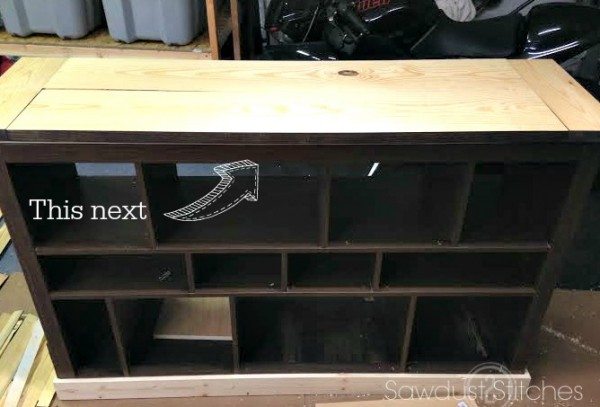
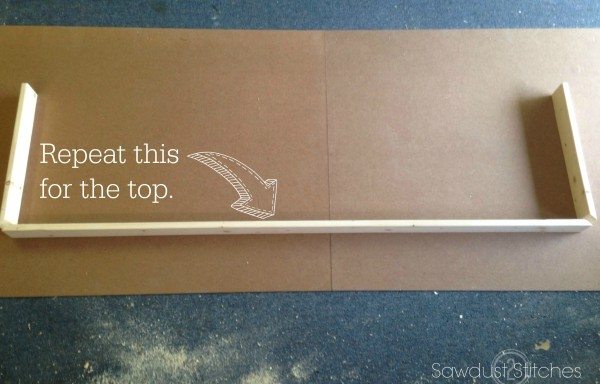
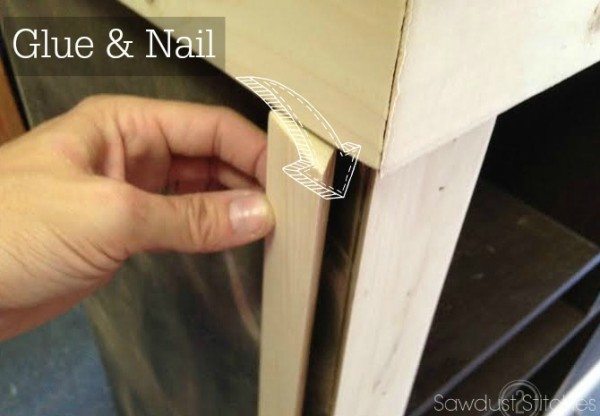
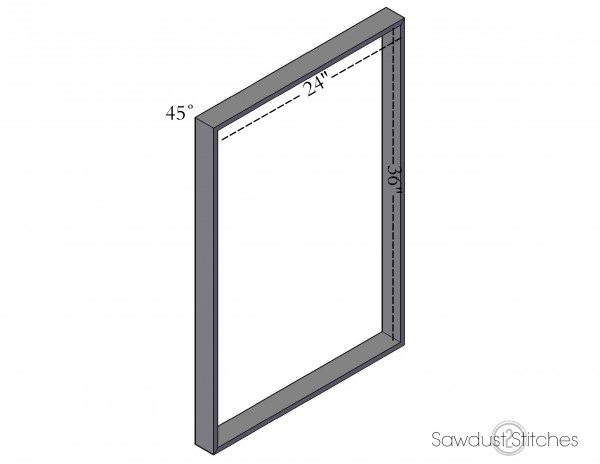
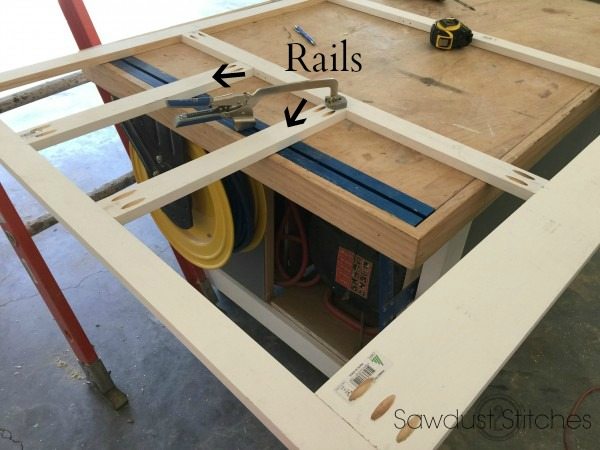
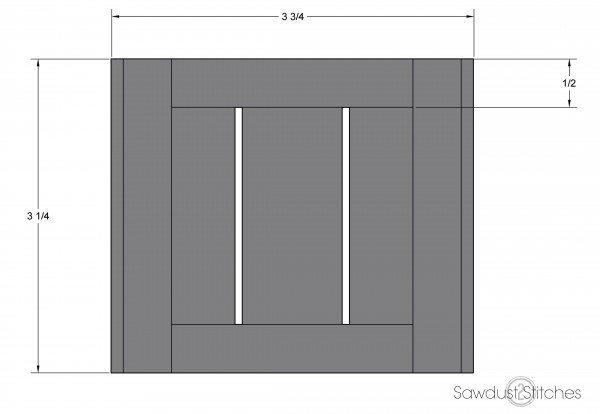
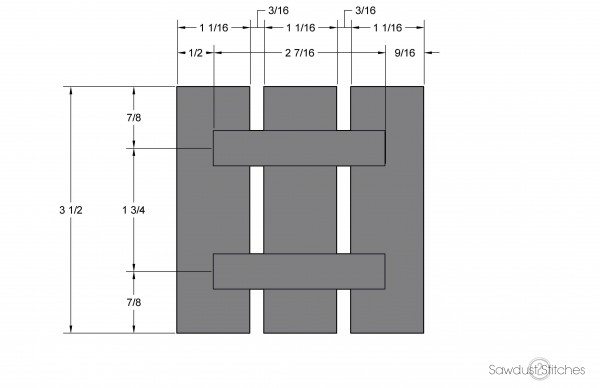
Step 3: “Tall Sides”
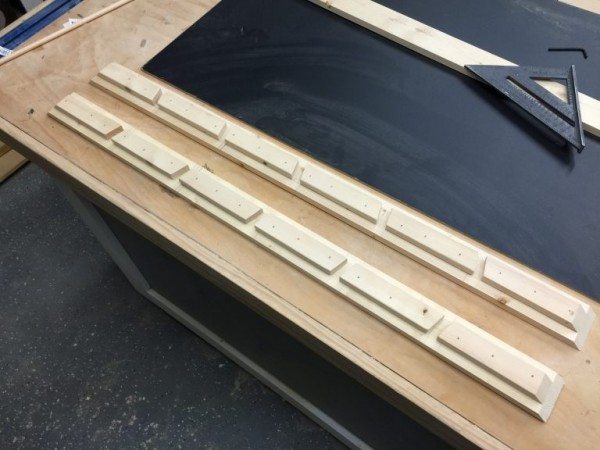
Cut (2) of these “tall sides” to the below dimensions.
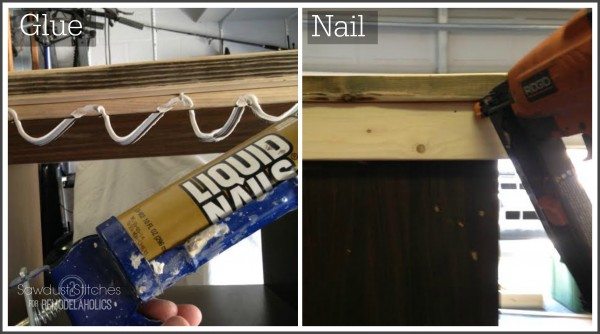
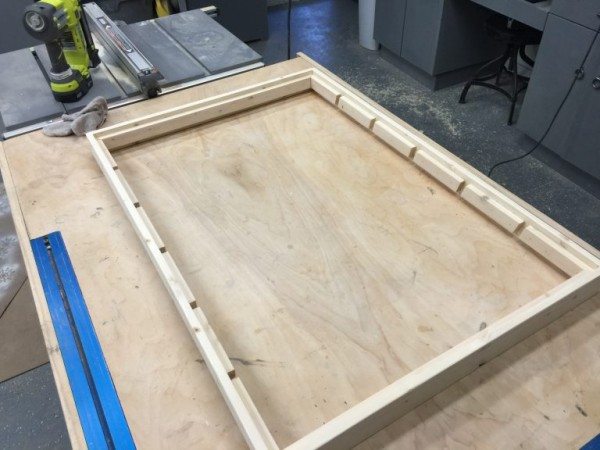
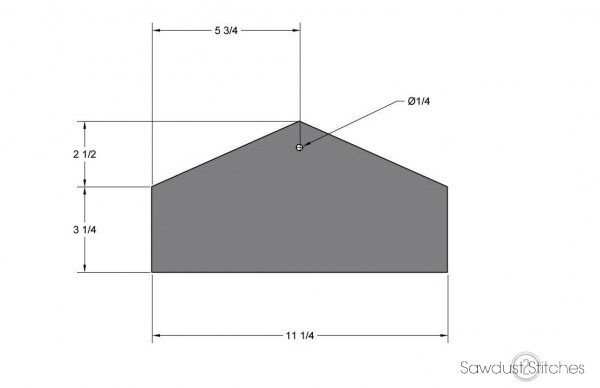 Once cut you will attach to two opposing sides. I first applied wood glue and then reinforced with 1- 1/2″ , 18 gauge nails.
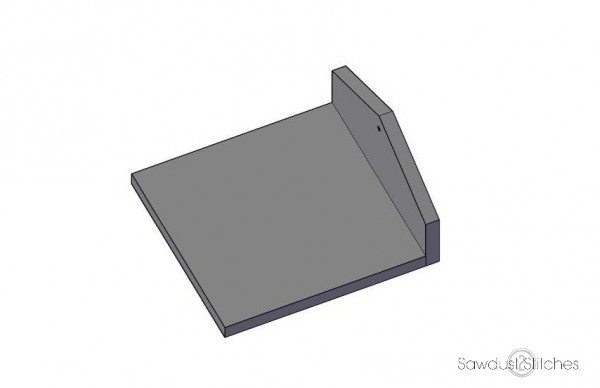
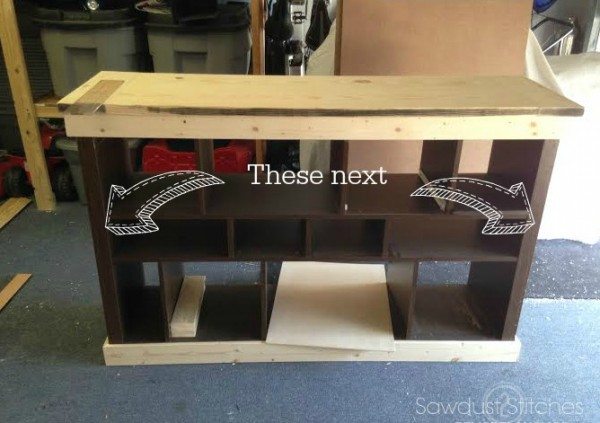
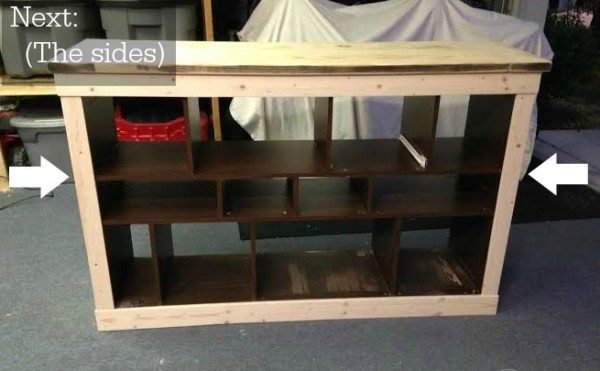
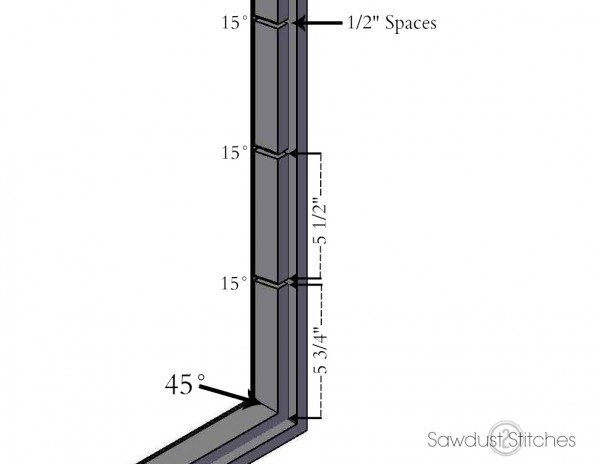
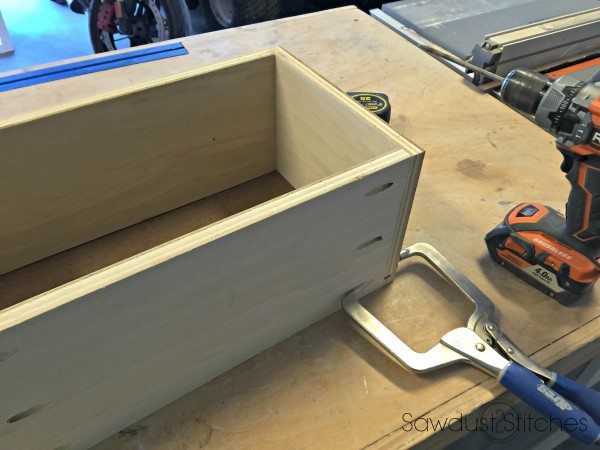
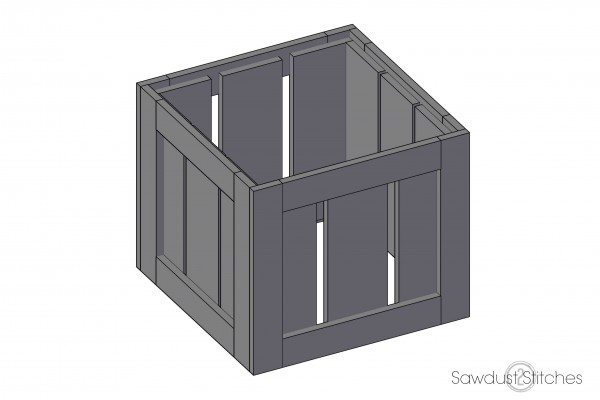
Step 4: Short Sides
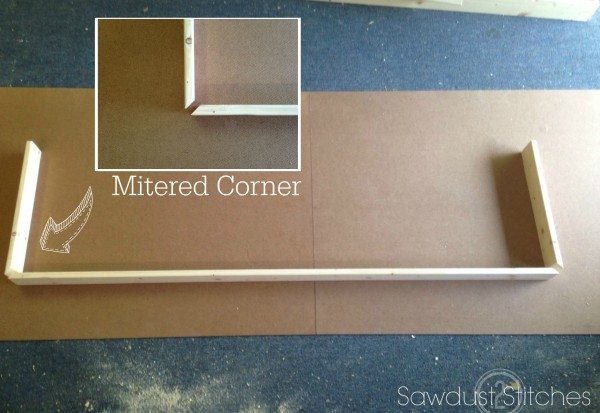
When cutting the sides you will want to use the table saw set at a 24 degree angle.
 If all goes according to plan, the sides/angles should continue flawlessly. If “life happened” somewhere in there, you can always level it out with some sand paper.
Again, I first applied wood glue and then reinforced with 1- 1/2″ , 18 gauge nails.
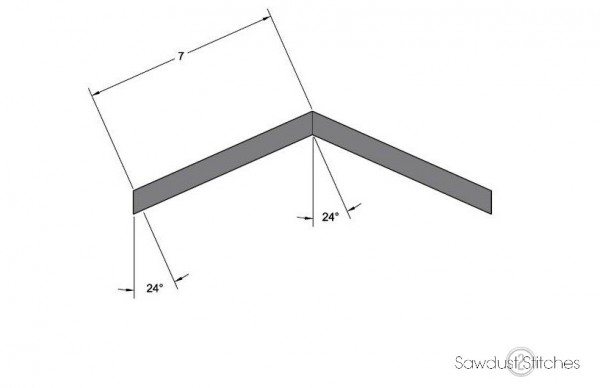
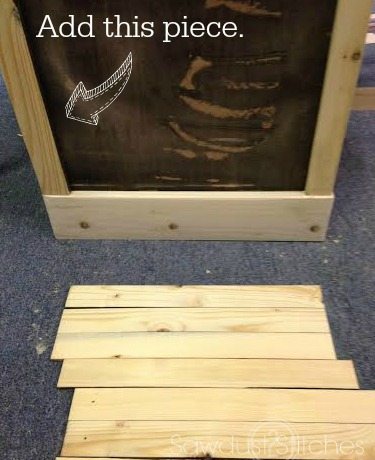
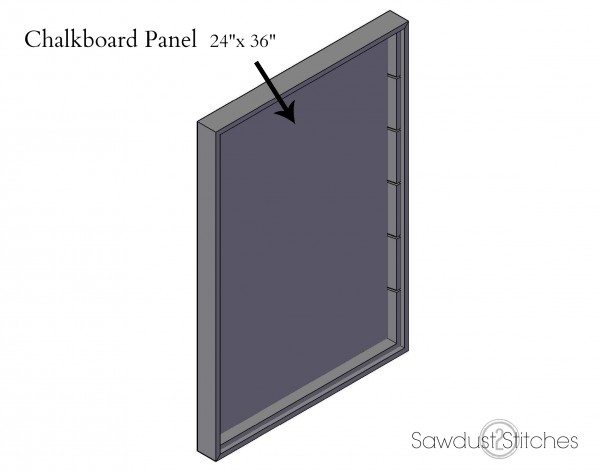
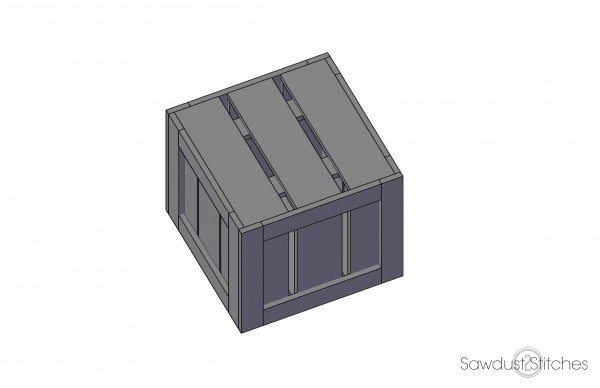
Step 5: Lids
Ok, I am going to throw some more angles at you. Breathe deep! Actually. all the angles you will be using are 24 degree angles. Each lid will be 7″ (from short point to long point) x 12 3/4″ inches. reference the diagram below, you got this.
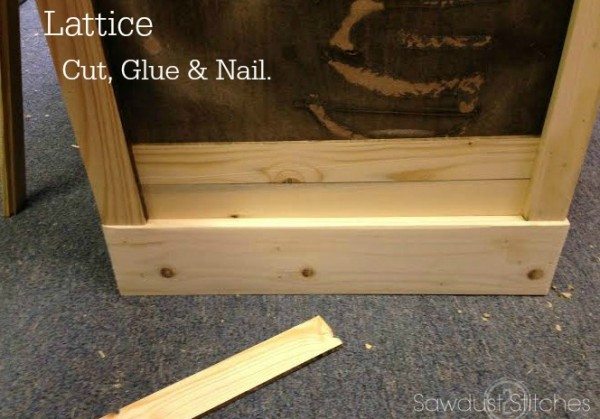
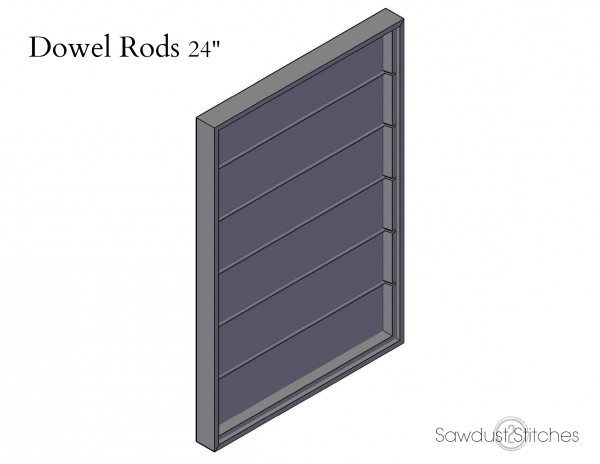
 You may have noticed that my lids appear as though it is made up of four different boards. It is all an illusion my Dear Watson. I just used my table saw to cut a groove out in the center of my board. It is about 1/4″ wide and a 1/4″ deep. Not necessary, but I like the look of it , and I like to overly complicate everything.
Next we are ready to install the hinges. I installed (x4) 1-1/2″ hinges, approximately 1 1/2″ from each edge. I REALLY wish I had some sage advice… all I can say is “Take Luck” my friend.
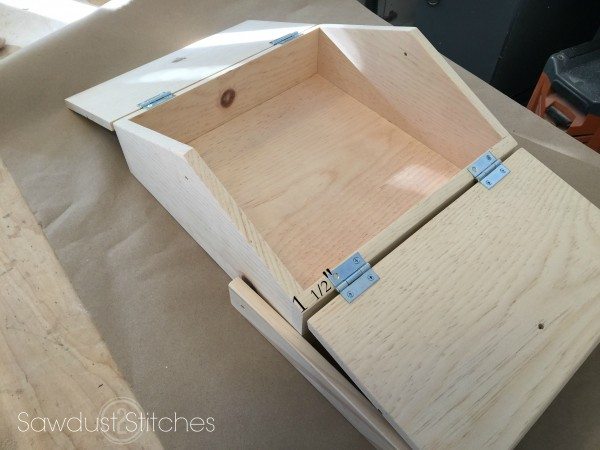
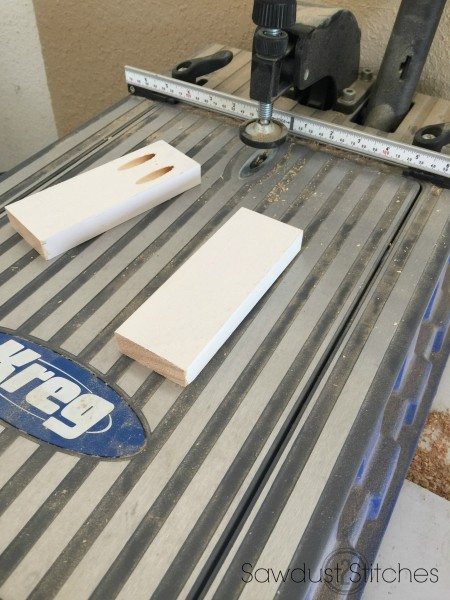
Step 6: Handle
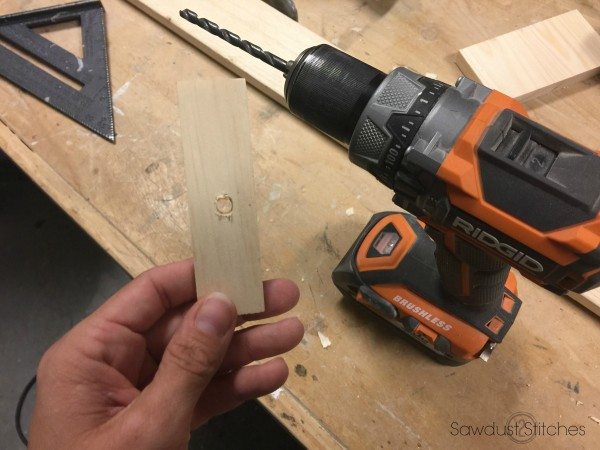
Next the handle. We will be drilling 2 different holes in the side section of the handle. The handle is the same dimensions of a 1″x 2 ” standard board (which is actually 3/4″x 1 1/2″, yeah confusing right?) Anyways, you can make your handle using a 1″ x 2″ standard board or you can cut some of the scrap from your 1″x 12″ board. Either way works.
Next attach the the handles using the bolts, washers, and nut.
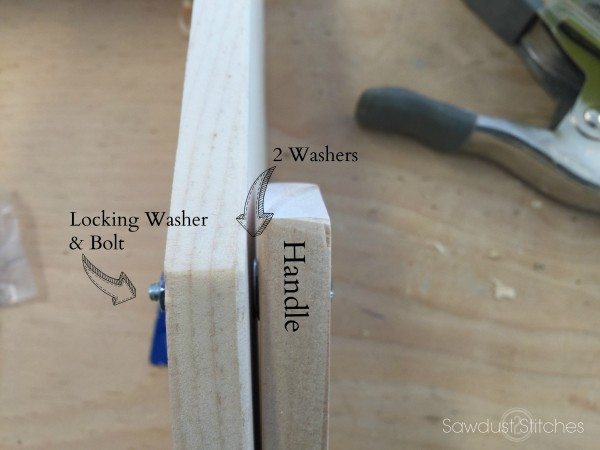
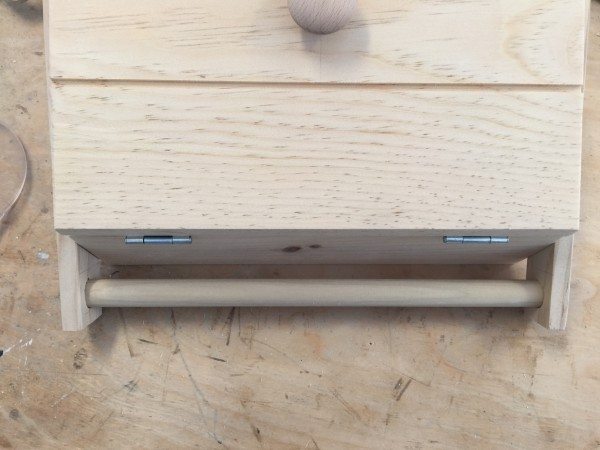
Once both of the side handles are attached, added a dab of wood glue to both recently drilled holes. One the dowel was in place I left it there to dry until the glue set. If you have a pin nailer I would suggest nailing through the side handle so that it connects with the dowel rod.
Now would also be a good time to add knobs, if you feel so inclined.
Step 7: Finishing Touches
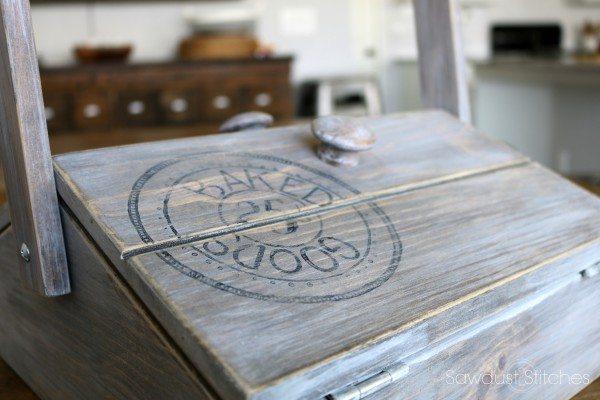
To finish mine, I stained mine with Jacobean Stain. After staring at it for two days, I decided I would much prefer it lighter. So I then added two layers of White Wash Pickling![]() . It lightened it up and gave it an old warn look. I decided to play up the worn look and scuffed up the edges using sandpaper.
. It lightened it up and gave it an old warn look. I decided to play up the worn look and scuffed up the edges using sandpaper.
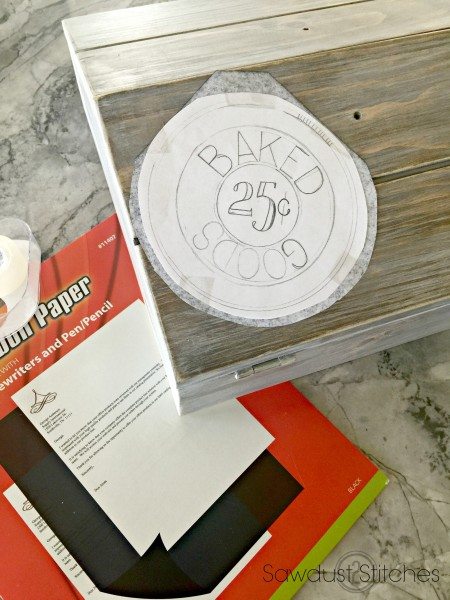
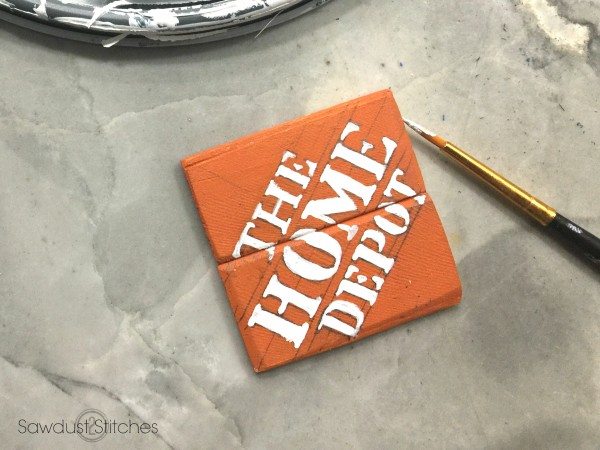
Once the finish was dry, I decided to add a touch more detail. (Seriously, I can’t leave well enough alone to save my life.) I free-handed this “Baked Goods” sign on to my carrier. Lucky for you, I made a copy so that you can simply use Carbon/Transfer Paper![]() ! Click here : Baked Goods Template and print!
! Click here : Baked Goods Template and print!
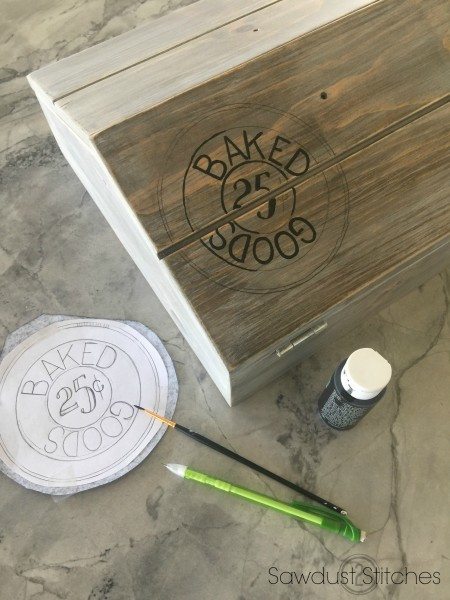
After the image is transferred I went over the design with black acrylic paint, once it had time to dry, I used a little bit of sandpaper to distress the signage. 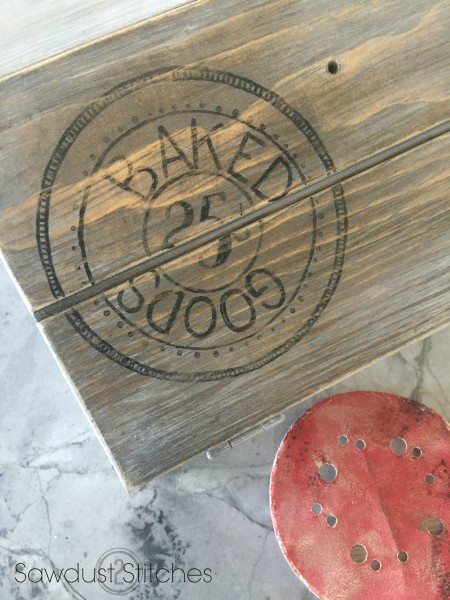
That is pretty much it! Oh and if you are wondering… it brought in $120 at the church auction. BAM!
Take Luck,
Corey


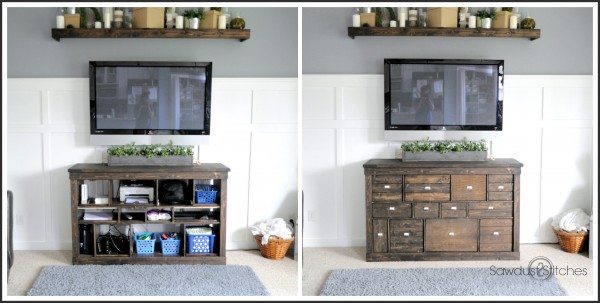

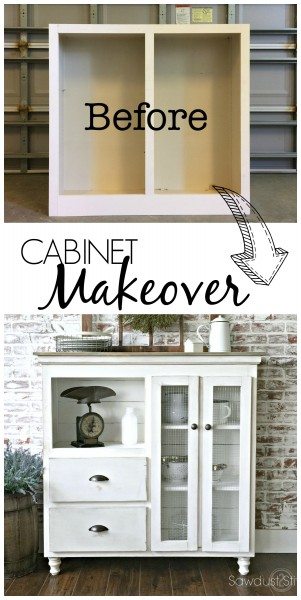

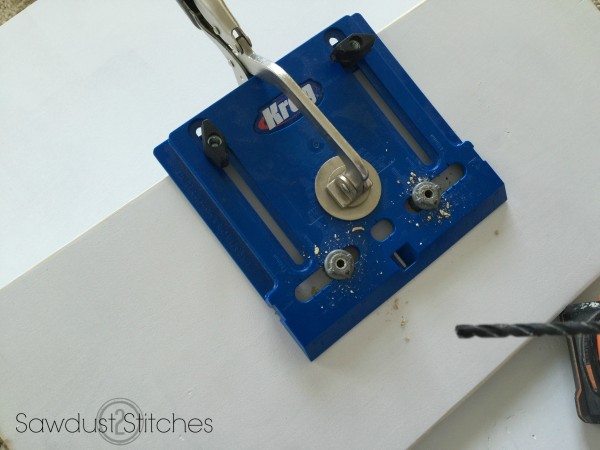
 Kreg must have heard my cry of obscenities, because they created a jig that would save me time and bring my shop talk back to G-rated… Well, that’s a lie, but it was definitely closer to a PG-13 level.
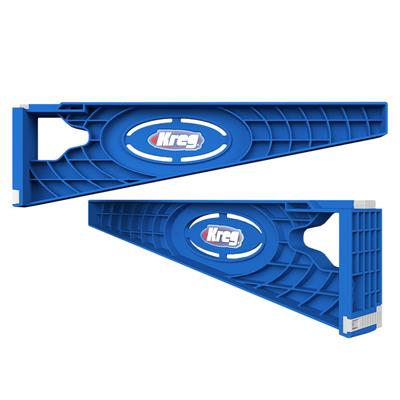
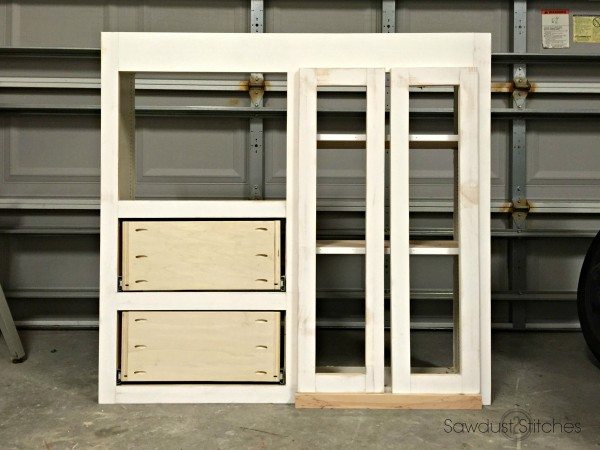
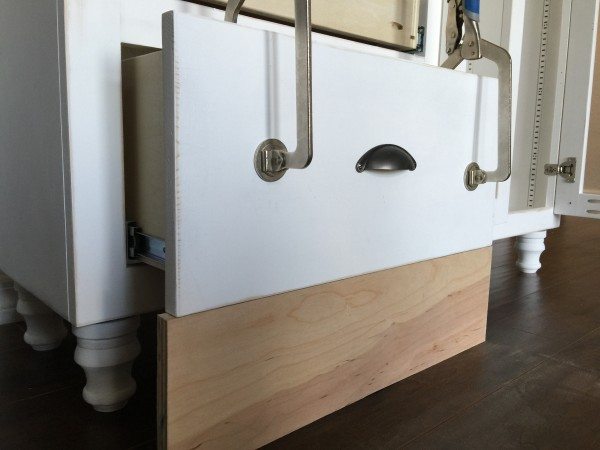
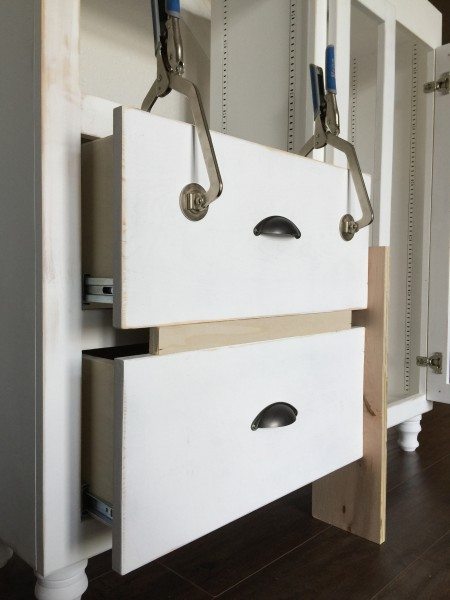
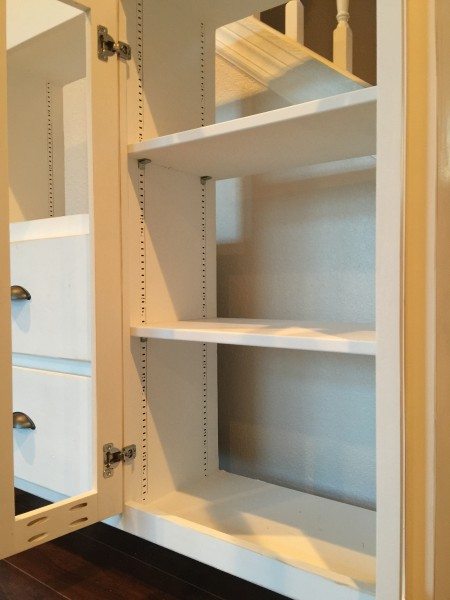
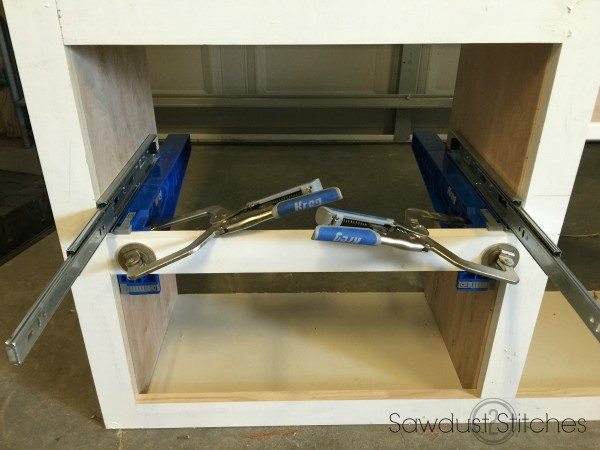 But wait there is more! They not only help install the glides to the cabinet, they perfectly allow you to install the slides to the drawers themselves. No more adjusting and drilling a hundred tiny holes and praying you get it right. The drawers are positioned for perfect alignment.
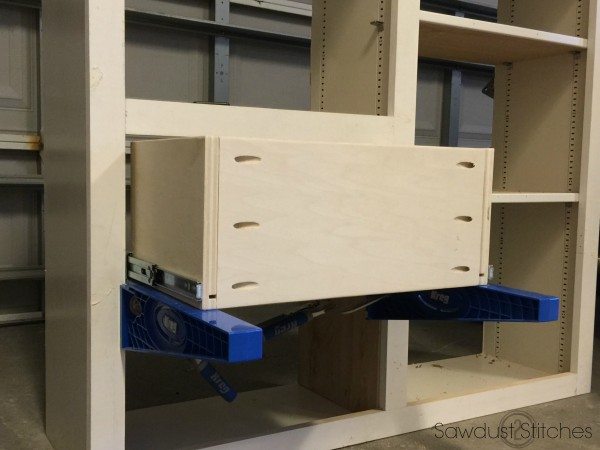
 It is a very simple build that only requires adding
  Now for the hinges… Installing hinges use to send me running for my paper bag. Not anymore! I used the new
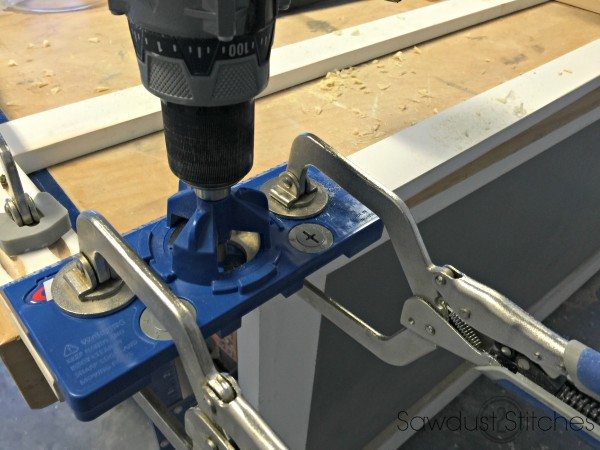
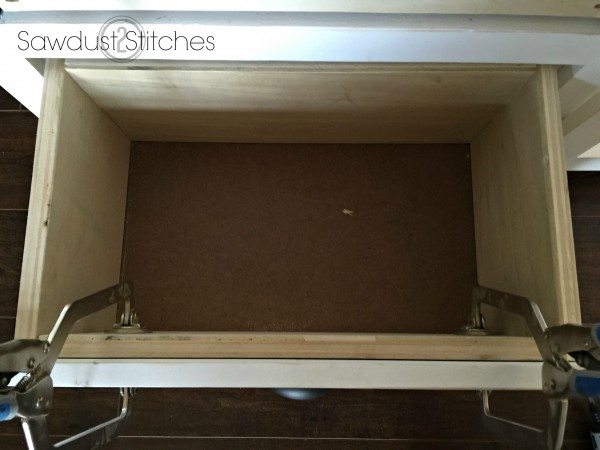
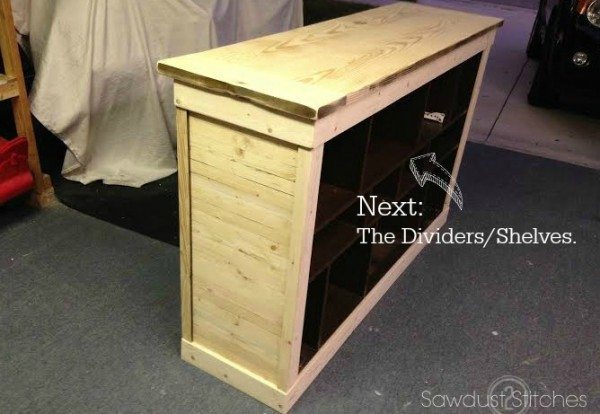
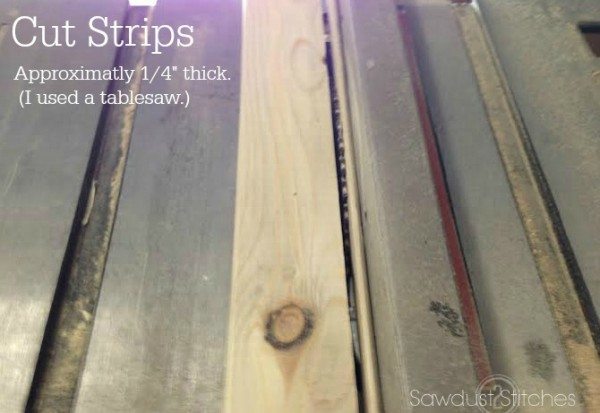
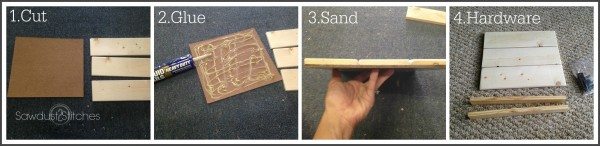
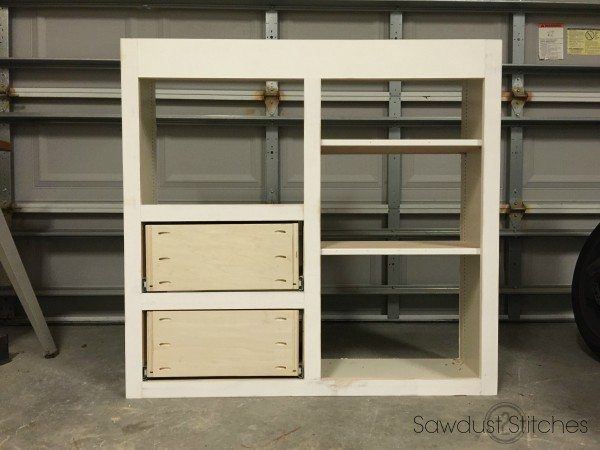
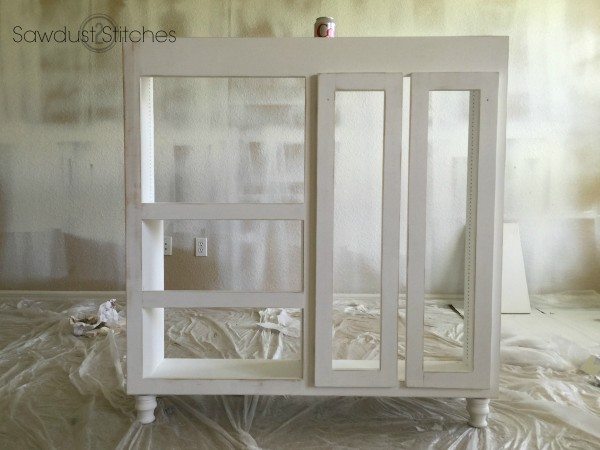 While that was drying I took the back ( that we already removed), and cut it up! Yup, I cut it up into about 5.5″ strips, sanded the edges, and then painted them white as well. This will create a fun shiplap look for the backing. Once the strips were dry I reattached them to the back with wood glue , and reinforced with 1″ finish nails.
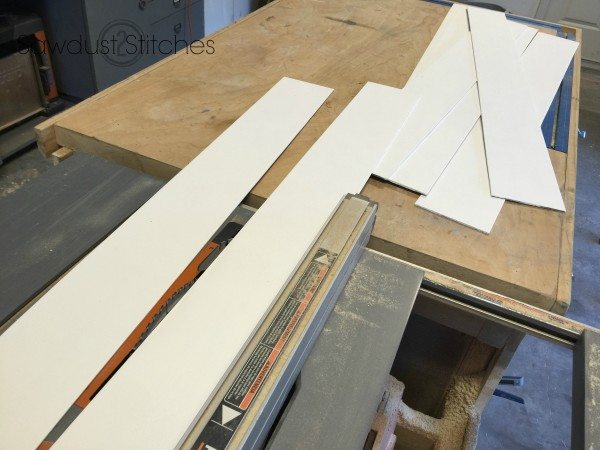


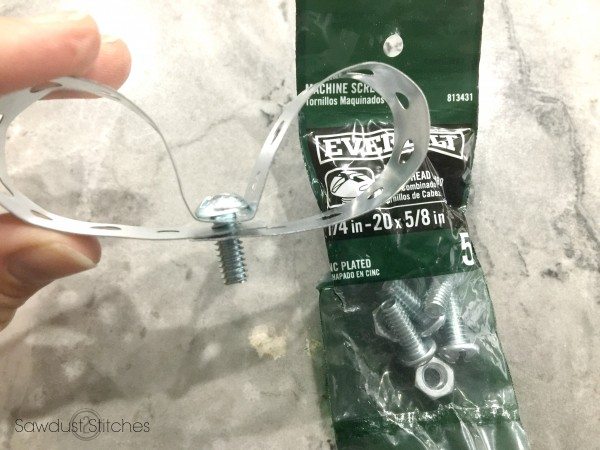
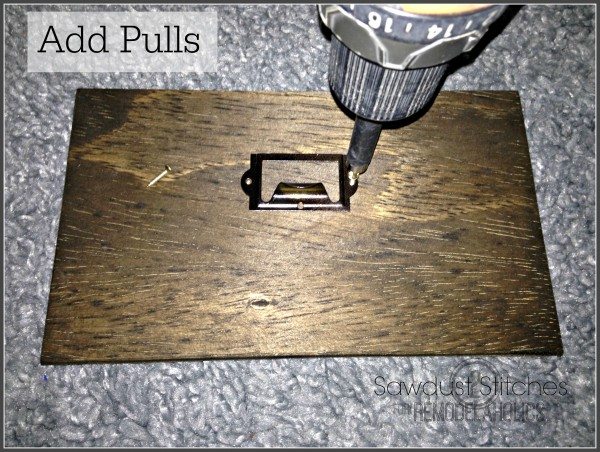
 I then fed the bolt through the hole, and secured it in place with the accompanying nut.
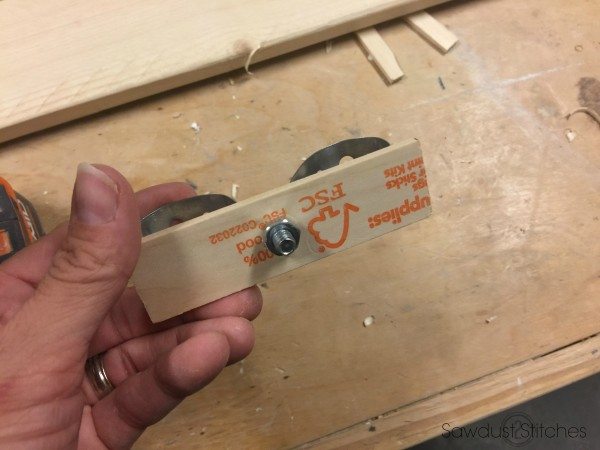
