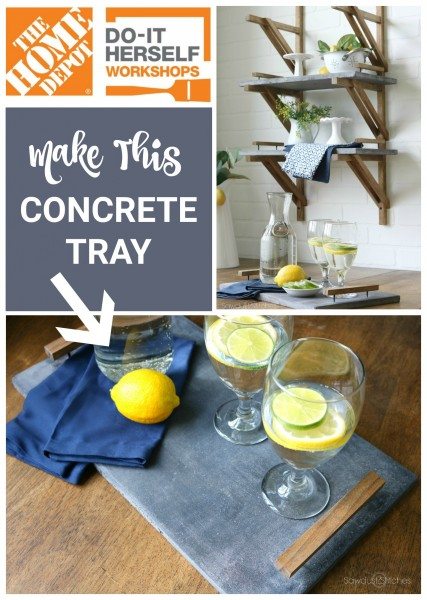
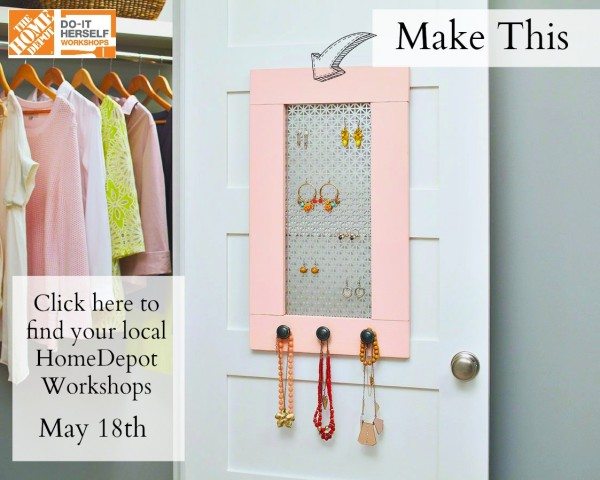
 Do you want to learn how to make this Concrete Tray? Grab your gal pals and head to your local Home Depot for this month’s DIH Workshop! The workshop is happening Thursday the 18th, so mark your calendars for a fun ladies night at The Home Depot! Be sure to check your local store for details and REGISTER HERE.
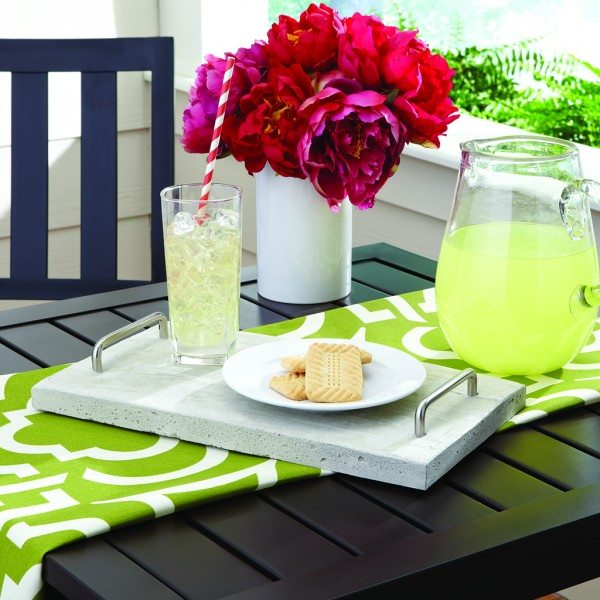
Here’s the scoop:
WHERE: THE HOME DEPOT
WHAT: DO-IT-HERSELF WORKSHOP
WHEN: THURSDAY, JUNE 15, 2017
TIME: 6:30PM – 8:00PM
CLICK HERE TO REGISTER
Have you ever attended to a workshop? If you have that’s awesome! (They would love to know what you thought of your experience.) If you haven’t been yet, you are in for a real treat! Here is a basic rundown of some of the awesome resources they offer. They have three different types of classes. —Do-it-Yourself (DIY), Do-it-Herself (DIH), and Kids—geared toward all ages and experience levels. The workshops are held at every store, and offer a variety of topics ranging from home repair to tool instruction, and even building home decor projects!! Not to mention they’re a great place to work on your skills and meet new friends who love to DIY!

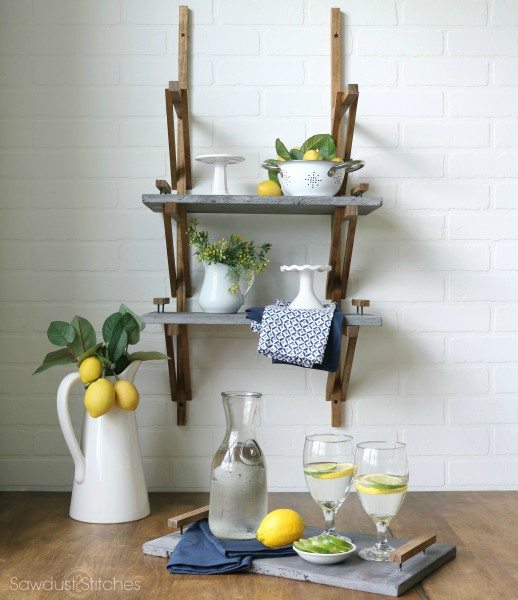
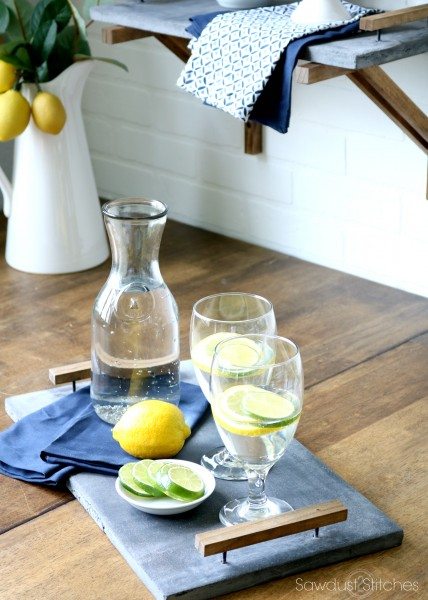
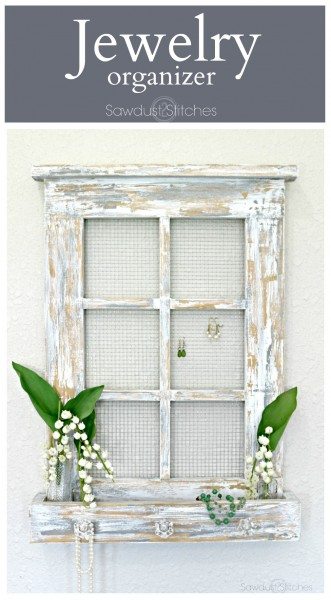
So without any further ado, here is my take on The Home Depot’s DIH Workshop Concrete Tray!
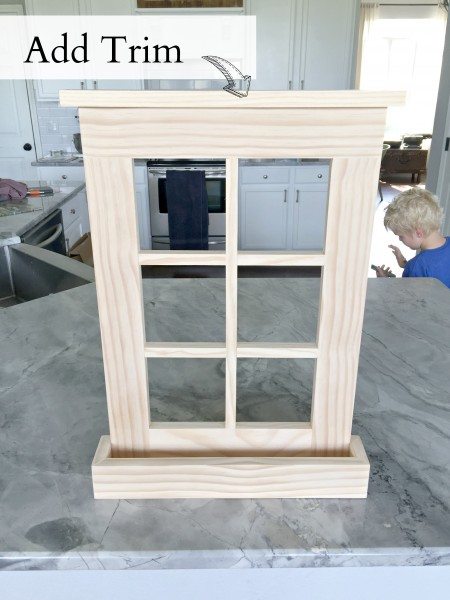
This was my first ever attempt at concrete and I was a tad nervous! Honestly a DIH workshop on the medium would have been so helpful to me! Alas, after one trial run, I was feeling fairly confident. In fact, I was feeling so confident that I decided to make three! Granted, there are a few imperfections, but as I tried to cover up those “oops” spots, I realized I kind of loved them! I embraced them and ran with that look. I ultimately decided to make a tiered shelf that would work as a great display when my trays weren’t in use!
(P.S. Plans for this will be coming soon! So make sure you hit up your Home Depot DIH Workshop, so that you can learn how to make your concrete trays/shelves!)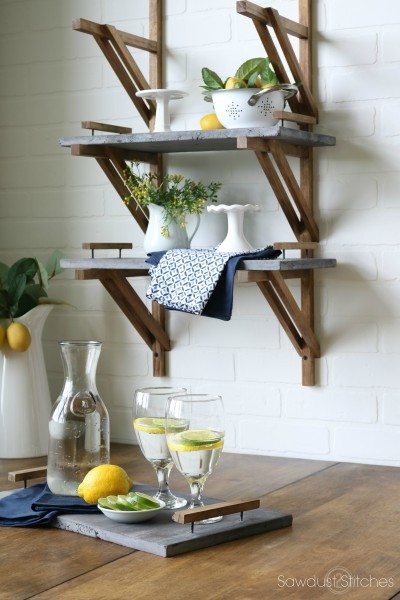
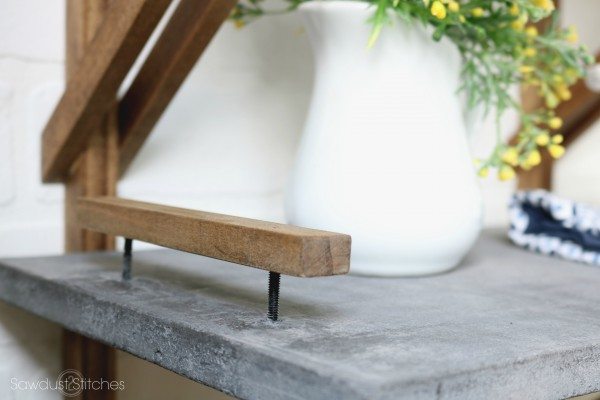
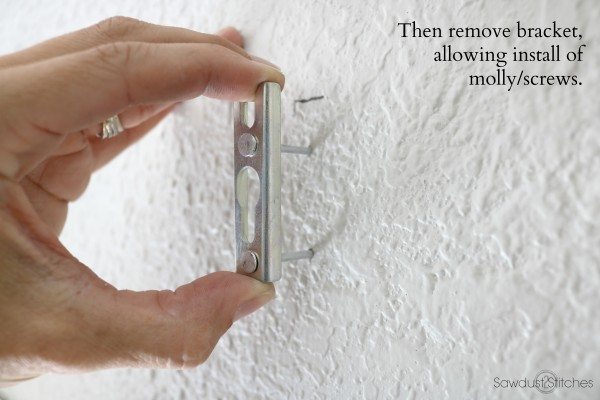
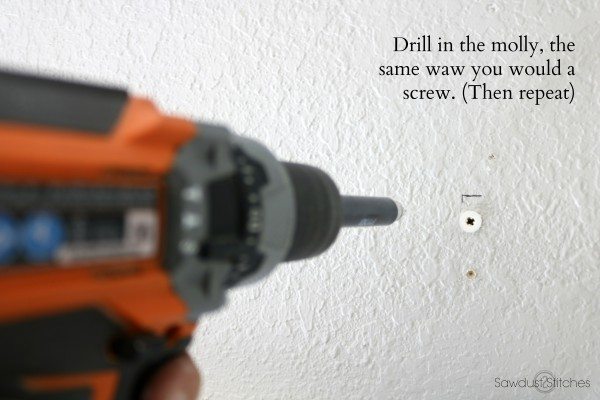
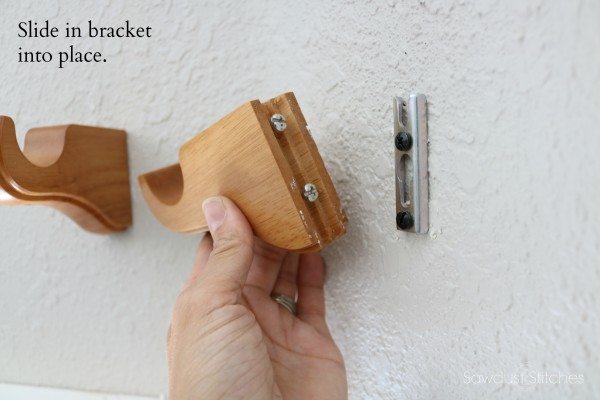
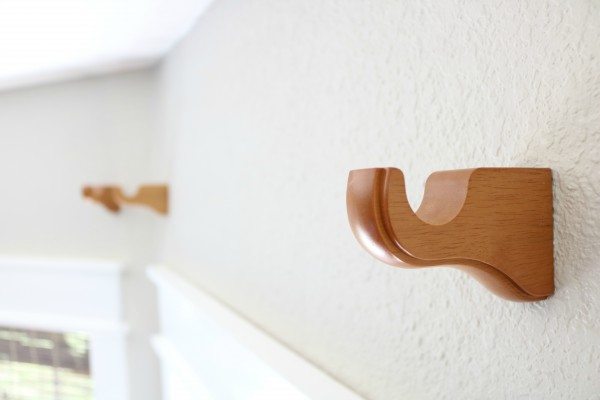
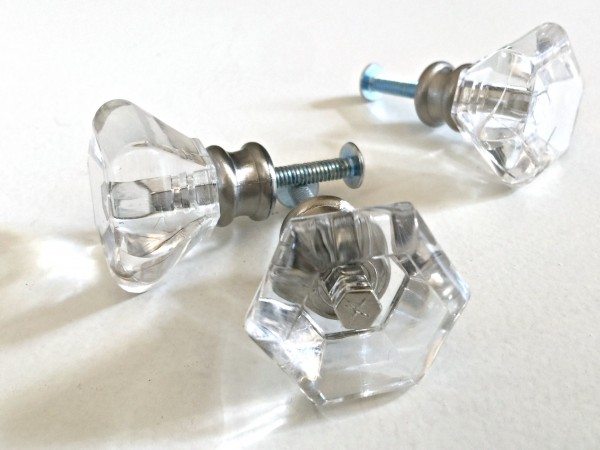
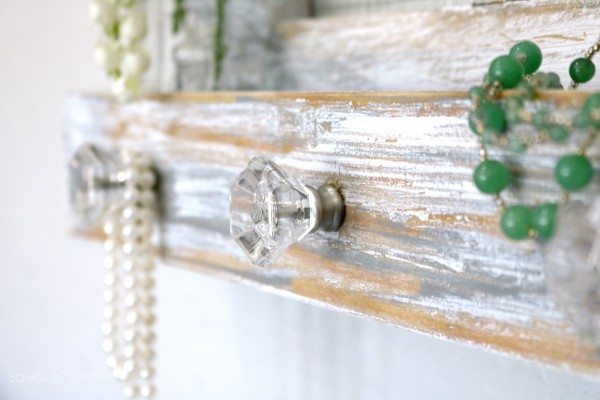
For the handles I wanted something that would be cohesive with my shelves… so what’s a girl to do ? DIY!
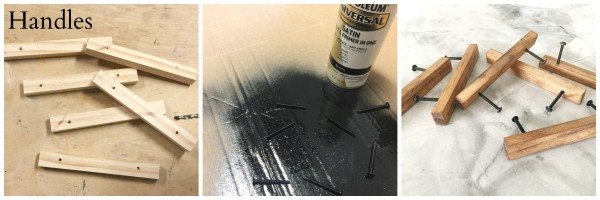
It worked out perfectly!
Want to see my brilliant plan in action ? Press the “Play” button below!
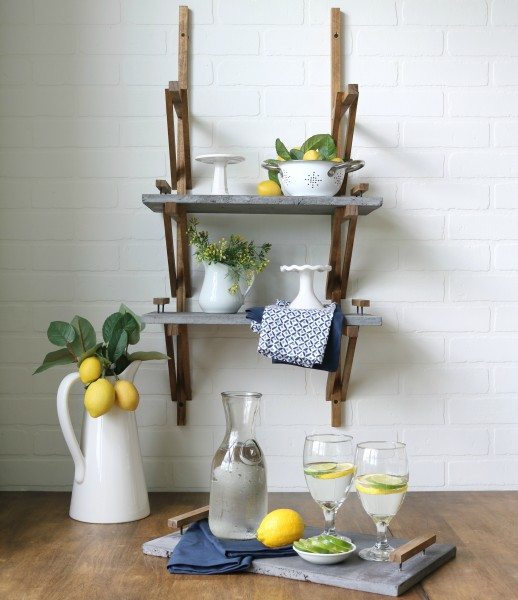
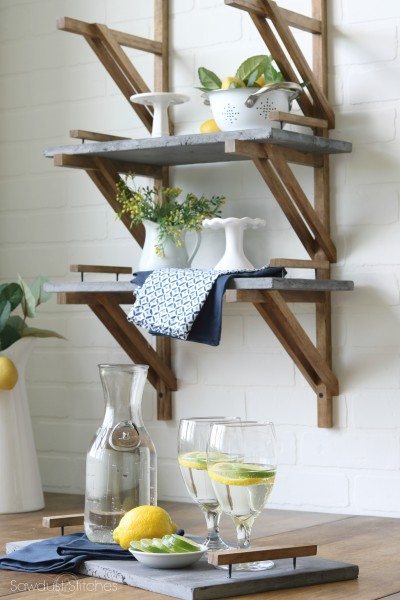
I am IN LOVE with these new shelves. You BETTER believe I have build plans in the works, and I am already working on a larger version of these shelves! So stay tuned, and sign up for email updates !
Seriously, this months project is absolutely adorable as-is but I, along with a few other blogger friends were challenged to make one with our own creative twists! So without further ado, here is my customized concrete tray.
- DIY Huntress
- The Turquoise Home
- Inspiration for Moms
- Shades of Blue Interiors
- Domestically Speaking
- Remodelando La Casa
- Sawdust 2 Stitches
- Live Laugh Rowe
- Petticoat Junction
- Cherished Bliss
Thanks for stopping by!
Take Luck,


