Hey all, as you know we have been working on a dated 70’s ranch style home. (You can see all the gory demo details here.) The layout was really odd, and it had random walls that broke up the floor plan. The rooms felt a lot like caves. When we began the design process we envisioned a large open floor plan, which would obviously require walls coming down… However, I think there is another KEY factor in creating an open floor plan! Apart from taking down walls; I feel like having continuous flooring is extremely important! Often times you will find homes that the flooring type will change from room to room. Even if your floor plan is completely open, a change in floor type will create the illusion of division. Obviously, practicality is a huge reason for this. But that simply isn’t the case anymore! With the new phenomenon of wood laminate flooring you can have your cake and eat it too.
As you might recall I have used laminate in the past. You can read about my first home and second home makeover’s here. I have used laminate throughout the entire downstairs in both homes and I have ABSOLUTELY loved it! So of course when planning an open concept floor plan I opted for my tried and true brand, “Select Surfaces”.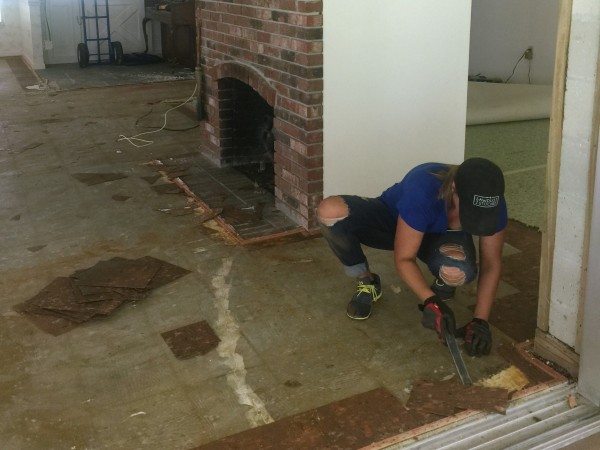
I know homeowners are wary about investing money into laminate flooring, well don’t be! I have done the research and compared reviews. (Which is how I found Select Surfaces flooring) When shopping the market I was shocked at how much I would save by using Select Surfaces brand. (It is currently only available at Sam’s Club, but you can see all their color options on their website.) Obviously, the price point was a huge factor but I was still a little skeptical, but after using it in multiple homes I can attest to its quality. This stuff is awesome! I have now used three of their different color options, and every time I am beyond impressed with their resilience. They have great color options, it looks amazing with gorgeous hand scraped texture and this stuff takes a beating! I obviously spend a lot of time beautifying my home and building new furniture for it. Which means I am constantly rearranging my furniture. Despite dragging my furniture all over the floor it has not scratched yet! (While I would never suggest you do that, but I want to stress how tough it is.) I can honestly say that in the three homes I have used this in, I have only scratched in ONCE. (I was working two stories up on scaffolding and dropped my pry bar.) Even then it was only a small unnoticeable ding. Seriously impressive.
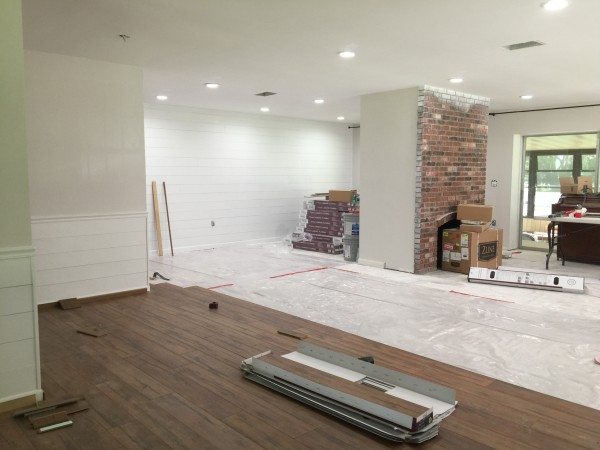
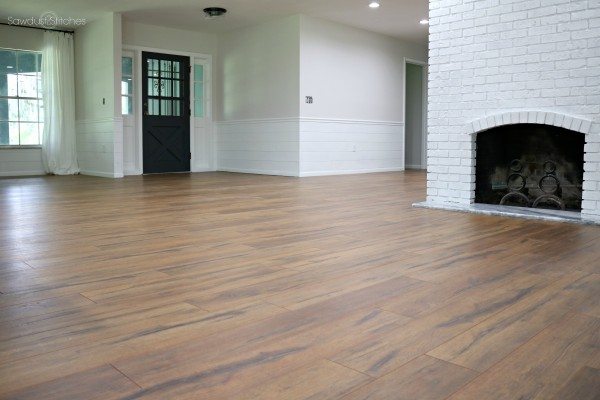
The hardest part of the flooring decision was the color. They have so many amazing color options. Ultimately, we opted for “Caramel” color. It was a light oak color, (but not in the dated kitchen cabinet way). This was the perfect color for the feel we were trying to create.

You can read more about the install process here and here, but for now let me show you how much this flooring has completely transformed this space!
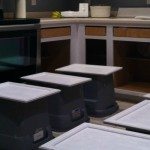
This stuff is so easy to install! As you know we are working with our friends(the homeowners) on this project and they are fairly new to the DIY world. We showed them the basics of installing and they took off running! It is a click and lock style board, which makes this a very user friendly installation process.
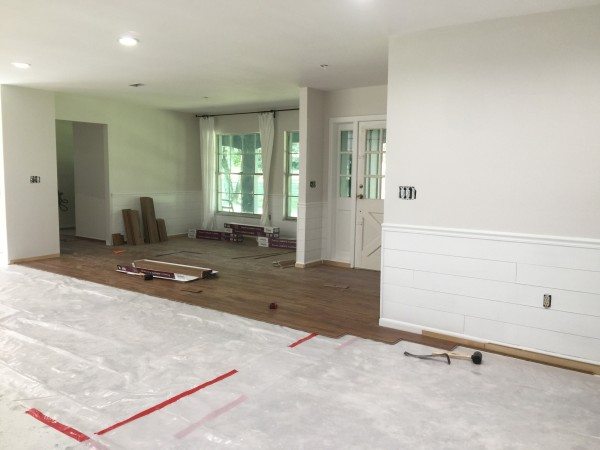
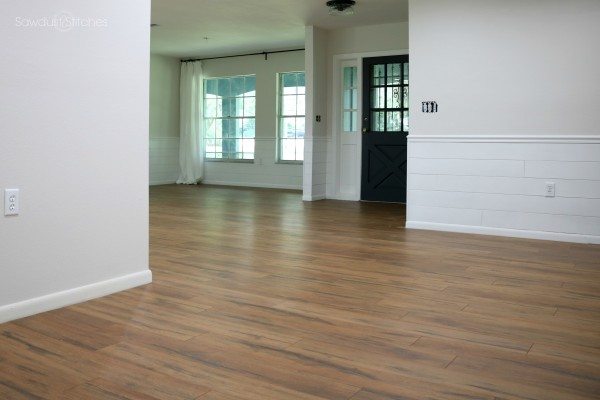
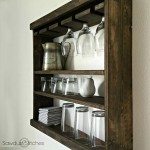
 Seriously how gorgeous is that color !? Just look at it!
If you are curious as to what it is going to look like, or looked liked before the installation you can get all the before pictures and design plan here.
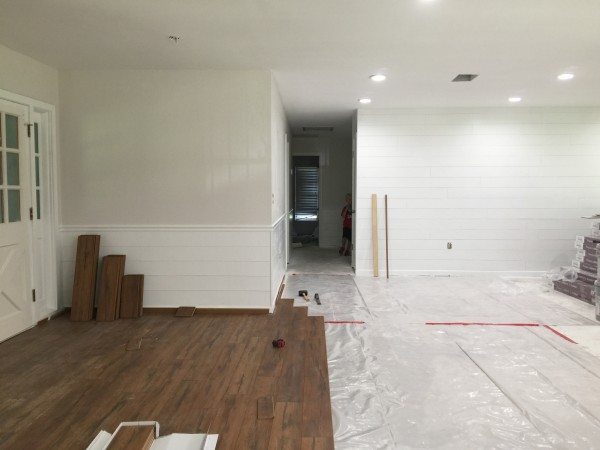
Here is even a sneak peak of the kitchen! (The full reveal will be on the site in the next few days, so stay tuned.)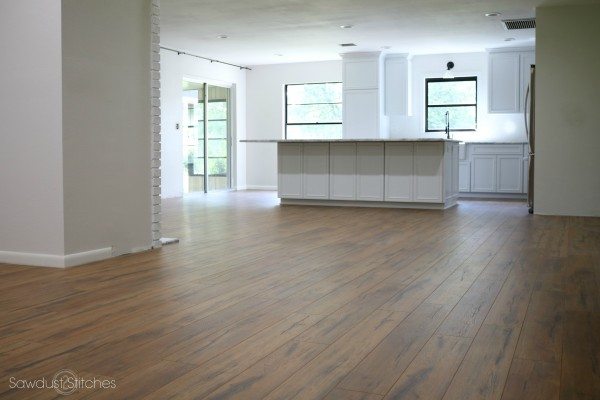

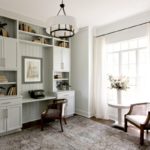
It is hard to image what this house looked like before. After knocking down a few walls, and adding continuous flooring this place feels so much more inviting, open and home-y, and that is exactly what we were hoping for!
Take luck and stay tuned!
Corey
 Copyright secured by Digiprove © 2017


Beautiful work!!
How well does this hold up to liquids? Will it hold up to wet towels left on the floor or spills that aren’t cleaned up immediately?
I want to do laminate in our house. I was wondering what do you do for stairways that have carpet?
Good question. Seeing as my upstairs is carpeted I left it with carpet. But i do know that they make a kit that you can apply this to your stairs!
BEAUTIFUL!!!!!!!!