When we first moved into our home, I was a little stumped with what I should do with our bedroom. It seemed a little dull…
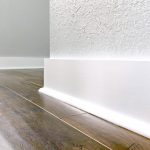
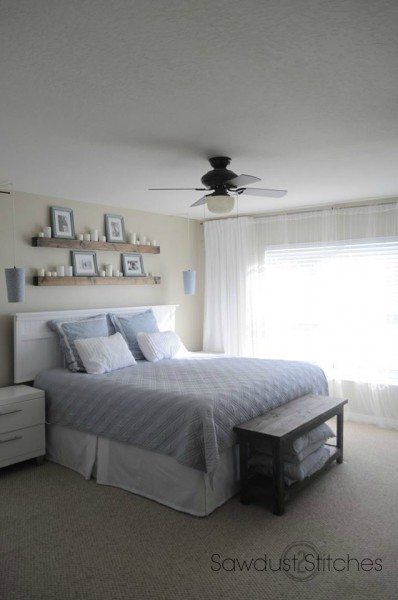 I knew I wanted to do something different, and I really wanted to case my window with big white molding. I did end up casing the window, and as a result took down the drapes… So, I had all these extra sheer panels laying around… Hmmm what to do !!?
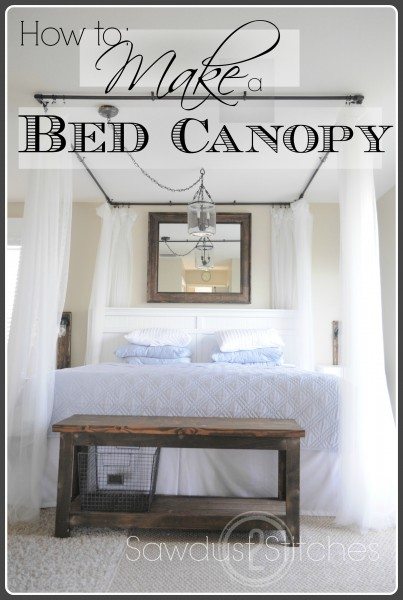
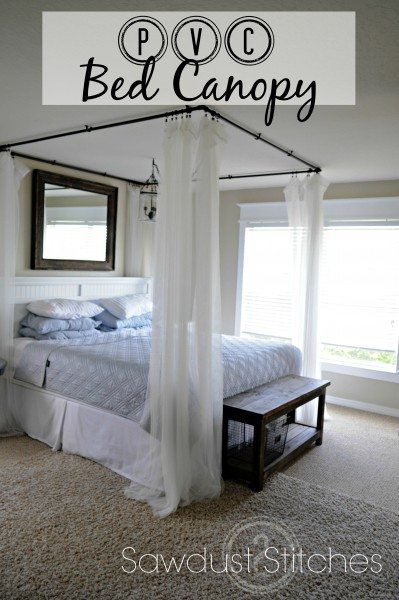
I had just finished up another PVC project and had some leftover pieces laying around, which gave me an idea… Bed Canopy! 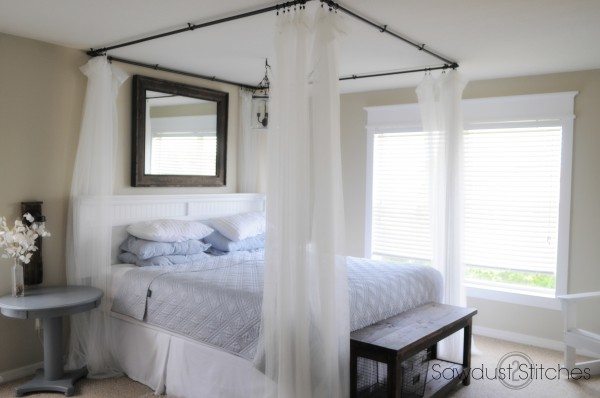
Shopping List:
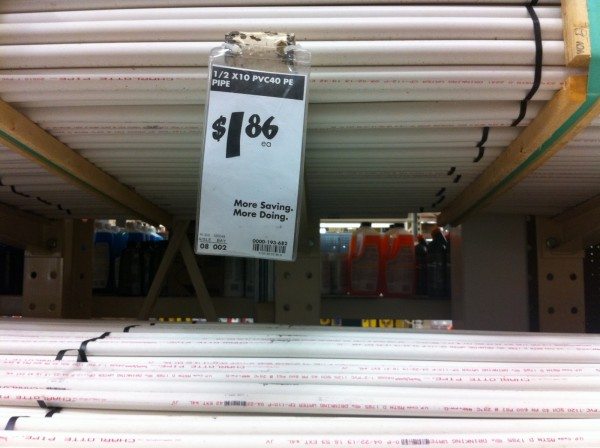
- 4 x ½” PVC Pipe (8’ long each) $1.86 x 4 = $7.44
- 4 x 90° Elbow PVC $0.46 x 4 = $1.84
- 14 x PVC Conduit Clamp $3.04
- Spray paint (Rustoleoum Oil Rubbed Bronze)
Tools Suggested:
- Saw ( miter, hand, circular, etc… PVC is fairly easy to cut)
- Drill
- Sand paper
Cut List:
King Size:
- 2@76″
- 2@80″
Queen Size
- 2@60″
- 2@80″
Full Size
- 2@54″
- 2@75″
Twin
- 2@39″
- 2@75″
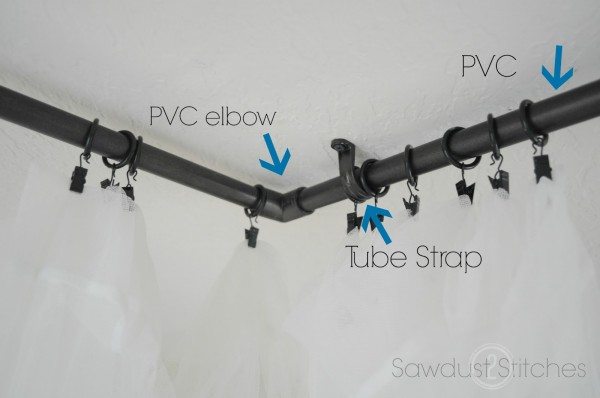
For this project I used 1/2″ PVC. I was building it for a king size bed so I needed 4 pieces.
 I personally used 10 pipe hanging clamps.
 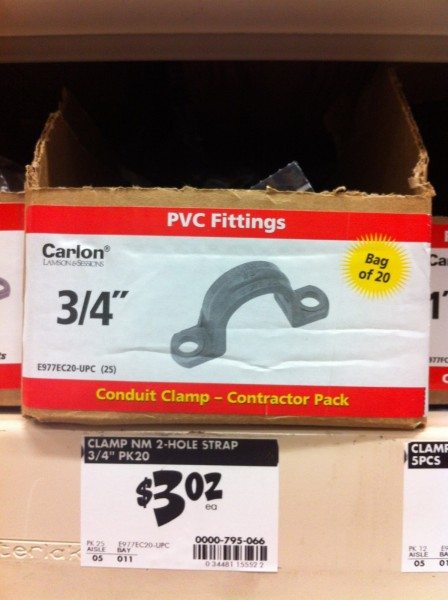 I also needed (4) 90 degree elbows with 1/2″ opening.
 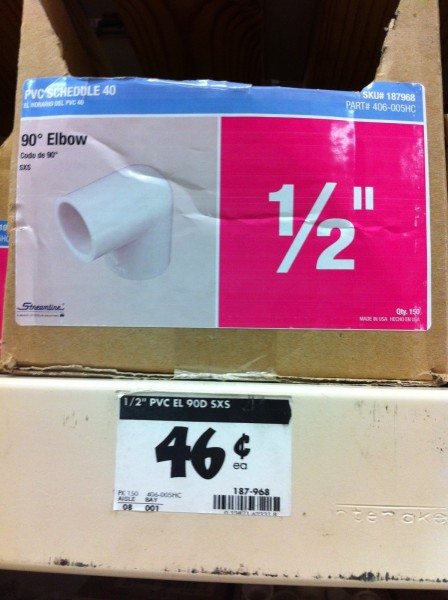 Once you have all your pieces cut, you are ready to paint !
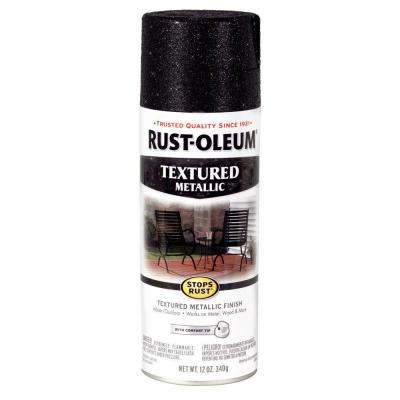 You can read more about the painting process here.
After all of your pvc is painted, and completely dry you are ready to install!
To begin, you will need to do a little bit of math, and in my case trial and error. Using a tape measure, and a pencil, layout the position of your soon to be canopy. Once you have your 4 corners marked, you can play an easy game of connect the dots.
 The first thing you will attach is the clamps. I would suggest trying to find a few ceiling joists, if at all possible. If you can’t, it’s not the end of the world. This is a fairly lightweight design. I would however use “mollies” just to give it a little more staying power. I used 10, but this number and placement can change based on aesthetics, size, etc…
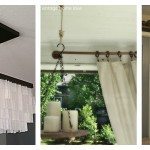
 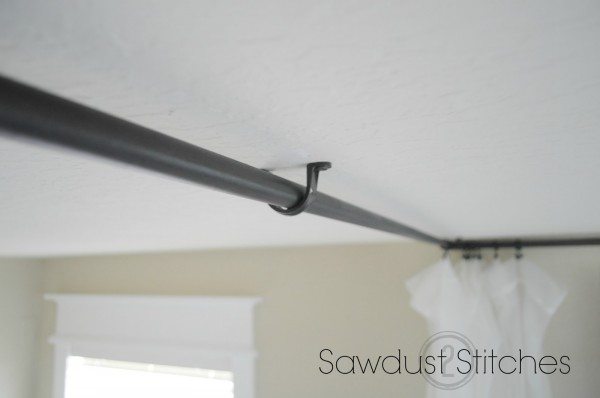 Once the hangers are installed, it is time to put in the PVC. Simply run the PVC through the clamps. However, it is not time to put on the corner pieces. First we need to add our curtains. I decided to use curtain rings. This is completely optional. I liked the fact that I did not need to worry about the clamps being in the way of the curtain .
 Once your curtain panels are attached you are good to go! I personally use Lill sheer panels from Ikea. They were only $4.99 for a 2 pack. Score!
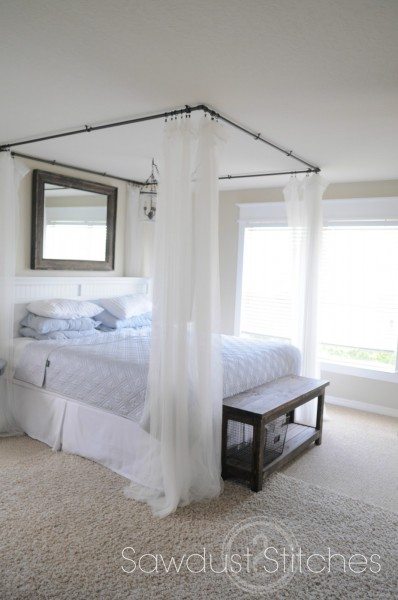 I absolutely love how they give this room a soft spa like quality. This canopy is just what my room was missing ! It gave it the ” Wow factor” without breaking the bank, love it! Does it look a little familiar ? You may have seen it over at My good friends site a few years ago! Make sure to head on over to “Take It From Me” enter to win some of her great give-a-ways!
 Copyright secured by Digiprove © 2015