
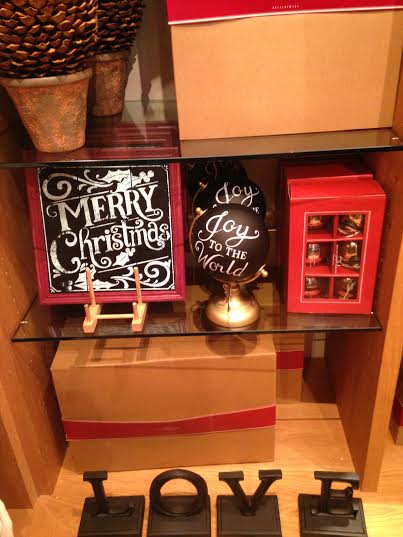
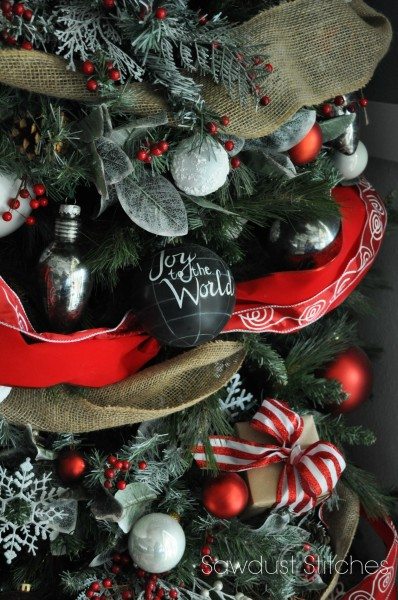
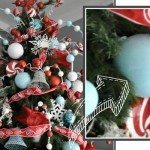
I saw this globe at Pottery Barn, and kind of fell in love with it. So, when I was re-decorating my tree AGAIN, I knew I wanted to incorporate that style on my tree. Instead of having my globe on an axis, I decided to distinguish it by adding longitude and latitude lines. I absolutely LOVE the way they turned out, and for $1.00 a piece, you just can’t beat that!
Supplies Used:
- Sand Paper
- Black Flat Spray Paint
- White “Prisma-color” or chalk pencil
- Metallic Markers or/ paint and paint brush
- Flat top coat or hairspray works too!
- Large Bulb Ornaments
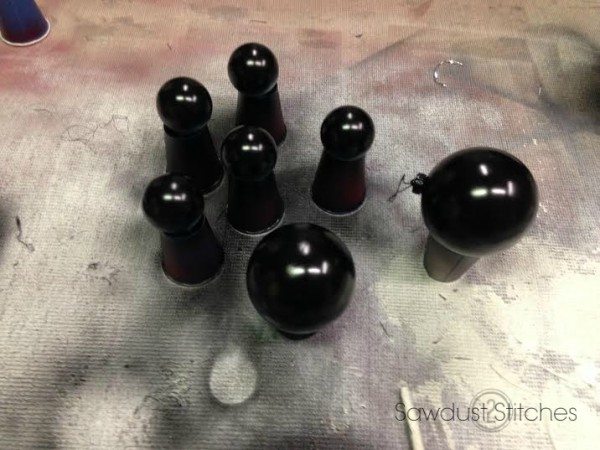
I purchased the larger bulbs at the Dollar Tree! The smaller ones, were I am guessing a Michaels purchase. I began by using a sponge sanding block, and scuffed up the bulbs surfaces just enough to create a dull surface. I then wiped off the dust, and used a “flat” black spray paint. (Use as directed. )
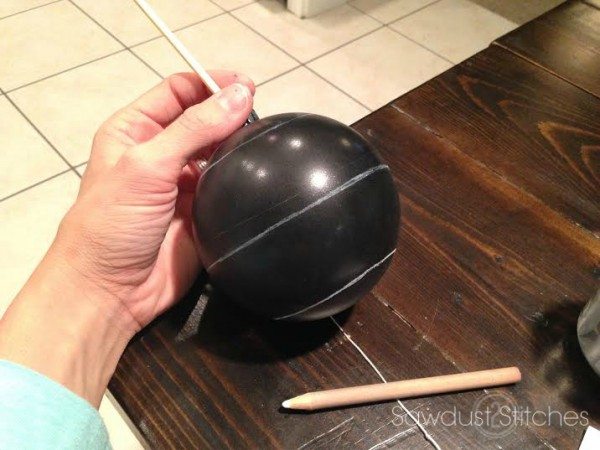
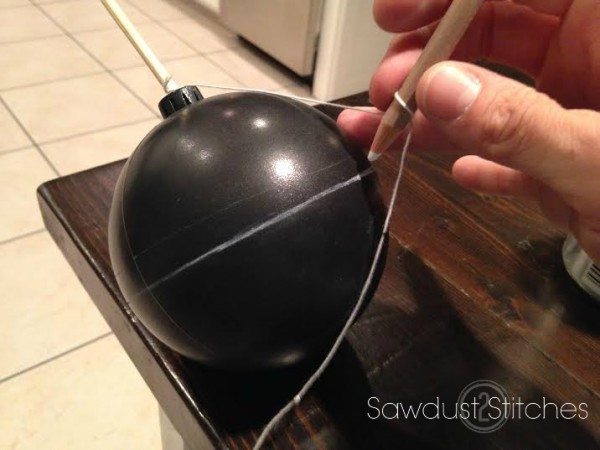
 Once dried, I got to work on my longitude lines. I used a thin stick, and place it in hole of the ornament. I then used a small length of string and tied it to the dowel rod. I then tied a white colored pencil ( I have found that only Prisma Color work well.) to the string. Holding the string taught I traced around the outside of the globe using the sting as a guide. Repeat this process as many times as needed.
 Once all the longitude lines were complete, I started work on the latitude lines. Honestly, I kind of eye balled the lines.
 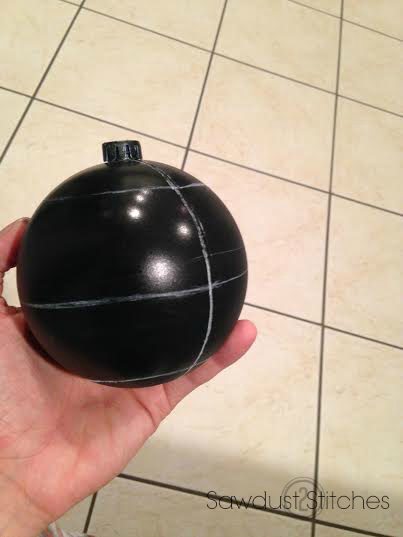 The bulb should look like this now. At this point, I don’t want my lines to fade, so I would suggest spraying it with a Matte finishing spray, or even hairspray! It will act as a fixative , and prevent the pencil from smudging.
 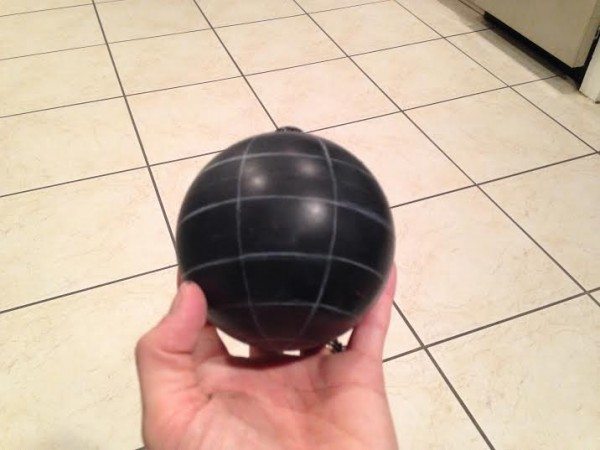 Once the fixative dries, I started the lettering. I free-handed mine, but you can also use a silhouette/cricut/ or tracing paper, in order to transfer the design.
 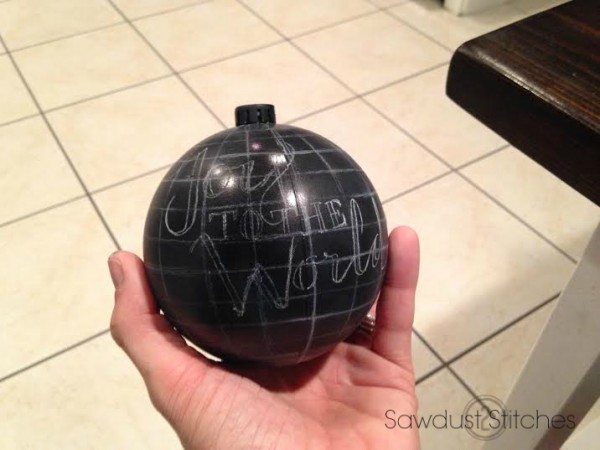 After I had created a basic outline, I used metallic permanent Sharpie markers to darken the lettering!
 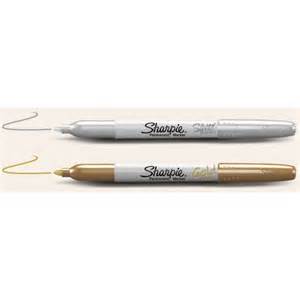 And that is all there is to it! Imagine all the possibilities!

 Thanks for reading, and Happy Holidays!
Corey


