Paid for in part by sponsors like Frogtape*
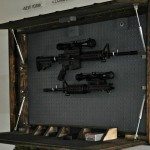
I was finishing up the garage section of the Toy Hauler and decided it needed a little bit of art or decor on a blank wall. Seeing as this was going to be in the “garage” in a mobile unit, that also doubles as the kids bunk house, I knew I needed something…durable. Another requirement… I could only use items around my house. (Covid-19) So, I rummaged through my “future projects” closet and found a framed piece of artwork I picked up on clearance at Hobby Lobby last year!
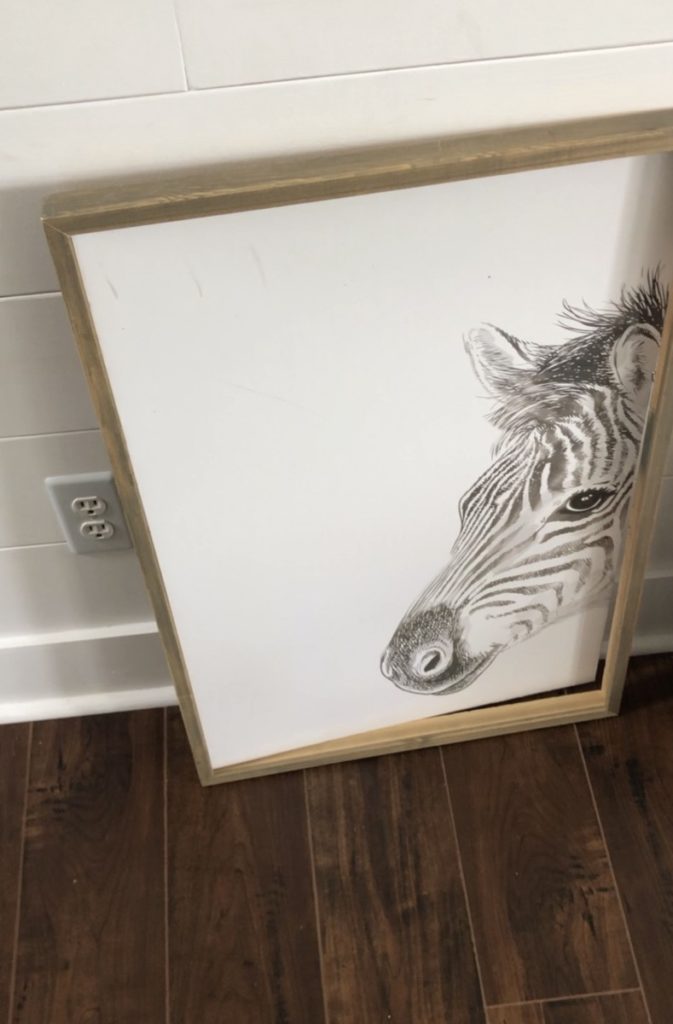
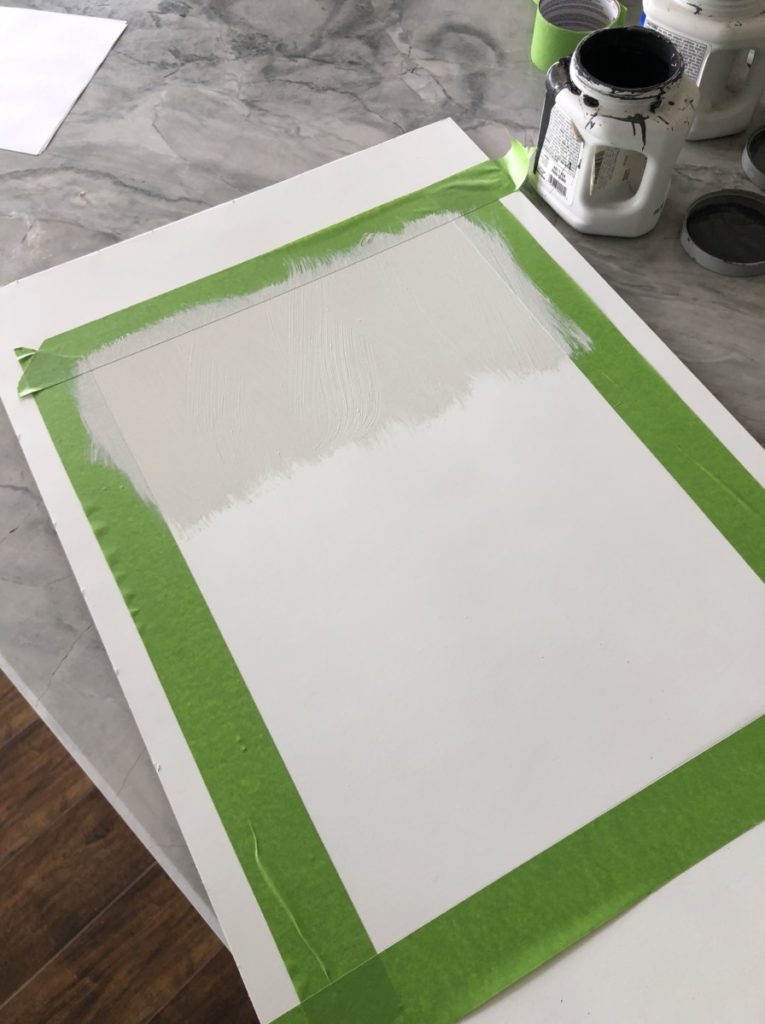
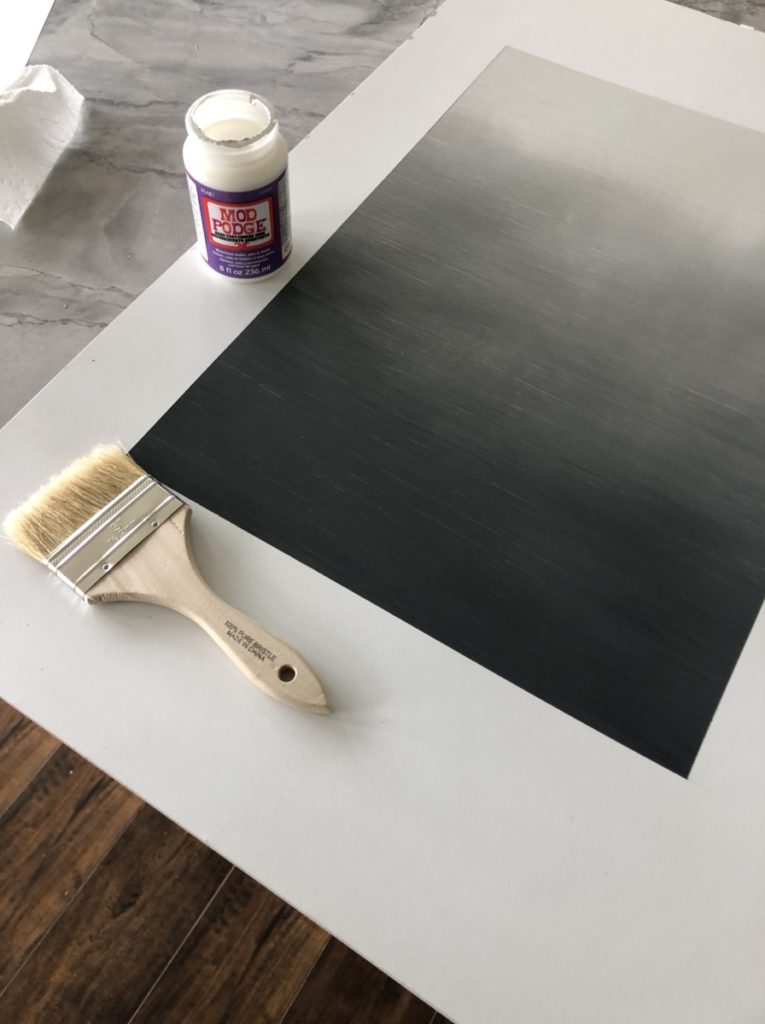
First things first I needed a clean slate so I painted over the zebra print so that I would have blank canvas.
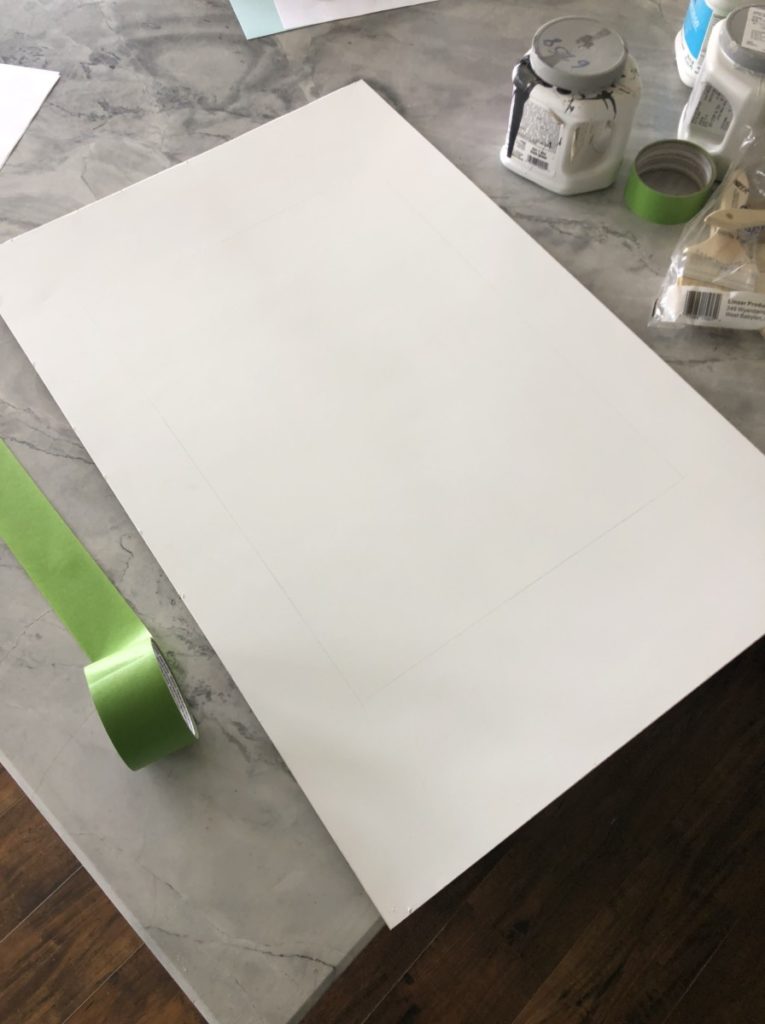
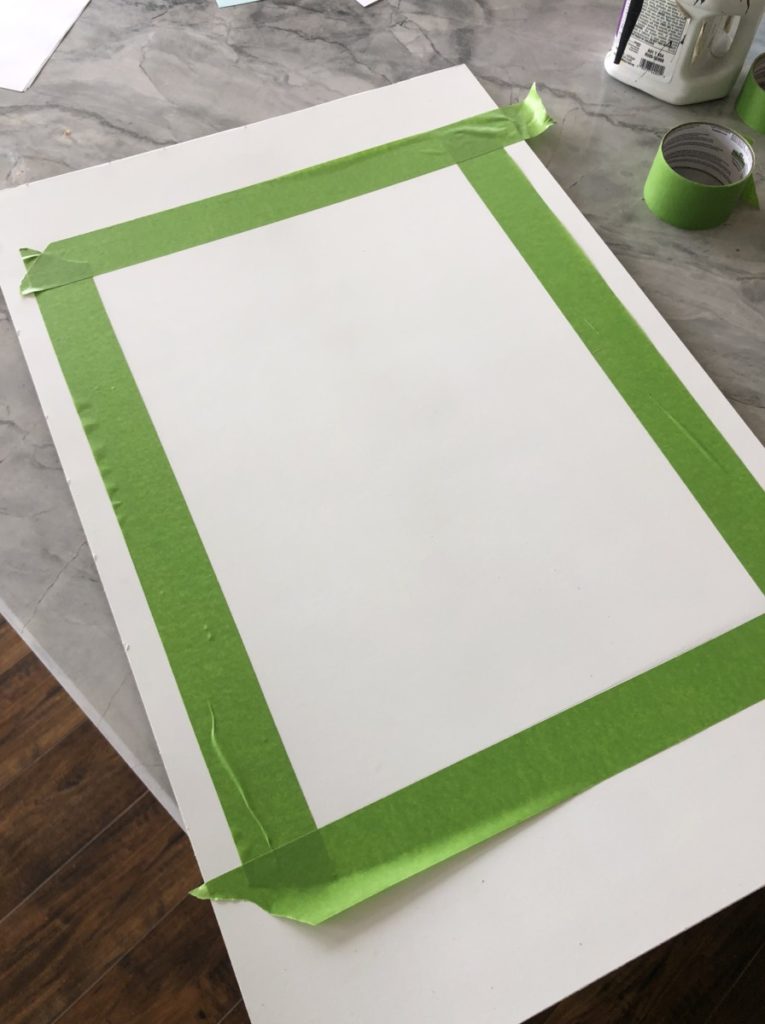
I then used a straight edge and Frogtape to create the appearance of a mat edge.
Next, I needed to get my supplies in order. I had a plethora of leftover paint samples in the garage that I was able to choose from. For this ombre art I used 5 different colors in varying shades of gray. You can use more or less if you so choose. I also needed a stiff bristle brush (chip brush).
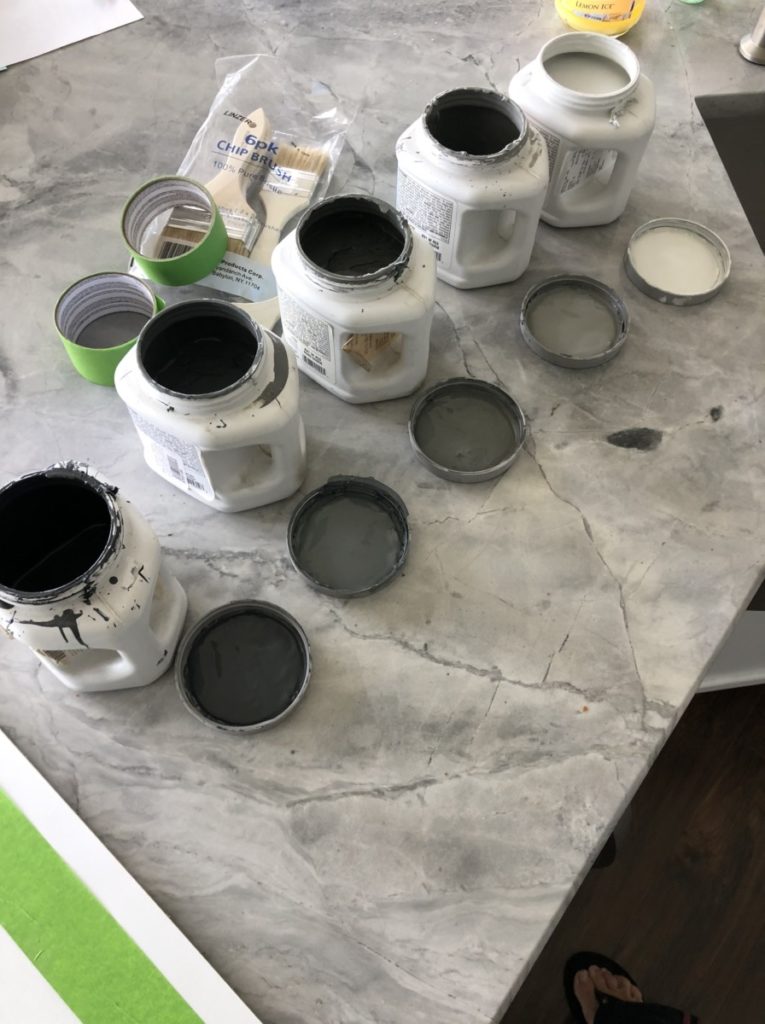
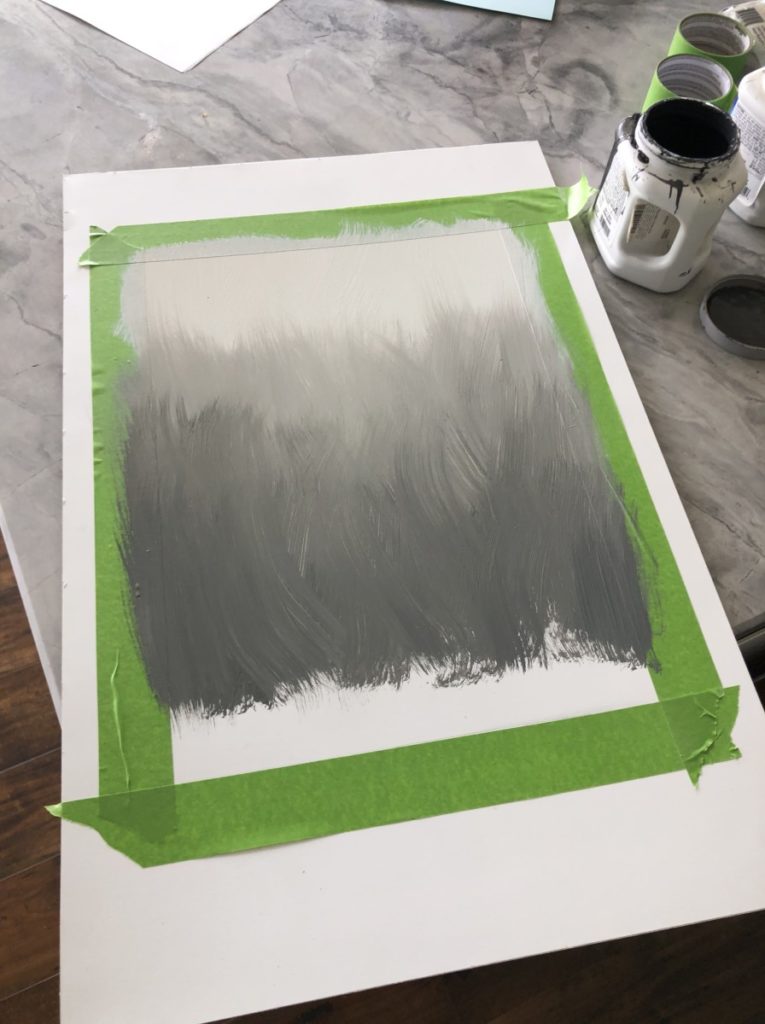
Using a “chip brush” I started applying the lightest color first. In order for this technique to work you need to work quickly! I went over it several times in a “w” motion until the brush strokes looked fairly uniform.
Once the first color was on I moved on to the second to lightest color. When switching colors you do not need to change paint brushes just wipe the excess and dry blot it on a paper towel before starting the next color.
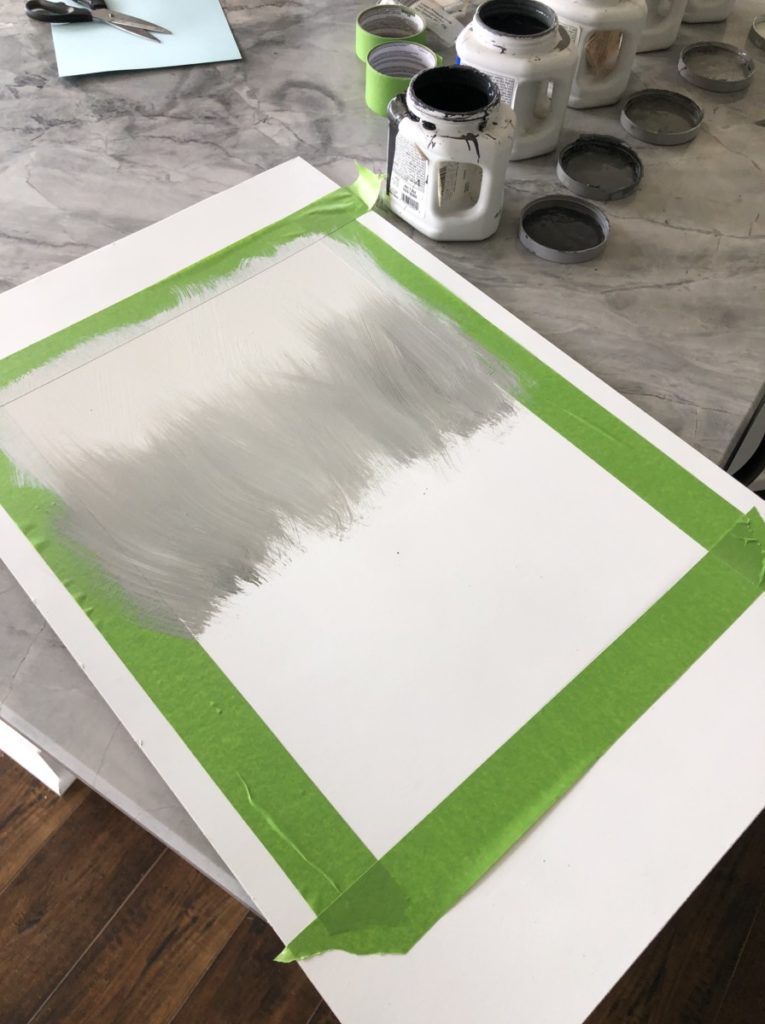
Repeat these steps for each of the different colors making sure to blend up and overlap the colors so that there aren’t any drastic lines.
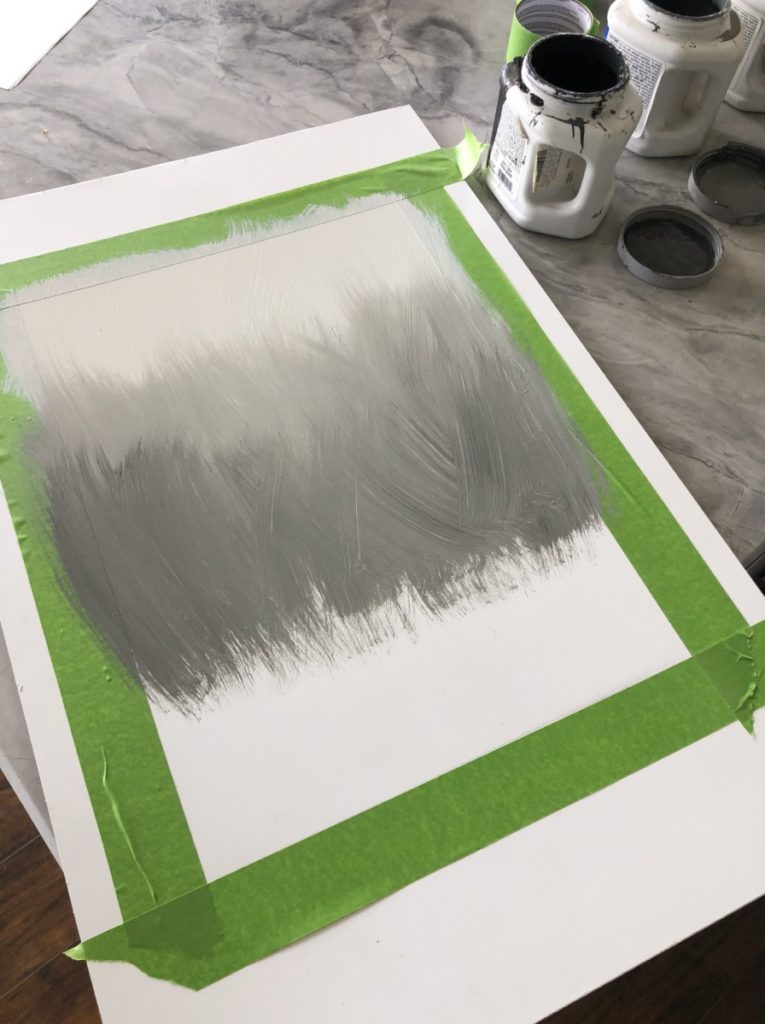
I personally think the broader the hue spectrum the better it turns out. My first color was barely an off-white and my last color was nearly black. I think the stark difference makes it more interesting. I think this technique could be really cool blending different colors too!
Alright, once the last color is in place we are ready to move onto the next phase. Quickly clean your brush thoroughly, or grab a new one.
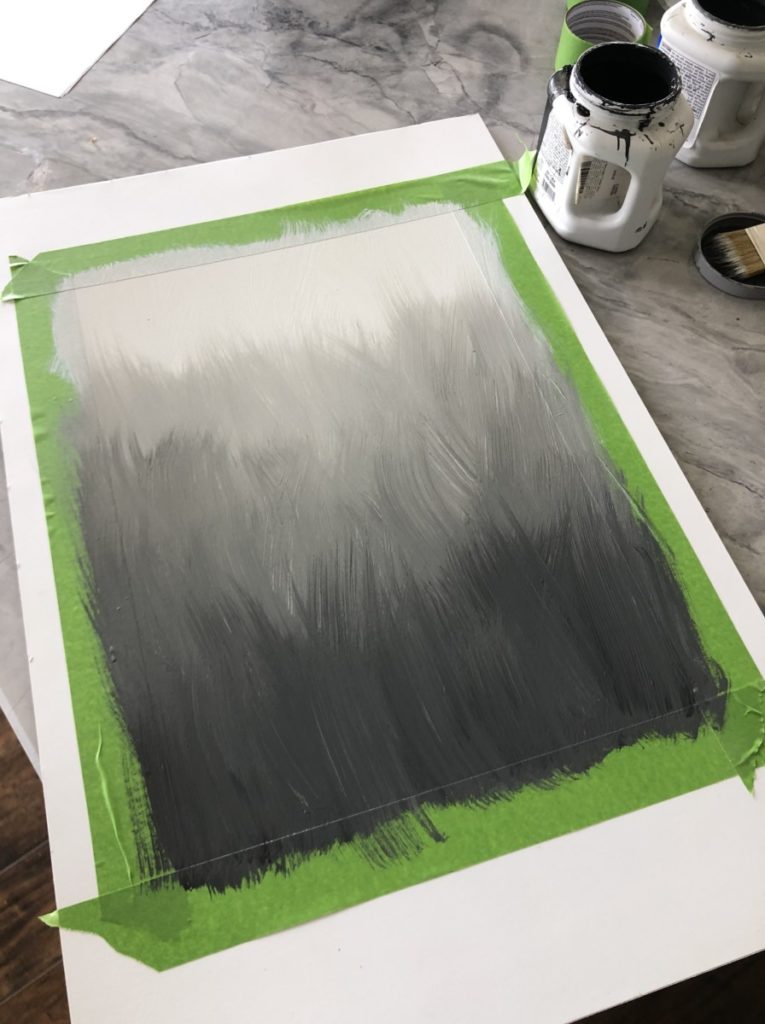
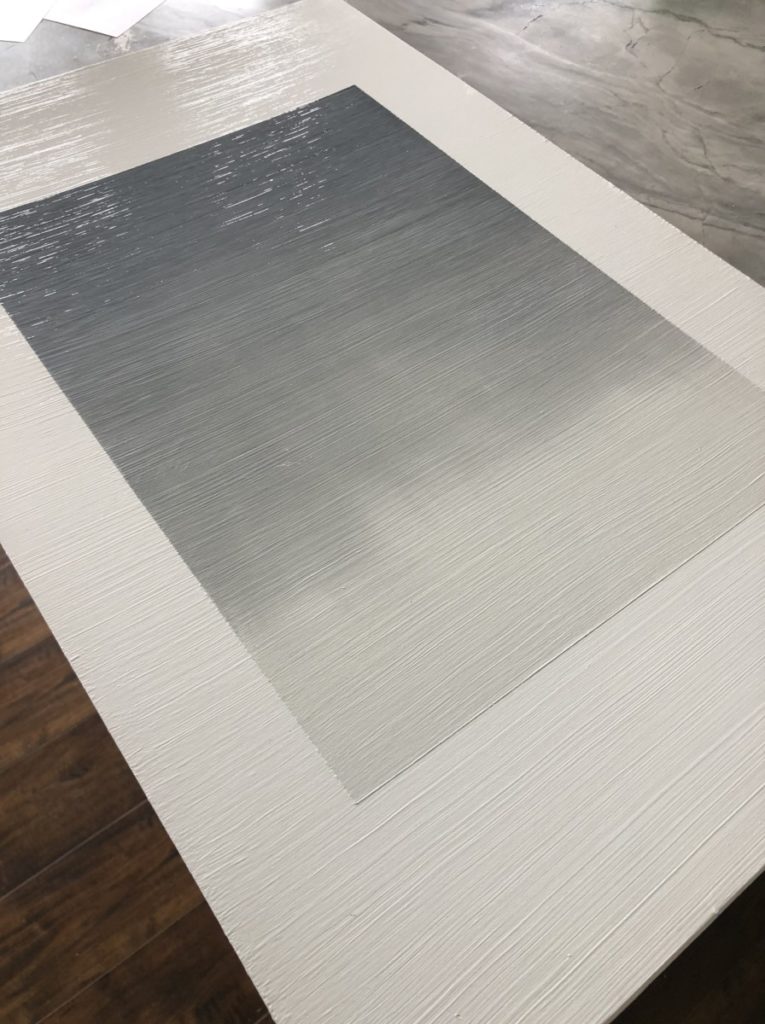
Before beginning this step I ran my paintbrush under water and towel dried it. They idea is to have a slightly damp brush. I then started at the top (lightest color) and started lightly dragging my brush horizontally across the paint. This is why it is so important to work quickly, you need to be working with wet paint in order for this technique to work.
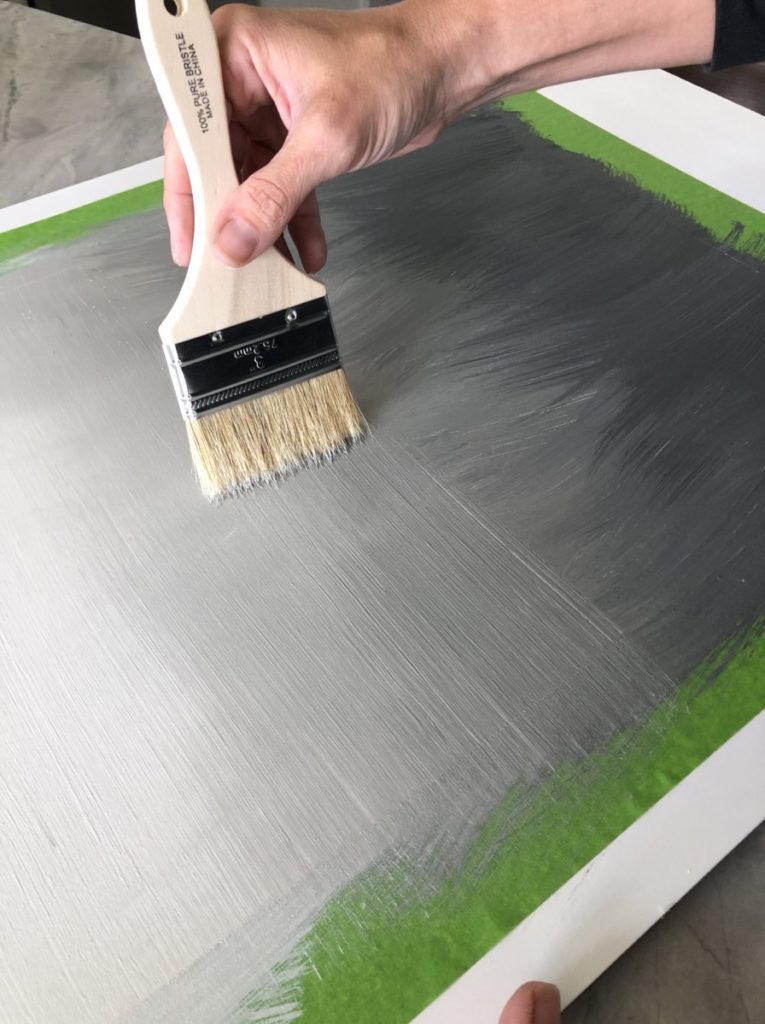
As best as you can create parallel strokes all the way down to the bottom of the piece. (Darkest color)

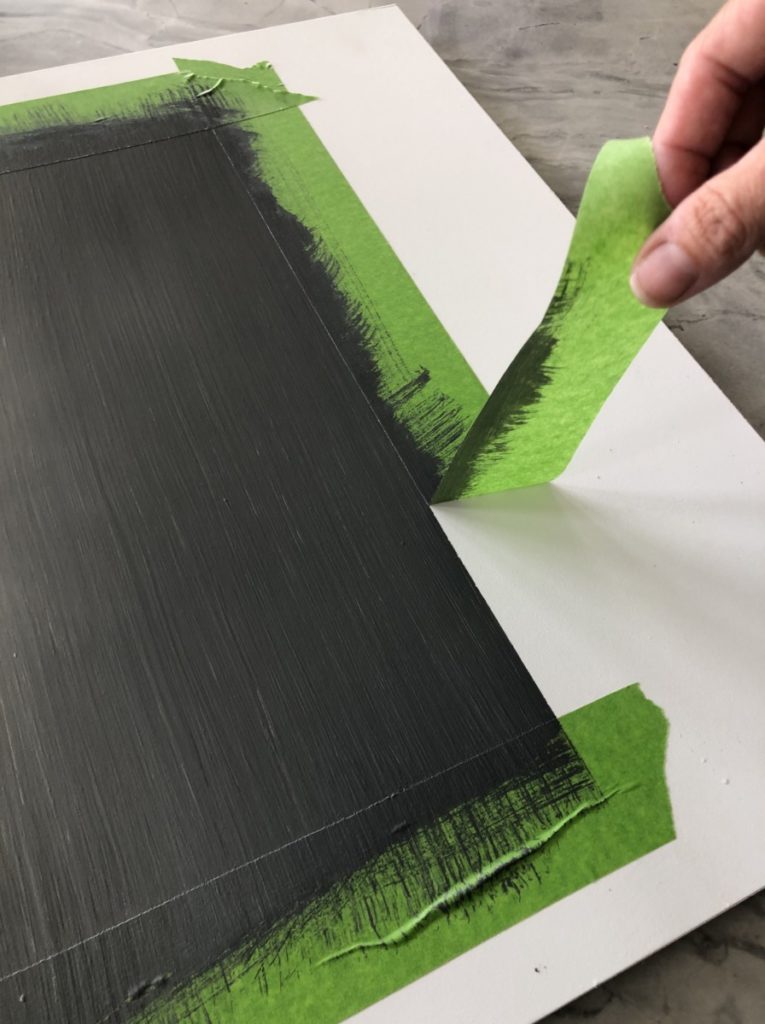
Ta-Da! Isn’t it beautiful? Now for the fun part, removing the tape to reveal your art work!
I took one extra precaution to protect the paint, I added a coat of mod-podge on top. This isn’t necessary but it will give it a protective coat while also giving a little bit of luster.
Seriously, how legit does this 5 min piece of art look!?
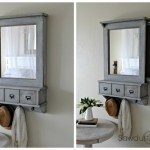
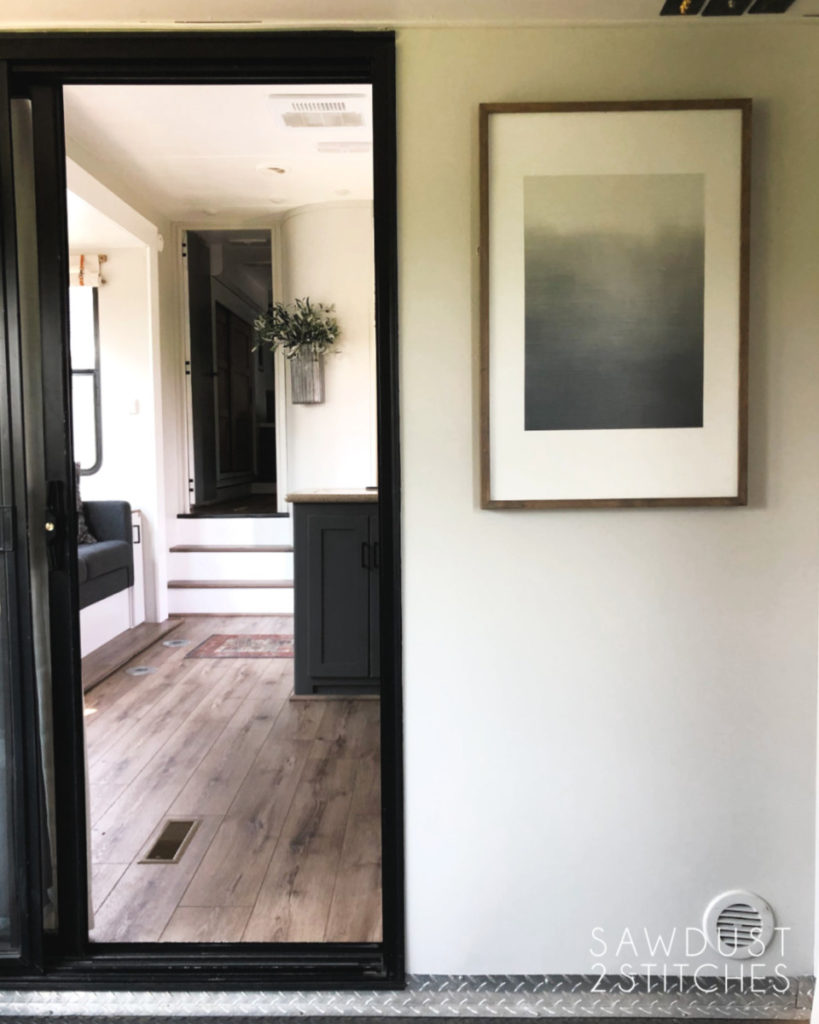
Once dry I put it back in the original frame and I was good to go! So, without further ado let me show you where this beauty ended up and how awesome the toy hauler garage turned out!
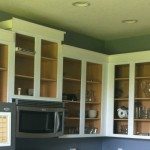
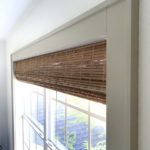
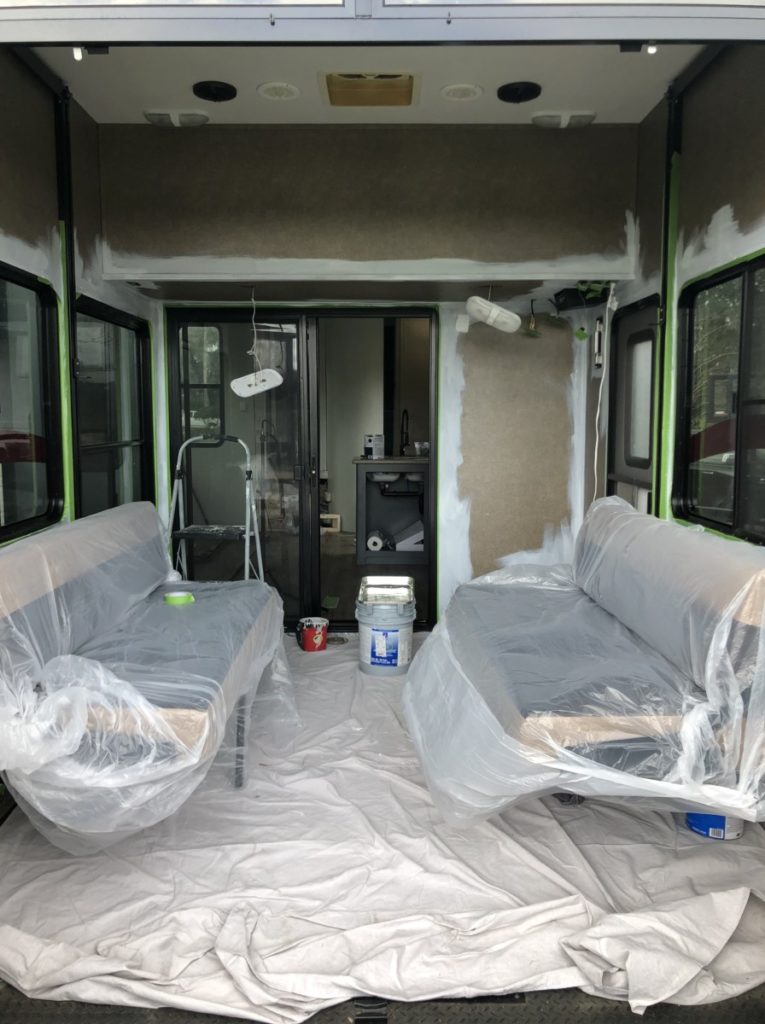
Let me give you are quick refresher on what this space looked like the day we brought it home. Lots of brown and beige, and the general ambience of a cave.
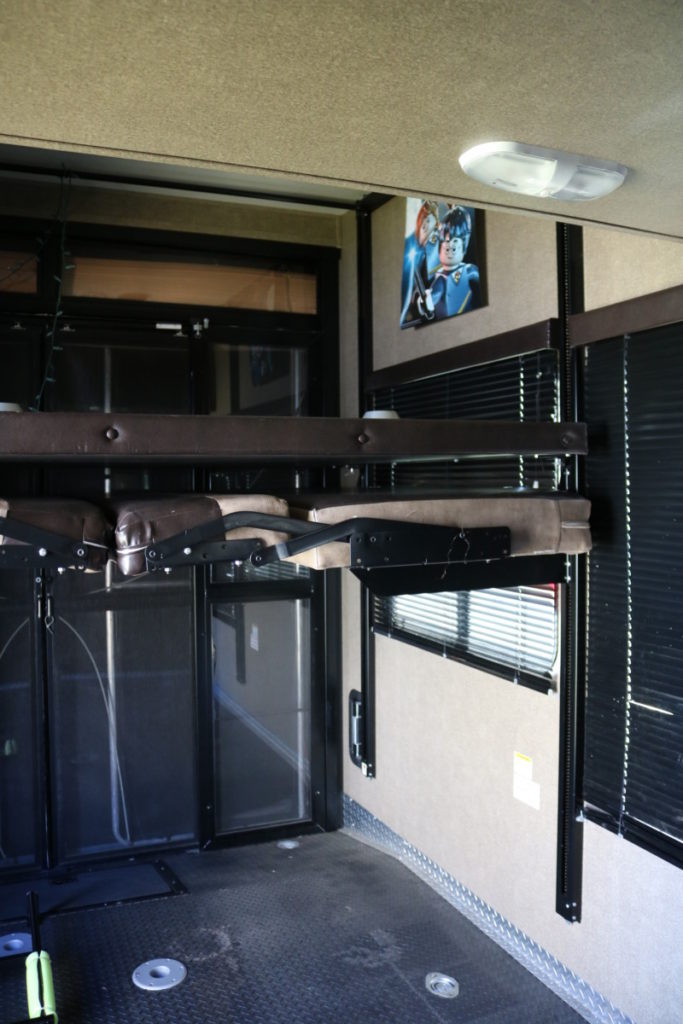
This space definitely needed some love to help it reach its full potential.
With a little bit of elbow grease, paint, new curtains and some new upholstery this place felt so warm and welcoming. No more cave!
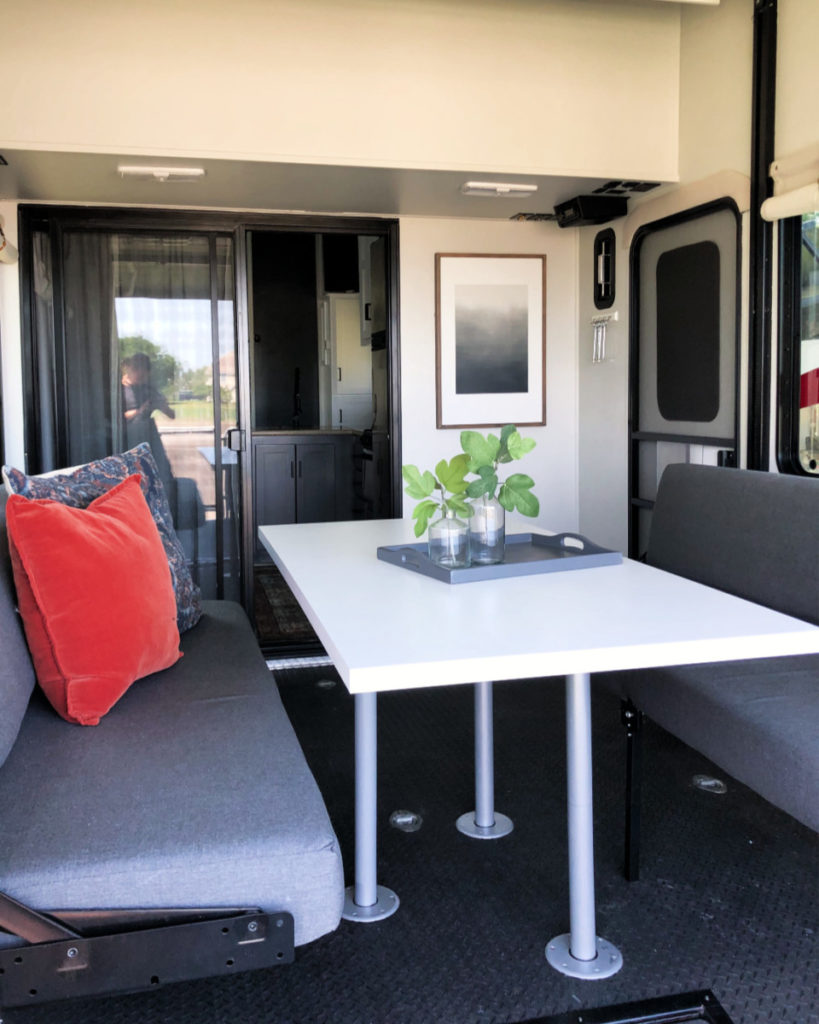
Well, there you have it folks a fresh take on a toy hauler garage. (In case you were wondering, yes there is still a bunk bed that drops down from the ceiling. I painted the entire platform white so that it would look like it was just part of the ceiling. It definitely helped brighten and reflect light into this small space!)

If you want to see more of the R.V. Toy Hauler reveal you can check them out in the links below.
- Kitchen Makeover
- Living Area
- Bedroom (coming soon)
- Bathroom (coming soon)
Sources:
- Wall Color- “Repose Gray” Lightened 50%. by Sherwin Williams
- Table Top- Ikea
- Curtains (Tutorial available here.)
- Printed Throw Pillow – Target 2019
- Burnt Red Throw Pillow- T.J. Maxx 2018
Thanks for reading along, and make sure to check back for more R.V. makeover developments.
Take Luck,
Corey