*This post is Sponsored by The Home Depot *
Oh my friends, I cannot stress to you how excited I am about today’s reveal! As you may know I have been slowly sharing the makeover process on the blog over the past two weeks. But today is the day that I get to show you all the fun details…. AND… drum-roll please… I am thrilled to announce I had the opportunity to team up with the great folks over at The Home Depot and Electrolux to bring you this grand reveal!
As you might recall from previous posts, I was struggling with my laundry room. It was small, and it lacked any form of organization. It was hard to be time efficient when I felt like I was submerged in absolute chaos. (Believe me, the “before” image you see below is a very G-Rated version of what this room use to look like.)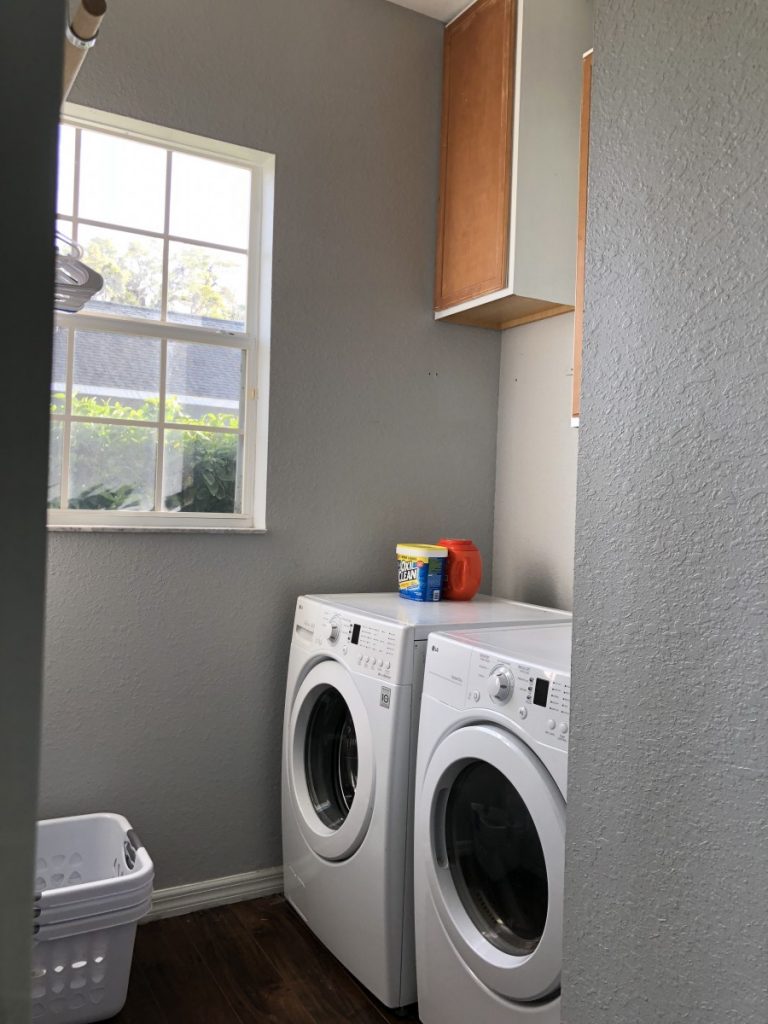 As you can see, it was just enough space for a washer and dryer with a small walkway to access them. Well, I had a few ideas to really maximize the space. So I added “Open Shelving” and a “Pedestal/Platform” for the washer and dryer.
Vast improvement, right ? Now that I have tackled the issue of aesthetics, and maximizing storage space, it is time to upgrade in the efficiency department. That is where Electrolux came to my aid!
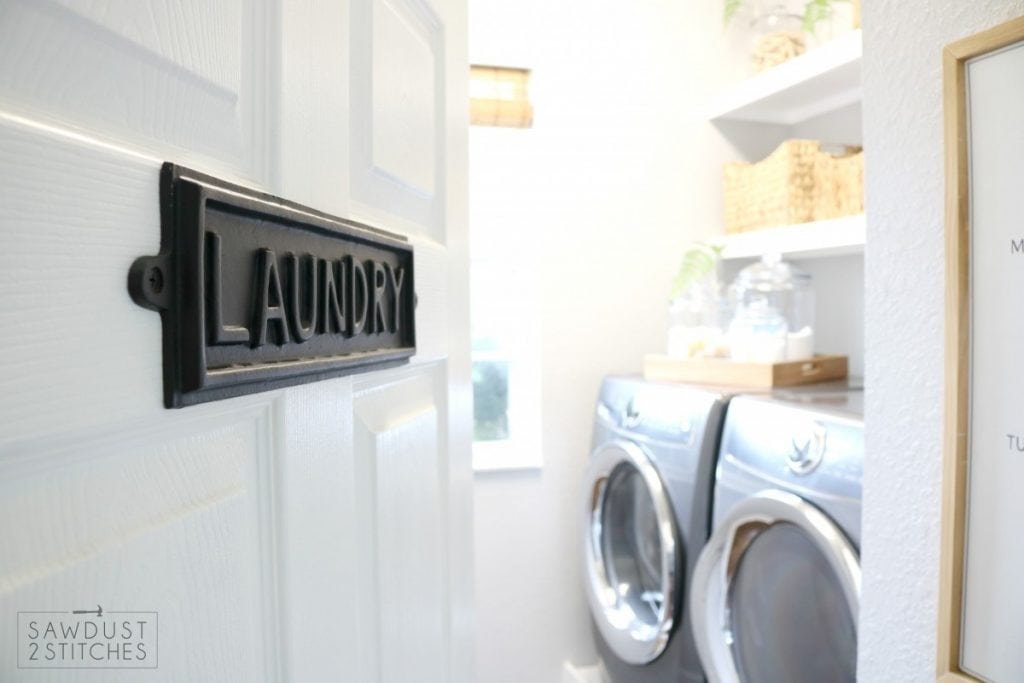
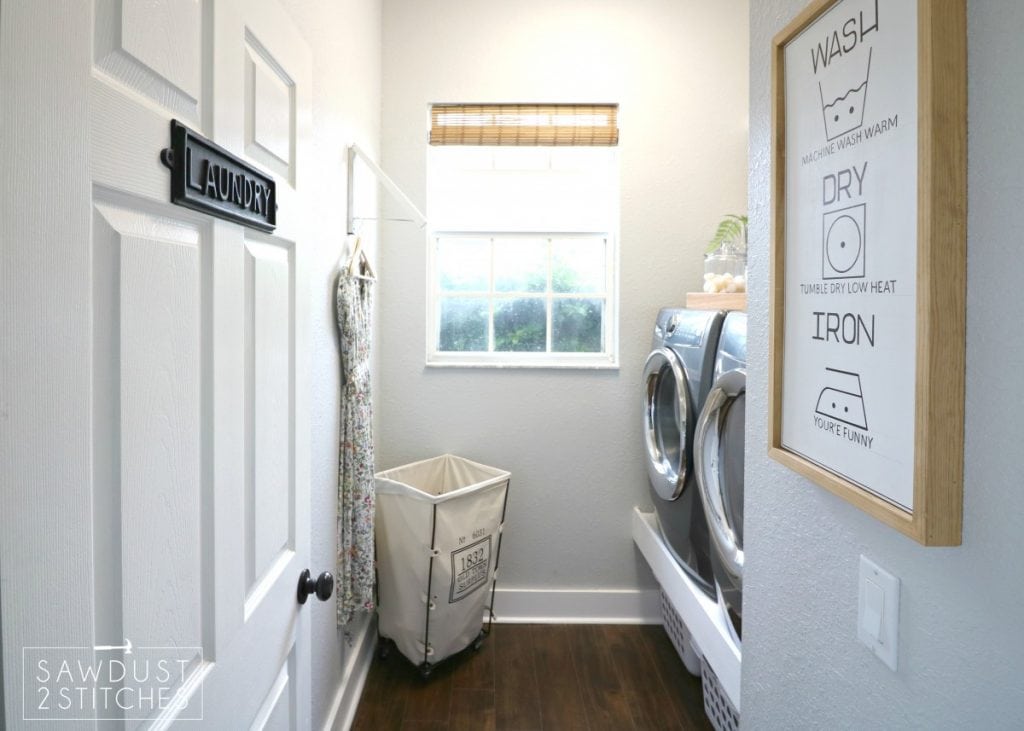
But before I get ahead of myself, come on in and see my new laundry room!
Isn’t it STUNNING?! I feel like it all came together perfectly. 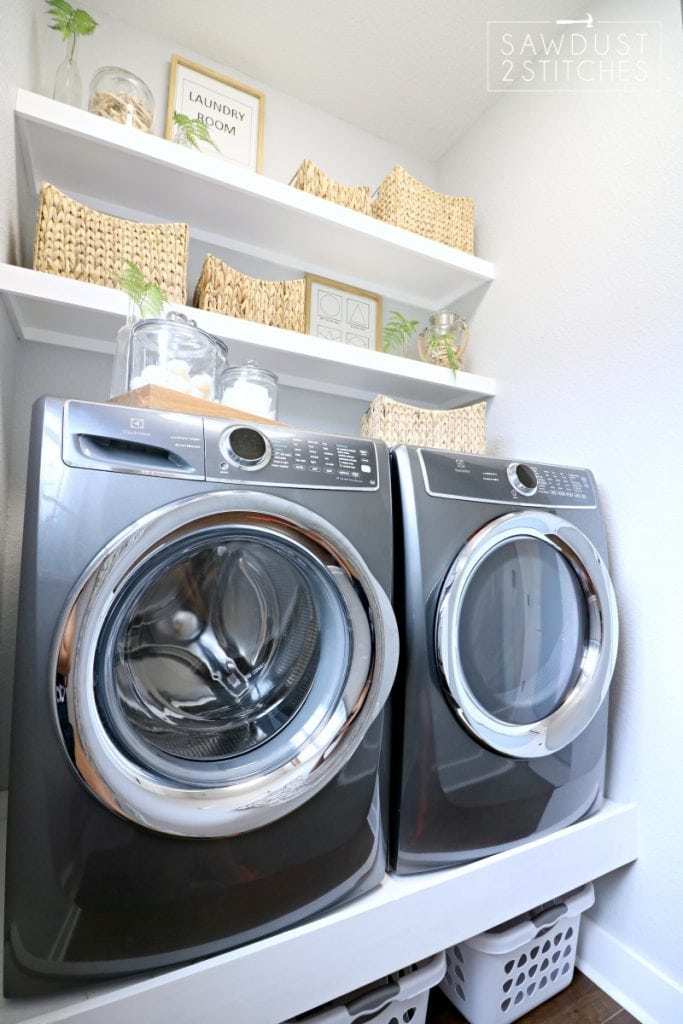 This small footprint room was only large enough to hold a washer and a dryer, but through use of shelving (of sorts) we were able to maximize our space! Now instead of the tops of the washer and dryer being a collection of cluttered cleaners, it is more of a calm reverie without needing to sacrifice practicality. Thanks to baskets we have plenty of hidden storage. Another great way to maximize space and efficiency is by making required cleaners easily accessible and when possible, beautiful! (However, always consider any little hands that might have access to cleaners.)
But while we are talking cleaners… holy goodness the Electrolux SmartBoost Washer totally delivers! I have a full review the specific features that I love about it on The Home Depot’s blog HERE, but let me give you one little spoiler… this is the first EVER washer designed specifically for detergent PODS! Mind blown right!? They are a step ahead of the game and are making sure they adapt their product to maximize efficiency of new superior cleaning agents. They are a step ahead of the game in so many ways, make sure you check out my article here for more information.

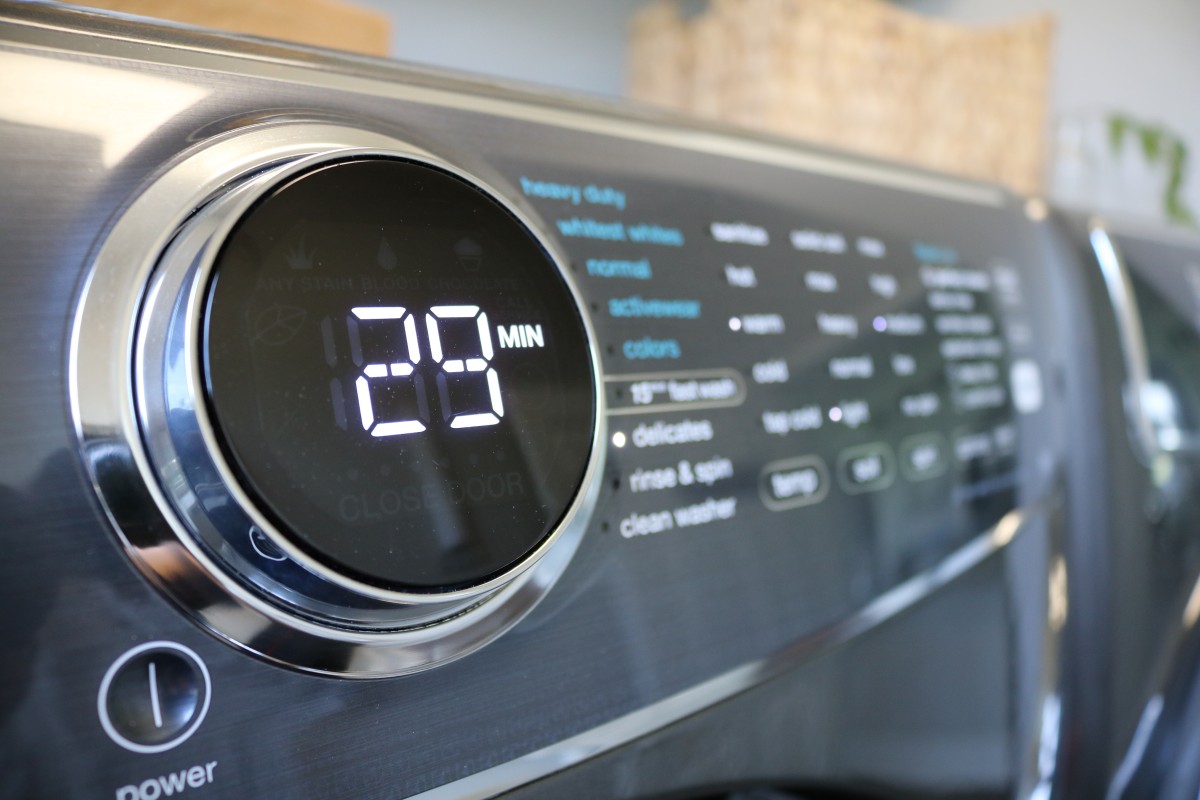
Electrolux didn’t stop their strife for excellence with their washer, they are making waves with their intuitive Electrolux SmartBoost Dryer as well! Like I said I I have a full review on The Home Depot Apron Blog, but I can’t help myself! I’m gonna let you in on one of my favorite features…the dryer has a feature called “Predictive Dry” and it does exactly what it sounds like! In the first 90 seconds of a dry cycle the moisture sensors in the dryer can predict exactly how long it will take for the entire load to be dry. No more guessing, and wondering if your shirt will be dry by the time you walk out the door. Within 2 minutes you will have an accurate time frame of when it will be completely dry. How smart is that !? 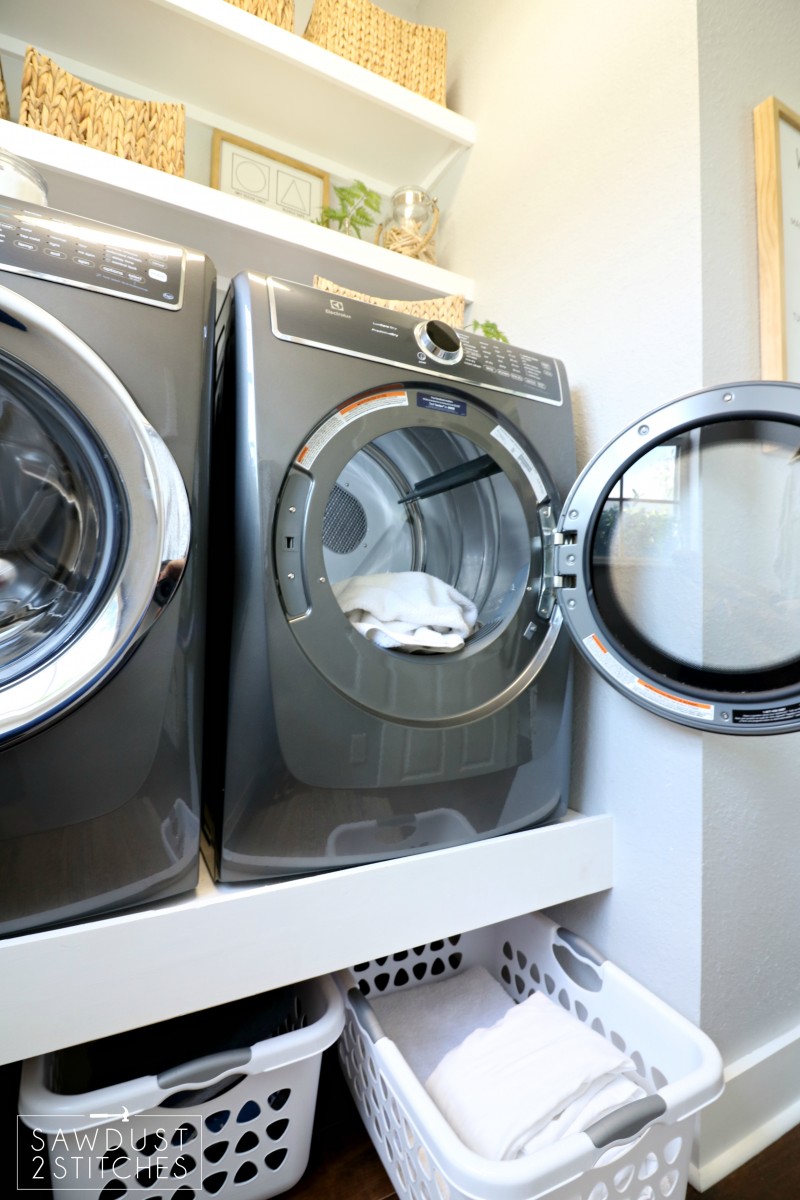
Obviously the platform is a game changer too. I love the fact that I can hide all the laundry under it! Before the makeover there was literally ZERO space for laundry storage, now I can fit 3 HUGE laundry baskets under them! Bonus: No more hunching over to get laundry out, it is at the perfect working height!

All-in-all I say this makeover is a slam dunk. While I still don’t love the never ending chore of laundry, I do love the space infinitely more! My new laundry room coupled Electrolux SmartBoost appliances truly have it all: the brains, the brawn, and the beauty.
Thanks so much for following along, and “Take Luck”!
Corey
*I acknowledge that The Home Depot is partnering with me to participate in a promotional program. As a part of the Program, I am receiving compensation in the form of products and services, for the purpose of promoting The Home Depot. All expressed opinions and experiences are my own words. My post complies with the Word Of Mouth Marketing Association (WOMMA) Ethics Code and applicable Federal Trade Commission guidelines.
 Copyright secured by Digiprove © 2018


Love what you did with your laundry room! We sprung for a top loaded to replace our front loader! I really prefer it! Love your shelves! You must be tall to reach the shelves!
It looks great!!
Carrie, I made the platform/shelf wide enough that I could use it as a step ladder of sorts; otherwise you would be right, it would be a little tricky to access things overhead. 🙂
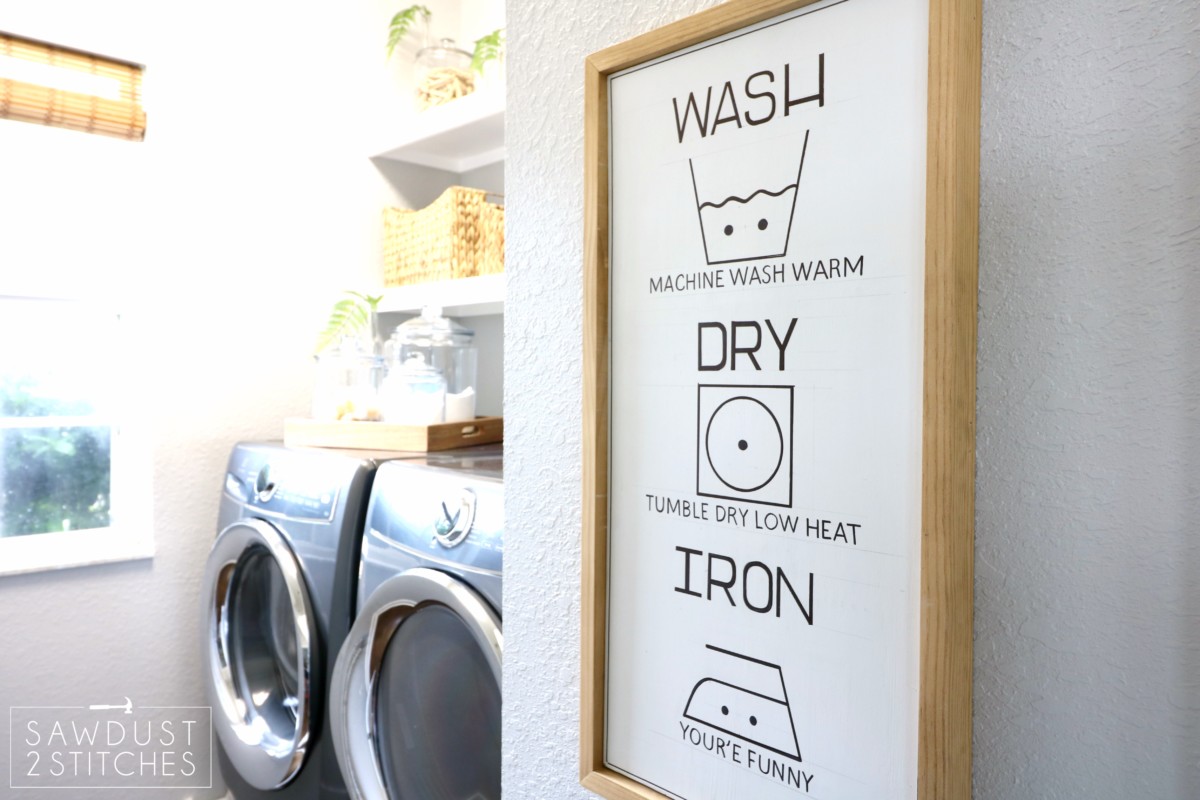
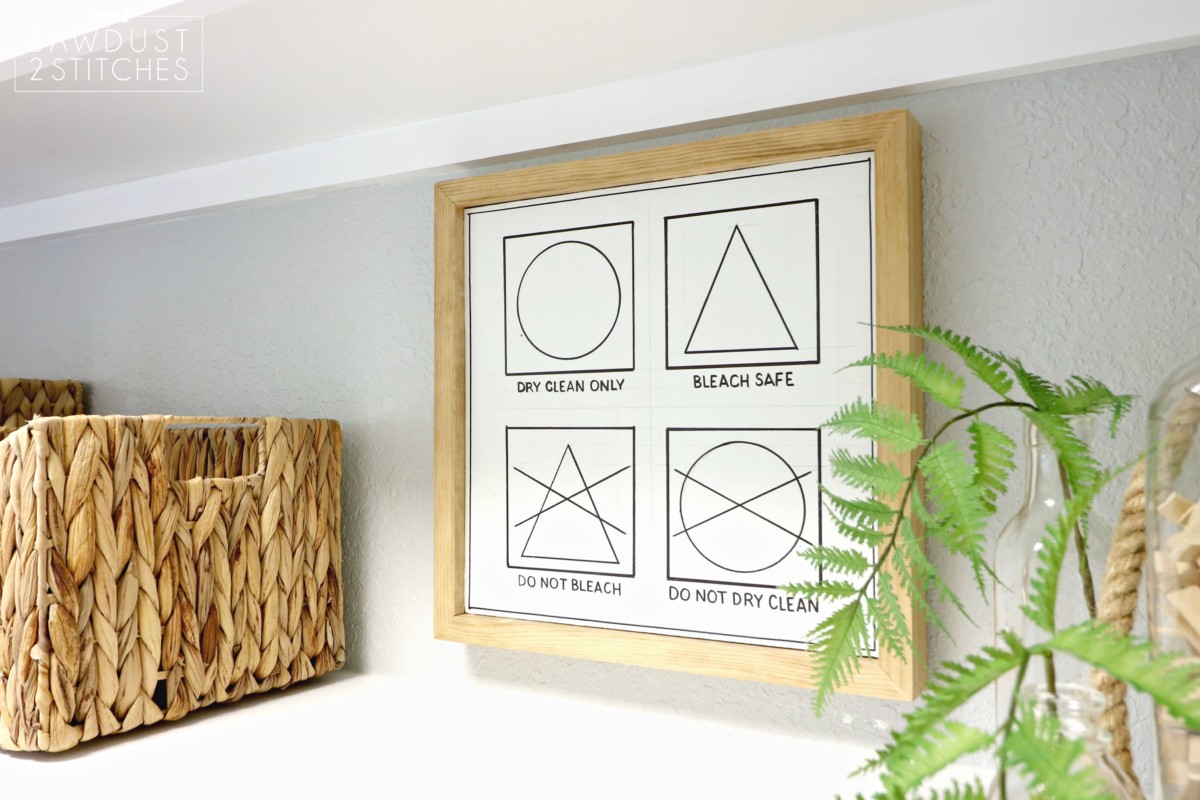
Lovely! Love the laundry art too!