• Blog
  • About
  • Press
  • Privacy

Let’s be social!

  • Skip to primary navigation
  • Skip to main content
  • Skip to primary sidebar
  • Skip to footer
Sawdust 2 Stitches

Sawdust 2 Stitches

  • Tutorials
    • Around the House
    • Organization
    • Wall Decor
    • Sewing
  • Makeovers
    • R.V.
    • Room Makeover
    • Furniture Makeover
    • Decor Makeover
  • Build Plans
    • Small Builds
    • Wall Decor
    • Dresser
    • Tables
    • Seating
    • Shelving
    • Hidden Compartment
  • Seasonal
    • Summer
    • Spring
    • Fall
    • Winter
  • Home Tours
    • First Home
    • Current Home
    • 70’s Ranch Home
  • Workshop

Blog

Cabinet Makeover Part 2

April 15, 2013

 This is the “funner” part of the cabinet refinishing process. After all the tedious  prep work, here  comes the payoff!  You actually begin to  feel like you are making progress instead of making giant steps backwards. I started  with the cabinet bases (as opposed to the doors).

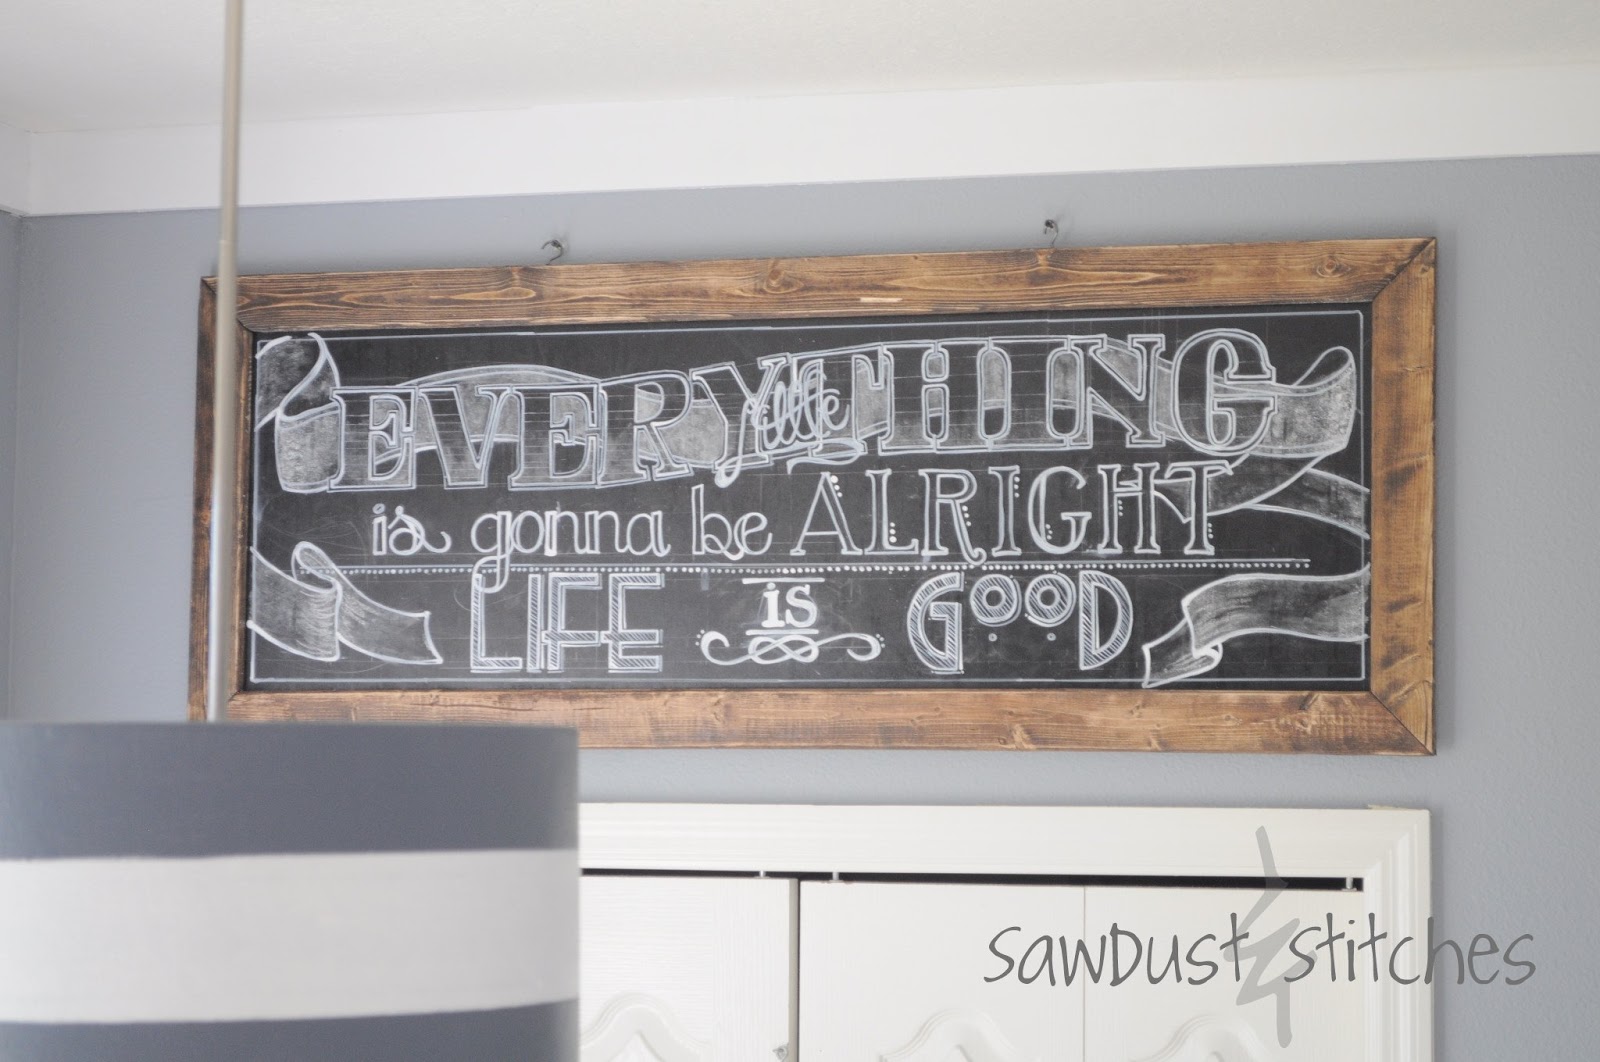
I went through and taped the interior lip, as well as where the cabinets meet the wall.

I used Zinsser Primer 1-2-3,  I first painted the cracks and edges with a good paint brush. Immediately after use the foam rollers on the large surface areas.  (I love these rollers, they are cheap and I have had great results, with no streaks! )

When  painting/priming you will want  to work in small sections.  For example,  don’t go through and do all your cracks, and joints, and then all your roller painting. Instead,  follow up with the roller  shortly  after you use the brush,  this will create a consistent finish.  Be warned primer does dry very quickly.

While your cabinet bases are drying,  you can start on your doors.  I had my doors set up in the garage, and the kitchen.  I set them on top of  bins so that they would be elevated and I would easily  be able to paint the edges.


  Now that all your surfaces are all primed,  wait until they are completely dried.  Then take  your foam sanding block and  do a quick sanding to all surfaces.  Then wipe down all surfaces completely.
 I did 2 coats of primer, ( I would prefer to do an extra coating of primer than an extra coat of paint.)
 

PAINTING TIME!

 I used …


Repeat the same steps from priming.  I did do 2 coats of paint as well,  make sure you sand inbetween coats.  You do not need to sand after final coat.

So this is your itinerary:

1. Primer
(Allow dry time,  if doing doors flip over and repeat)
2. Sand/Wipe Down
3. Primer
(Allow dry time,  if doing doors flip over and repeat)
4. Sand/Wipe Down
5. Paint
(Allow dry time,  if doing doors flip over and repeat)
6. Sand/Wipe Down
7. Paint
(Allow dry time,  if doing doors flip over and repeat )

8. Stand Back and admire!


Painting Cabinets Part 1

April 10, 2013

 When making my list of  “To Do’s” refinishing the cabinets was on the very top.  I knew it would make the biggest impact on the house, but I was terrified to do it!  It was a daunting task,  that I was afraid I would mess up and it would end up costing a lot of $$$ fix.

Previous Owners Interior

So I researched, and researched, and researched.  I researched until I was so sick of it that I gave up and just got started.

This is what I learned.

This process is about 80% prep work.

Supply List:

Fine Sanding Disks
Foam Sanding Block
Wood Grain Filler (Optional)
Paintable caulk
Primer ( I used Zinsser 123)
Paint ( I used Behr Semi-Gloss)
Good paintbrush
High density 3-4″ roller
Paint Roller
Paint Tray
Rags
Drop Cloth

Prep:  I began by taking off all the doors,  ( I made sure to label where they all go), and also removed all hardware.

Sanding:

I  started with the cabinet bases.  I did the majority of the sanding with an electric sander using a “fine” grade sand paper.  This is my strong suggestion… hook up a vacuum to the sander. I was able to get away with leaving the cabinet bases in place (instead of removing them), and my house was not covered in dust!

I sanded  every inch of the cabinet base,  EXCEPT the interior, I DID do the inside lip but not the actual interior.

When sanding you DO NOT need to take it down to natural wood, if you are painting you only need to rough up the surface enough to make it smooth and make sure it is NOT glossy.

  Next… the doors. Ugh.
I took a sanding block and sanded all the crevices really well,  basically any space that I would not be able to  reach with the electric sander.
I used these awesome little foam sanding blocks!  They are awesome.

After you have the crevices done,  move on to the larger surface areas.  I  did both front and back!  I know that there are some tutorials that  don’t .  That would drive me crazy.

After you are finished sanding…your  arm may  feel like it is permanently vibrating. Your  hand  may be deformed to a claw like state,  but,  you are done the with most tedious part!

Wipe down all your cabinet pieces well!  Let dry….

 (EXTRA STEP)  I did this because I was afraid the wood grain would show through.  I used  this product  I simply  smeared this on the cabinet panels and used a putty knife to scrape it off.  It then required another once over with the sander, and another wipe down.

It DID  diminish the wood grain,  but it was not eliminated.  If I were to do this over I don’t know that it was worth the effort.  I might do this on your top cabinets where they will have more lighting on them, and the grain may be more visible.

(ANOTHER EXTRA STEP)  This was another personal preference.  I  remember  cleaning the crevices on the lower cabinets and having all sorts of gross gunk in them.   I knew I was painting these white and knew that there would inevitably  be dirty.  I took a small bead of caulk and filled the  crevice so that  when food did drip down the front of the cabinets it would  not get stuck in the crack.
This extra step  has been worth it to me,  especially on  the cabinets below the sink and  the cabinets below where I typically stand when I cook.

Simply apply a very SMALL bead (line) of caulk,  then wet your finger, and slide along the surface.  It will smooth it out and you can remove the excess.  Then allow to dry.
( I forgot to take pictures, of this step but the wonderful folks over at “Addicted 2 Decorating” had the same stroke of genius.

Now take a breather and get ready for the REAL fun!

Part 2 of Painting Cabinets HERE


Rustic Chalkboard Sign

April 3, 2013


So  I know that chalkboard paint is all the rage and there are plenty of tutorials on how to make your own.  This is not one.   I just wanted a sign that LOOKED like a chalkboard.  After putting in a  lot of effort on lettering I was not about to erase it. It was going to be permanent.

Here is what I did.

Supplies needed:

  • 1×3 (2)                 =   $4
    Paneling              =   $5
    Black Paint          =  $1
    Liquid Nails        =  $2

1st step:

Paneling-  You can find this at Home Depot,  ask an associate where their “Handy Panels” are. (Handy panels are typically identified by their size. They are either 2’x2′ or 2’x4′  pieces.   You will have a lot of wood choices, just pick the cheapest  with a smooth finish.  OR if you want to save some time and possibly money (depending on if you have paint on hand).  They have chalkboard handy panels available at Home Depot.

Cut down your panel to  desired size , I  cut mine to 20″x48″.

2nd step:

If you bought a chalkboard panel,  skip this step.  If not paint your panel black with a flat/matte paint,  you just don’t want it glossy!

3rd Step:  Get creative!  There are  many places you can find vintage fonts, here are a few. This is where you come up with any saying or quotation you would like and use your favorite fonts, or  simply duplicate mine!

After you brainstorm your  message and favorite fonts,  you can either free hand or trace your letters!
You can simply print your letters off then use  tracing/transfer paper to transfer it.

Once you have your message on the board use either white paint or  these…

I love these markers,  but I have not found them in stores, but you can order them online.   Elmers does have version that is available in most  office/craft stores.

Simply  go over your traced letters with this marker and it will then be PERMANENT.  So make sure you like it.

Your board should look something like this.

4th Step:

Get out your 1×3’s

  • Cut 2  @ 45″ short end to short end with 45 degree angles
  • Cut 2  @ 17″ short end to short end with 45 degree angles

Sand them all down and then stain or paint.

5th Step:

Once 1×3’s are dry you will use your liquid nails and apply the 1×3’s directly yo the top of your chalkboard, creating a frame.  There should be about 1.5″ of  1×3 board that will sit on top of the chalk board.

Once glued, use either clamps or set something heavy on top until it dries.
 ALMOST DONE: Take some chalk and do some shading and spread the dust around.  Make it look authentic with  smeared chalk.  It makes a great impact!
Then you are done! You can add hardware to hang it, or it can be leaned against the wall.


I actually  did this from all leftover supplies,  so I have a nice large custom art piece for free!

Office Wall Collage

April 1, 2013

 Our  “office” was actually intended to be a formal dining area. At this point in our life  a formal dining area seemed impractical. What  I really needed was and office/sewing room.    The only problem was that  the room  was practically part of the front entry.  So I needed to make it cohesive,and have some flow leading into the living room
This is what the previous owners did… hmm…
 

My vision for the office was this,  it needed to be functional (see craft cabinet ideas here) , and it involved  a lot of frames.  I wanted lots of texture and contrast, but most importantly it needed to be done cheaply.  So here is what  I did.


I went to thrift store and found a plethora  of frames, any size and shape, as long as they were cheap and all wood they fit the bill.  I think I spent maybe $15.00 on all of them.   I brought them home and laid them out on the GROUND it is much  easier to create a collage if you simply rearrange without putting new holes in the wall.  Once I found  a good arrangment I then put them up on the wall.

Once I had them up on the wall I went through and used post it notes and wrote out what colors I would want them to be.  Then I got to work sanding and painting.
 I chose a natural light wood, black, white and a terrecota colors as my  color scheme for the frames.
 Don’t be afraid to mix it up,  I also incorporated some chalk boards, mirrors,  signs, and plaques.  A collage can have more than just frames!
 
  Here is the final result,  I added a few shelves and added terecotta planters to help carry the color.  I rather love the way it turned out!

Boy’s Belts

March 26, 2013

 I have been asked by a number of people,  “Where do you get the boy’s belts ?!”.   You may want to have a seat…  I made them. * Shocker*
They are some of my old belts, and some I find at thrift stores. Want to make some for your munchkins?Just find a  LEATHER  belt, that  is considerably  bigger than  the size you will need.  You need leather so that when you cut it,  it will not fray.

Take the measurement  of the recipients  waist and add 4-5″.  You will simply cut off the excess of the belt.  I   have found my sewing scissors work well to cut through the belt.  I kind of cringe every time I do. But, it does really work well.

Use the end that you just cut off (the end with the holes) as a template.  Lay it on top  of the   freshly cut end and mark where your new set of holes will be.  I  just used a  drill  with a 1/4″ bit.

Making leadther belts sawdust2stitches.com

Then stand back and admire your work…

“Hey Wyatt show me your belts”…

That works too…

DIY Taped Trellis Pattern

March 22, 2013

Ugh, this room was so incredibly boring.  I wanted a pattern in here,  and a color,  but I still wanted to keep it bright. So I started by painting the cabinets white. (Tutorial coming soon).  Then  I came up with the idea of doing a nautical lattice pattern….

  I used 2 different size tapes in order to create this look.  I went through and used a pencil  and marked where all my lines would begin and end.  Then just connected the dots with tape.  I am not going to lie, this part took forever!  I would measure and remeasure, I determined the best way to do it was to use a quilters square.  Just make sure your first line is perfectly straight!  Then you can use it as a guide .
 
Okay now that you want to throw your roll of tape across the room,  go get your paint. I know your first instinct is to grab your new color and start painting… NOPE.   Grab the original color of the wall.  So in my case I had to get out the white. You are going to completely paint over all your tape.  Reason ?  When you paint,  no matter what brand the tape, I still get the paint bleeding through.  BUT if you paint over your tape the same color on the wall,  any bleeds  will not be visible because it is the same color. (Are you still following me ?).
 
So once my base color dried (and sealed the tape to the wall so that no blue can leak through) , you can then take your new wall color and apply it. In my case I used a grey blue.  Wait until the your topcoat is completely dry , then you can take off your tape. Inevitably, there will be some touch up spots,  but you are almost done!  Just stand back and admire your work for a while before you pull out the itty bitty brush.
 

Was this project easy ? Yes. Was is it time consuming?  You betcha.   I don’t regret it though.  I love the way it turned out. I wouldn’t suggest this for a huge complicated space,  working around the shower and mirror was not my favorite. I could see myself doing this again with a flat open wall though, perhaps an accent wall ?


  • previous
  • Page 1
  • Interim pages omitted …
  • Page 44
  • Page 45
  • Page 46
  • Page 47
  • next

Primary Sidebar

  • Facebook
  • Instagram
  • Pinterest
  • Twitter
  • YouTube
IMG_9167 (1).jpg fd
DIY & Design

Meet Corey

Hi everyone, my name is Corey, and I have a problem. I can’t leave well enough alone… The best therapy usually involves a variety of power tools. So, in the few “spare” moments I am not entertaining my two beautiful, rambunctious, boys, I can typically be found hunched over a sewing machine and/or covered in sawdust. All in the efforts to create a perfect balance of aesthetics and practicality in our home.
read more

Join our mailing list!

DIY & design ideas - right in your inbox!

Featured

Stair Tread Makeover

Categories

  • 70's Ranch Home
  • Around the House
  • Build Plans
  • Crafts
  • Current Home
  • Decor Makeovers
  • Dresser
  • Exterior
  • Fall
  • First Home
  • Furniture Makeover
  • Hidden Compartment
  • Kitchen
  • Lighting
  • Makovers
  • Master Closet
  • Organization
  • R.V.
  • Room Makeovers
  • Seasonal
  • Seating
  • Sewing
  • Shelving
  • Small Builds
  • Smart Home
  • Spring
  • Summer
  • Tables
  • Tablescape
  • Tutorials
  • Uncategorized
  • Wall Art
  • Wall Decor
  • Winter
  • Workshop

Footer

Contact Me: Corey@Sawdust2Stitches.com

Latest ‘Grams

Follow on Instagram
2020 © Your Blog Name
theme by soleilflare
Enter your name and email and get the weekly newsletter... it's FREE!
Your information will *never* be shared or sold to a 3rd party.