• Blog
  • About
  • Press
  • Privacy

Let’s be social!

  • Skip to primary navigation
  • Skip to main content
  • Skip to primary sidebar
  • Skip to footer
Sawdust 2 Stitches

Sawdust 2 Stitches

  • Tutorials
    • Around the House
    • Organization
    • Wall Decor
    • Sewing
  • Makeovers
    • R.V.
    • Room Makeover
    • Furniture Makeover
    • Decor Makeover
  • Build Plans
    • Small Builds
    • Wall Decor
    • Dresser
    • Tables
    • Seating
    • Shelving
    • Hidden Compartment
  • Seasonal
    • Summer
    • Spring
    • Fall
    • Winter
  • Home Tours
    • First Home
    • Current Home
    • 70’s Ranch Home
  • Workshop

Blog

Trash to Toy Trunk

August 25, 2014

Welcome to my  first ever “Makeover Monday”  (We will see if this sticks.)

Regardless,  I have a lot of projects that I didn’t have the foresight to  document the process.  These projects  have been hidden away in a folder in the deep recesses of a desktop folder.  But maybe, just maybe they will spark some  of your own ideas.

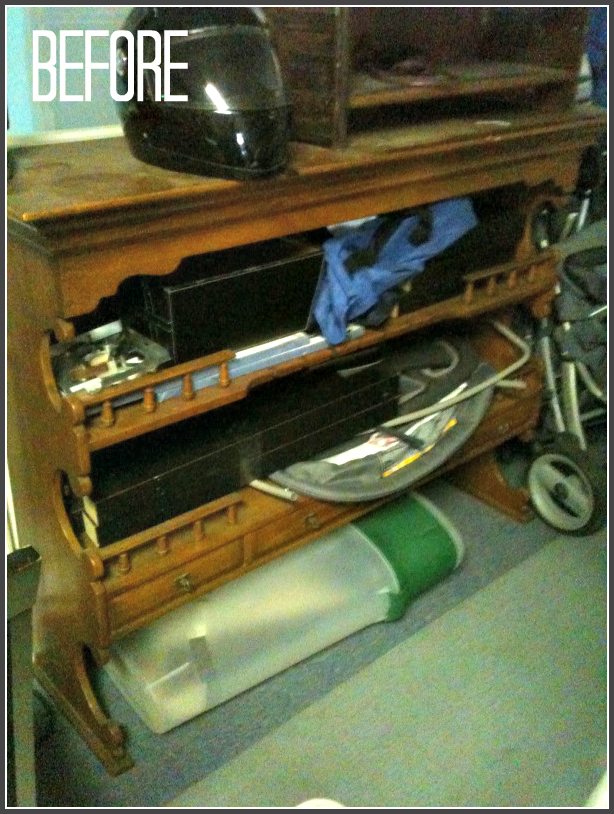
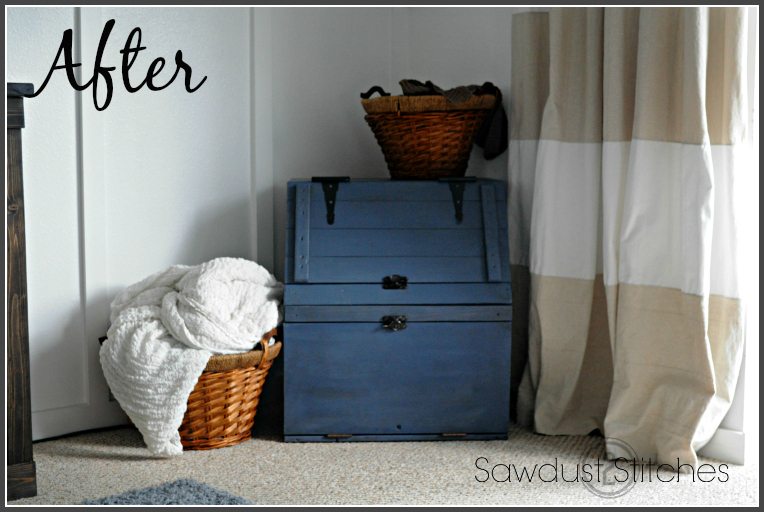
 Today  I want to show you what  I did with a shelf/hutch,  that was left  behind  by our homes’  former owners. DSC_7264 750

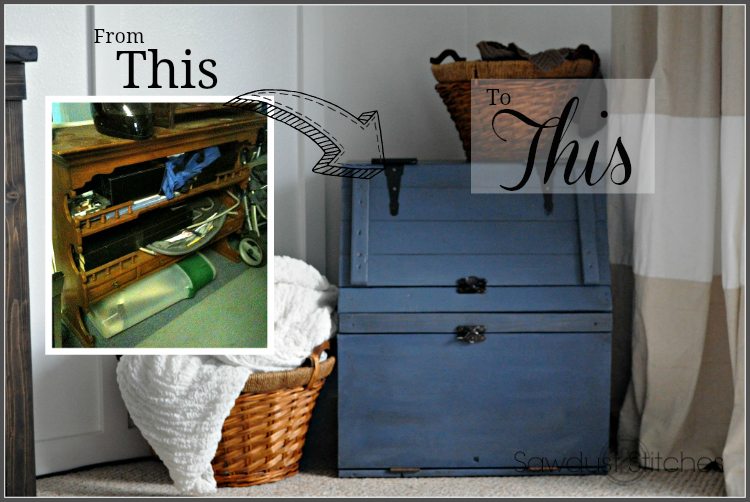
 The left behind this huge  ugly  hutch.  I am assuming it was apart of a buffet  table in it’s former glory.  We kept it in the garage for a while, for fear that  maybe the previous owners were planning on retrieving it. BUT, it was taking up so much space!  Finally,  I started ripping it apart so I could  more easily  dispose of  it…  LIGHT BULB.

hutch beforeInstead of trashing it,  I came up with  a new destiny for the scrap pieces.  It was destined to become the kids toy bin!   So  I got to work.  It was a little tedious  piecing it all together but,  I love the look that it created!

chest during ss    
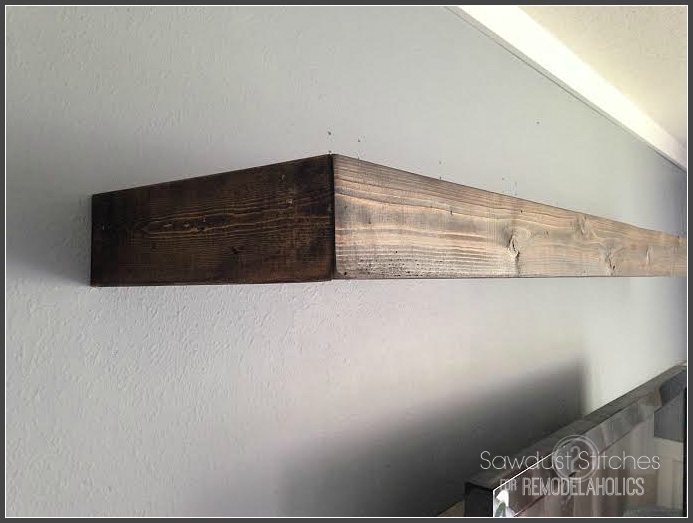
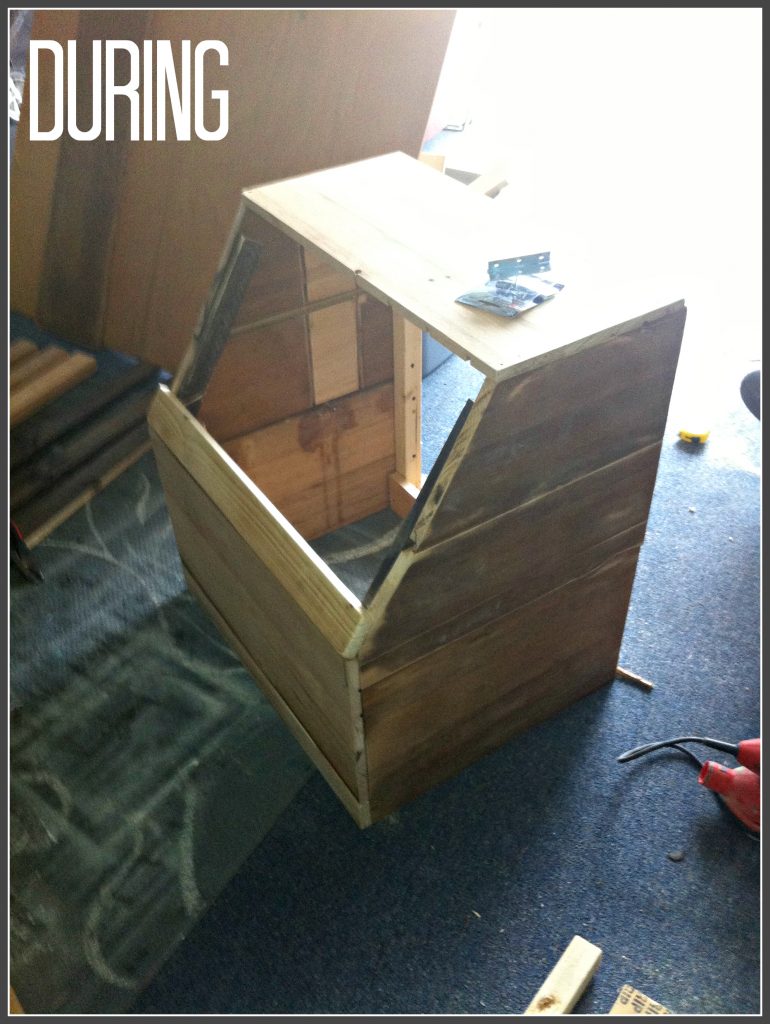
This is my only  “during” image,  but it is easier to see the different pieces of wood.   It also  illustrates  what a difference a coat of paint can make!

andrew in

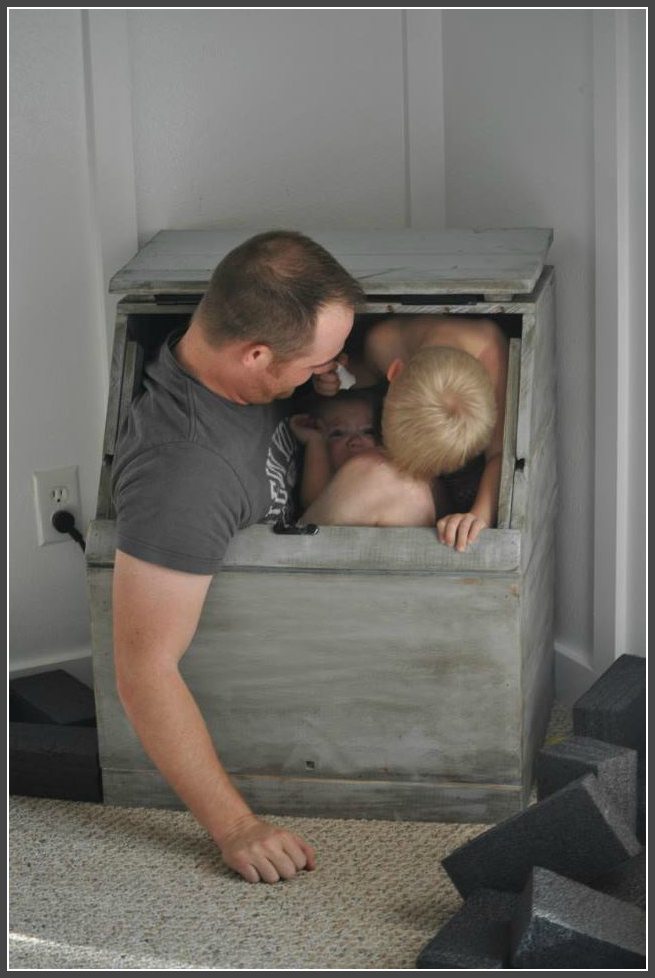
As you can see it is fairly large,  my husband and two children wanted to prove it. ( Watching attempt to get out,  made all  time making it, totally worth it!

Over time I realized that  I didn’t really love the color, and the  kids had a hard time retrieving their toys from the bottom of the crate.  So  I made a few  modifications .

PicMonkey Collage

 I added a shelf in the mid section.  It made it  perfect for storing some of the kids bulkier toys, while still being easily  accessible.

DSC_7265 side
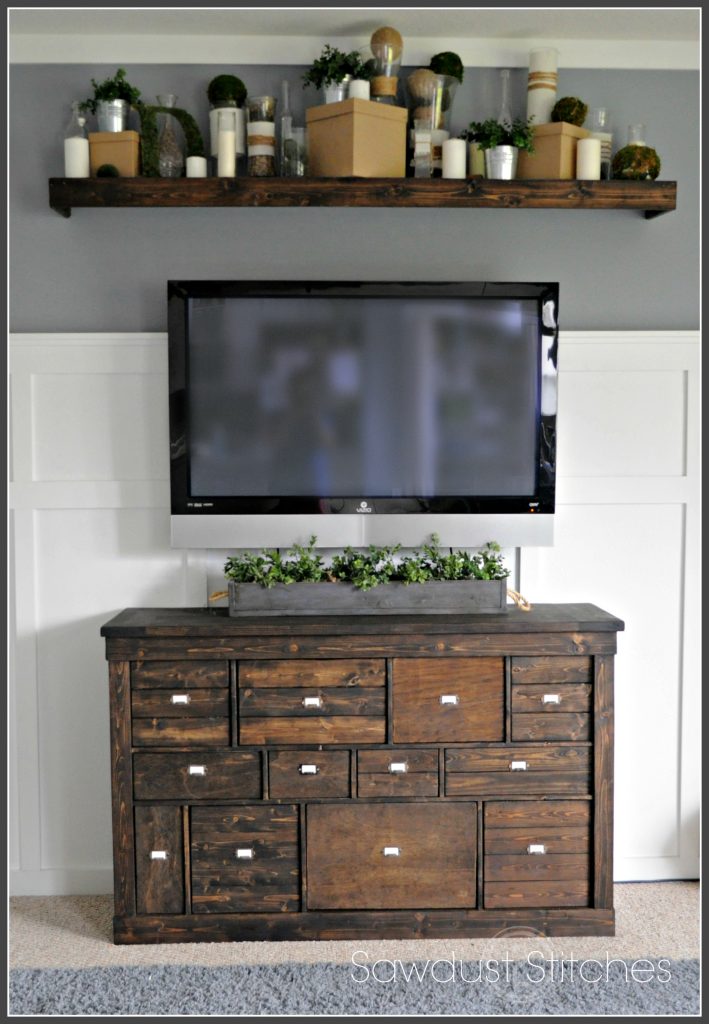
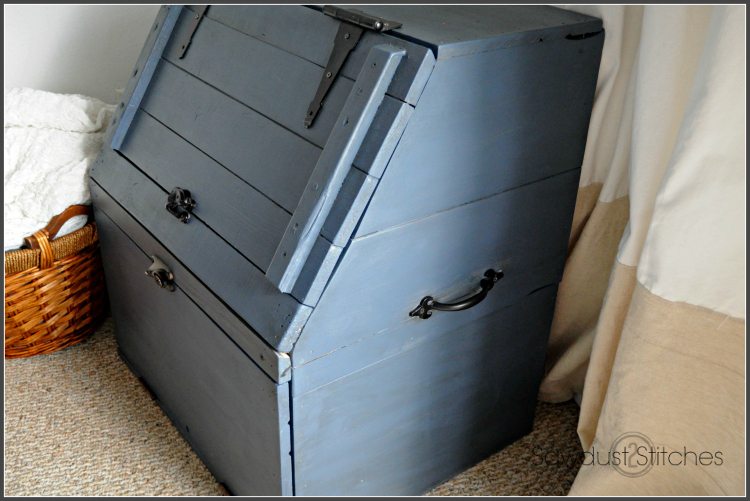
It really the was  perfect addition to the  family room, it added character,  while still creating storage!

DSC_726 after ss

So what do you think ?  Do you have any  great  renovations,  makeovers or flips !?  I would love to see them, and maybe we can feature your ideas on a future  “Makeover Monday”.

You can submit ideas, tutorials, and/or images here.

Happy  Monday!

Corey

Transform an Ikea shelf into a Pottery Barn Ledge

August 22, 2014

 Hey readers,  today  I am over at  Remodelaholic with another great tutorial for you!  You can learn how to transform a cheap laminate  floating shelf into a gorgeous  Pottery Barn-esque ledge.

Learn more here.

ikea lack shelf

Staging a Shelf

August 20, 2014


staging a shelf tutorial ss

 I don’t know about everyone else,  but I use to really  struggle  decorating shelves, above kitchen cabinets and shelves.  Then I realized what was wrong.  I HATE clutter.  I really  struggled with the idea off putting up a bunch of knickknacks trying to fill a space.  But on the flip side,  not putting anything up defeated the point of the shelf.

So,  I am going to show you how I found my happy medium.  Let’s  get started.  Here is  my beautiful  blank canvas/shelf.    It’s beautiful,  but boring.

shelf makeover empty ss

When  staging I  usually  find  3 or 5 different  types of items. As a general  rule in art,   I  typically try to  work in odd numbers.  The theory  behind it is,  in nature most everything is done in odd numbers.

In this case I chose:

  • Vases
  • Candles
  • Potted Greens
  • Paper Mache’ Boxes
  • Decorative Balls

 ( The items are normally  dictated by what I have lying around, and whatever items I can find that is cheap.)

staging a shelf overview ss

Paper Mache Boxes:  Cheap and available at most craft stores.

staging a shelf boxes ss

 I tend to start  by  staging my  largest  items  first,  this way  I can easily  distribute the visual weight.  For my largest item  I used paper mache boxes. I  just liked them,  they were cheap.
staging a shelf boxes ss

Potted Greens:  I  got the tins from  Ikea for less than a buck a piece, and the greens you can usually get wherever floral stems  are sold.

staging a shelf tin pots 1 ss

  I used these as my largest “color”.  Again, I  had three, and wanted the color to be distributed evenly.

I knew I wanted  the color to be visible and  not hiding behind other  items.  I made sure they were on top of, or in front of the larger pieces.

staging a shelf tin pots ss

Glass Vases:  I picked up most of these at thrift  stores.  You can get them super cheap and in a variety of shapes and sizes.   Some of them I dressed up a bit with  jute/twine and muslin.

staging a shelf vases 1 ss

Once my large  items, and pop colors were in place,  I brought in a neutral.  I had  quite a few glass vases ,  so I used them as “filler” .   They weren’t  my  focal point,  so they are a good neutral to fill in the gaps.

                                   (At this point  you will want to step back and make sure that  it doesn’t look  heavy in any one area.)

staging a shelf vases ss

Candles:  I picked up most of these candles at the Dollar Store!

staging a shelf candles 1 ss

Although the candles are white,  they  will  still  be a contrast to the other items.  Whenever  you bring in a contrasting color,  make sure to  space them out.  To  test  this,  I  just stand back and  make my  eyes go blurry and see if anything  sticks out like a sore thumb.

Can you  see that the white is evenly distributed ?

Staging a shelf candles ss

 Twine Balls:  Styrofoam ball + twine+ hot glue gun=  Cheap ,  beautiful visual texture. Staging a shelf jute balls ss

They are  essentially   just  fillers.  I ended up putting most of them in the vases.

Moss Balls: Moss sheets+ Styrofoam ball+Hot glue gun=  Perfect  finishing touch.

Staging a shelf Moss Balls ss
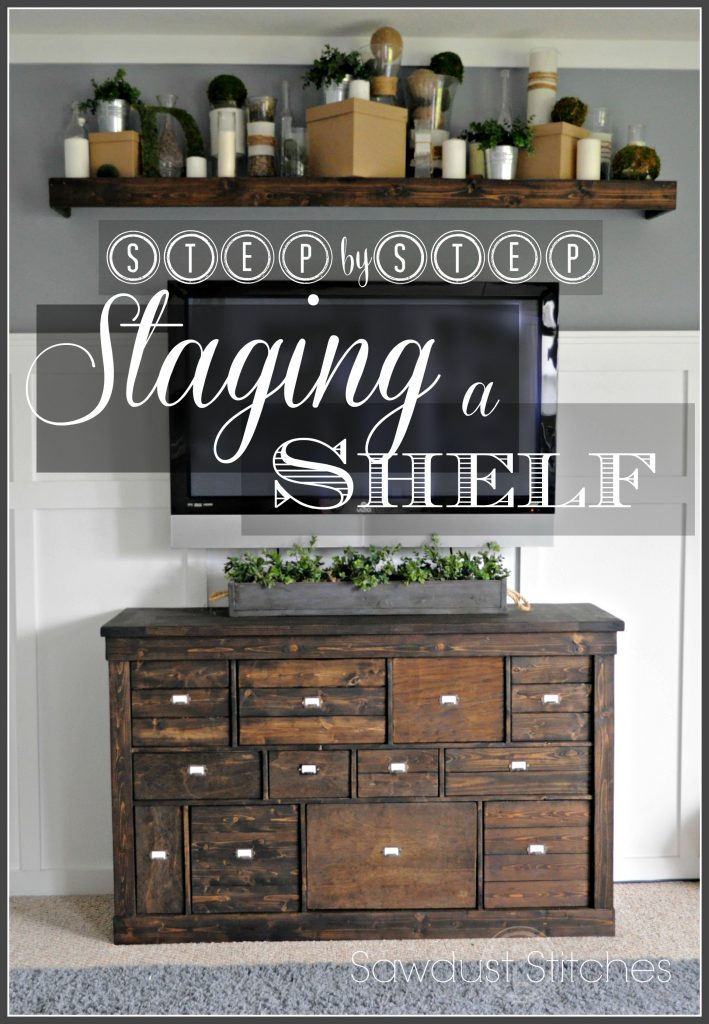
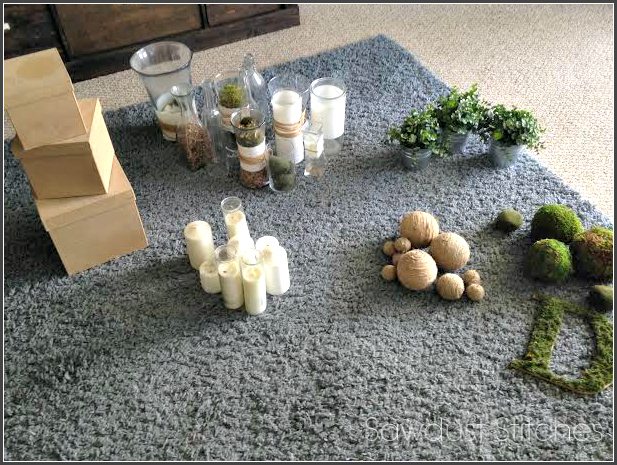
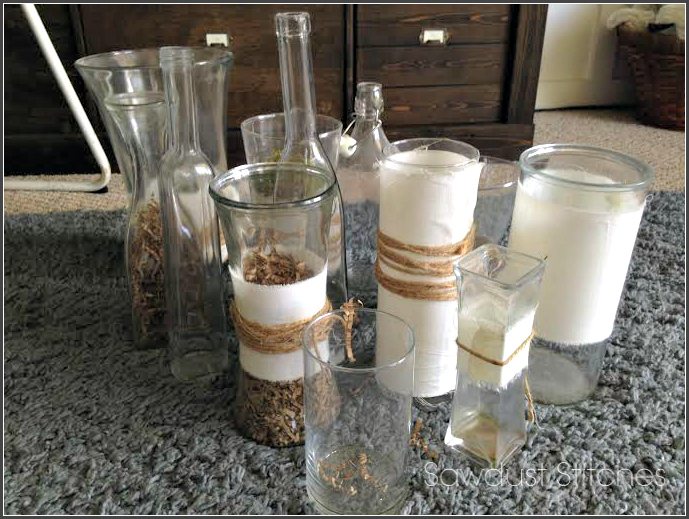
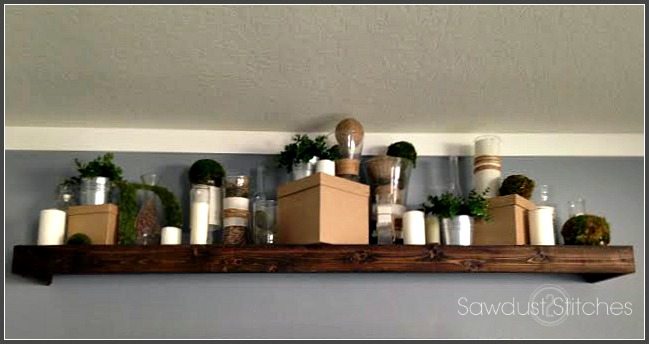
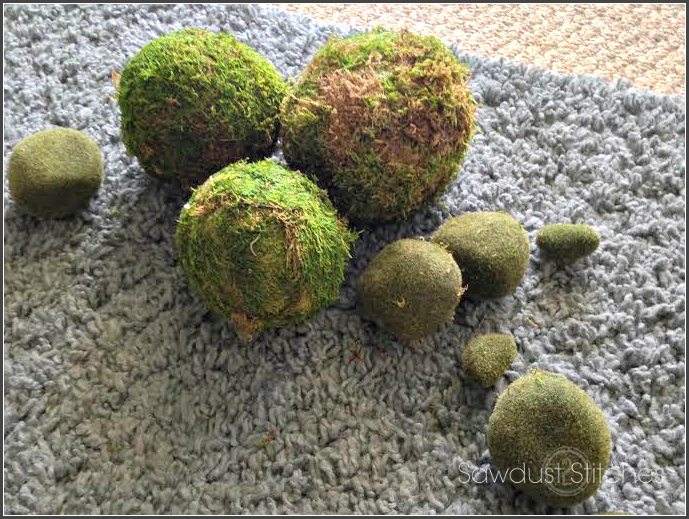
Again, with  the moss,  I  made sure that they were spread out. Even though they are small,  they are my  pop color.  I also  had to consider where  my  other “colors” are, and place them accordingly.

In summary   When staging I  rely  on repetitiveness in order to create a cohesive look.  I work with one type of item at a time.  Lastly,  don’t over do it. Find one or two colors and then  use a lot of neutrals.   It is surprising  how far a little color can go.

staging a shelf complete ss

So that is it.  Go and do my friends!

shelf staging ss


 Take Luck,

Corey

Nautical Mirror Makeover

August 14, 2014

Nautical Mirror ss  tutrorial pic


   One fateful day I was browsing at “Re-Store” and  all their mirrors were 75% off!  I picked up this bad boy for only $2.00!  It is huge and old-school heavy duty!  It had so much potential!  I had no clue what I was going to do with it,  but I wanted it!

  A few days later  I was staring at this really  blank,  boring wall on my patio.  I had no idea what to put there… LIGHTBULB!

Here is how I  turned my $2.00  find into a  beautiful  finishing touch on my patio.

nautical mirror ss before after

 I wanted to beef up the sides to give the frame more visual weight.  So, I  added 1×2’s  to the edge as trim.   I then  primed and painted that sucker.

FYI : You can  get  paint samples from Home Depot for $2.97, and they are  perfect for small projects like this!

mirror collage

 I still wanted to added some  character to the mirror, and  I still needed to  hardware to hang it.  So I went for 2 birds with 1 stone.

rope  collage ss

See,  look how pretty  the mirror  turned out! Another plus,  the hanging hardware will ensure that the mirror stays  put,  even in the Florida  Hurricane season. 😉

 Take Luck,

Corey

Patio: Don’t forget the Ceiling

July 30, 2014


ceiling makeover ss

While  in the process of giving the patio a facelift,  I kept feeling like  I was not achieving the look I wanted.  I wanted a bright  area, with bold lines, and to be clean and inviting.  As I was closing in on the completion of all the projects,  it still felt a little “dark”.   Then I had my epiphany.  It was the ceiling.  The ceiling and the walls were the same beige color.  Granted it was not a dark color,  but having all the walls and the ceiling  the same boring color,  made it feel like a cave.

ceiling before ss

The only problem with  painting the ceiling posed, was that the corner where the ceiling and the walls  met, was  very bumpy.   No matter the brand of tape or how steady my hand  I was not able to create the appearance of a straight line.  Depending on your vantage point the  appearance of the line changed.  Well that was not going to work.

Then, another  *lightbulb*,   I decided  to add molding and trim out the ceiling.  It was perfect, it would give me a straight line, as well  bring in more white paint color.

So here is what I did. : I used primed MDF finger board.  This can be purchased at  many lumber stores.

moldingss

Because I would be installing the molding  onto a stucco  finish I would need to use  a masonry  bit and masonry  screws.

masonry  bit ad screws ss

You will need to pre-drill your holes into the stucco using the masonry  bit.  I would  suggest having  someones help  hold the molding in place while  pre-drilling the hole. ( It can take a good amount of work to drill through stucco/concrete.  Once  pre-drilled,  use masonry  screws to secure .

add molding ss sm

At this point there will be very large holes where the screws were places.  Fill holes, and then smooth and or sand.

fill holes ss

Once the  filler is dry,  follow up with primer so that the filler will properly take paint.


prime ss

As I previously mentioned there  wall surface is very bumpy,  so even when the trim was screwed to the stucco it left tiny little  gaps.  I  went through and  using paint-able caulk  filled all the gaps.

caulk  border

Once the  caulk and primer has dried ,  follow up with paint.   This is obviously an outdoor space, and so  I would need to use an exterior paint.

EXTERIOR PAINT ss

The only  thing left to fix (as far as the ceiling goes) was the awful  light.  Luck would have it that I found  the EXACT  same light fixture  that I had hanging in my front entry!   I had purchased both lights on separate occasions from  thrift stores!  So  for $6   I had a new light fixture!

You can read all about how to makeover the light fixture here.


light fixture ss

I added one of these fancy- schmancy  ceiling medallions  for $8.  (They  really  do add a  lot to the look. So worth it!)

687ecb2c-d8f7-4052-a354-939957bfe970_400

 That pretty  much sums it  up.  This may not have been a super fun tutorial but ,  bottom line is,  that  painting a ceiling white can brighten  up any room!  As with this case,  it made a huge difference.  So when decorating a space don’t  forget that the ceiling a large  percentage of the surface space in a room.  Don’t neglect it!


Transform: Ikea into Pottery Barn!

July 25, 2014

Hey  everyone,  today you can find me over at Remodelaholic,  where I will be showing  how you can transform Ikea shelving into a  Pottery Barn -esque  media console!

Ikea makeover remodelaholics.com

  • previous
  • Page 1
  • Interim pages omitted …
  • Page 36
  • Page 37
  • Page 38
  • Page 39
  • Page 40
  • Interim pages omitted …
  • Page 47
  • next

Primary Sidebar

  • Facebook
  • Instagram
  • Pinterest
  • Twitter
  • YouTube
IMG_9167 (1).jpg fd
DIY & Design

Meet Corey

Hi everyone, my name is Corey, and I have a problem. I can’t leave well enough alone… The best therapy usually involves a variety of power tools. So, in the few “spare” moments I am not entertaining my two beautiful, rambunctious, boys, I can typically be found hunched over a sewing machine and/or covered in sawdust. All in the efforts to create a perfect balance of aesthetics and practicality in our home.
read more

Join our mailing list!

DIY & design ideas - right in your inbox!

Featured

Stair Tread Makeover

Categories

  • 70's Ranch Home
  • Around the House
  • Build Plans
  • Crafts
  • Current Home
  • Decor Makeovers
  • Dresser
  • Exterior
  • Fall
  • First Home
  • Furniture Makeover
  • Hidden Compartment
  • Kitchen
  • Lighting
  • Makovers
  • Master Closet
  • Organization
  • R.V.
  • Room Makeovers
  • Seasonal
  • Seating
  • Sewing
  • Shelving
  • Small Builds
  • Smart Home
  • Spring
  • Summer
  • Tables
  • Tablescape
  • Tutorials
  • Uncategorized
  • Wall Art
  • Wall Decor
  • Winter
  • Workshop

Footer

Contact Me: Corey@Sawdust2Stitches.com

Latest ‘Grams

Follow on Instagram
2020 © Your Blog Name
theme by soleilflare
Enter your name and email and get the weekly newsletter... it's FREE!
Your information will *never* be shared or sold to a 3rd party.