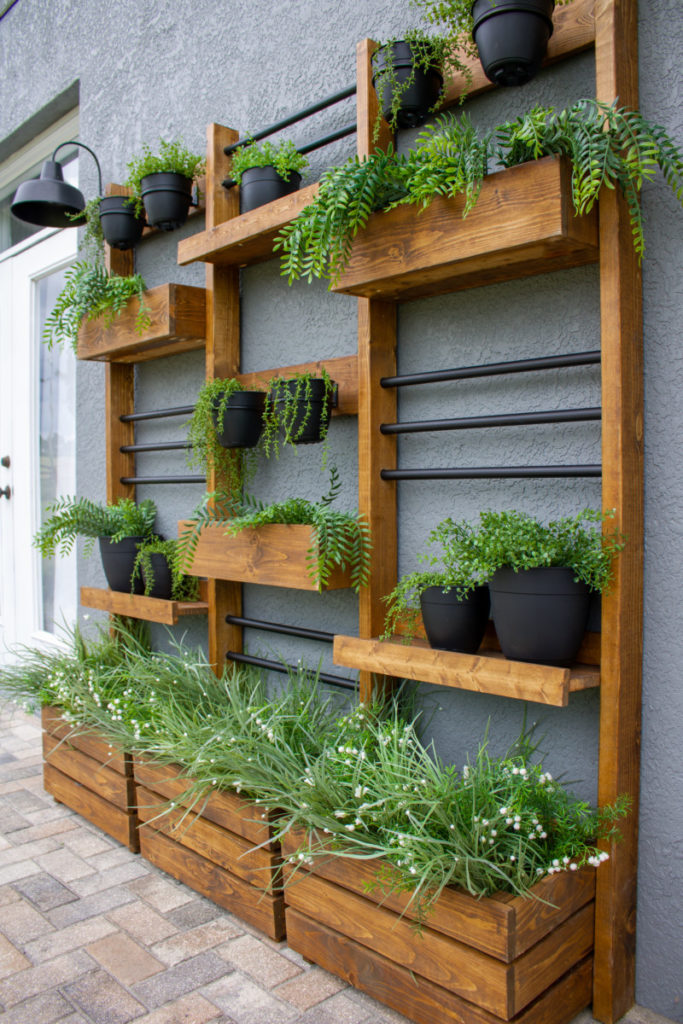
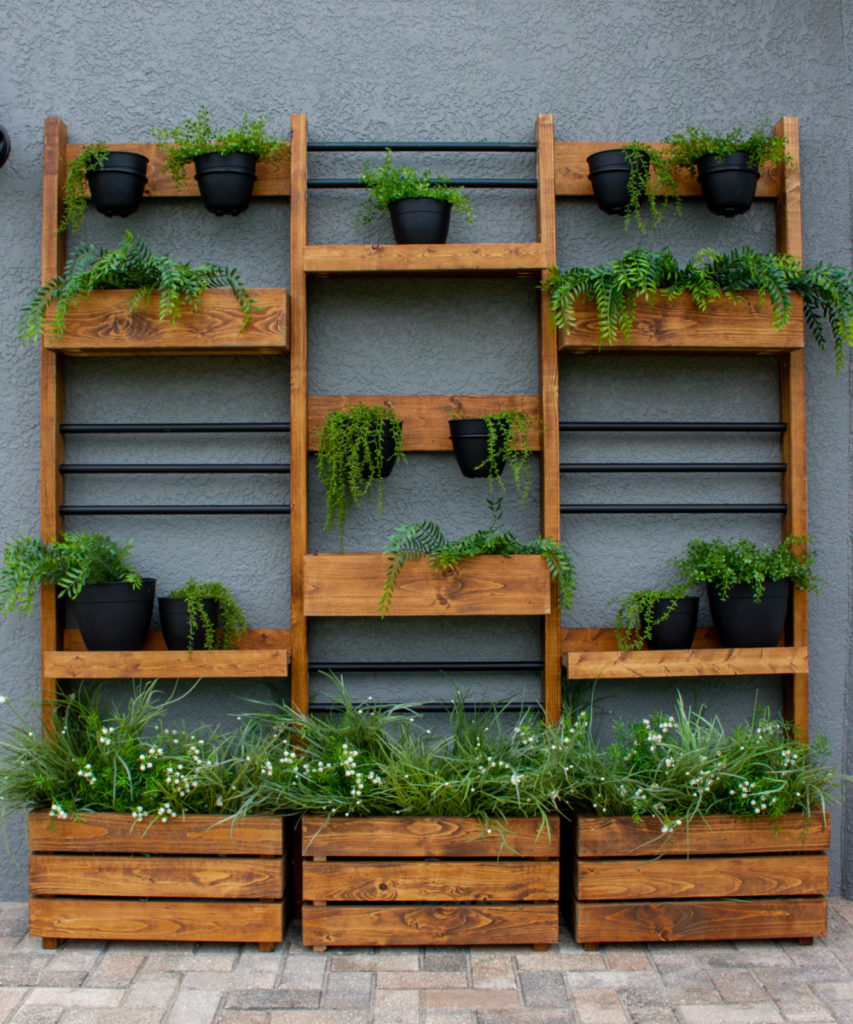
Our back patio was a little lack-luster and needed some new life. It’s not a huge patio so whatever I added needed to have a small footprint and still pack a punch. Thus the plans for the Vertical Wall Planter were born. Enjoy!
| Tools Suggested | Materials Used |
| Safety Glasses | Olympic Elite Stain and Sealer |
| Hearing Protection | Black Spray Paint |
| Tape Measure | 1 1/2″ Pocket Hole Screws |
| Miter Saw | (x2) 2x 2x 6′ Board(s) |
| Carpenters Square | (x7) 1x 4x 8′ Board(s) |
| Sander | (x6) 1x 3x 8′ Board(s) |
| Drill/Driver | (x3) 1x 6x 8′ Board(s) |
| Pocket Hole Jig | (x1) 1x 8x 8′ Board(s) |
| Hack Saw | (x2) 3/4″ 10′ conduit |
| 1″ Forstner Bit | (x6) Vigoro 6″ Wall Mounted Planter |
| Pre-Drill Bit 1/8th” | Landscaping Fabric |
| Heavy Duty Stapler |

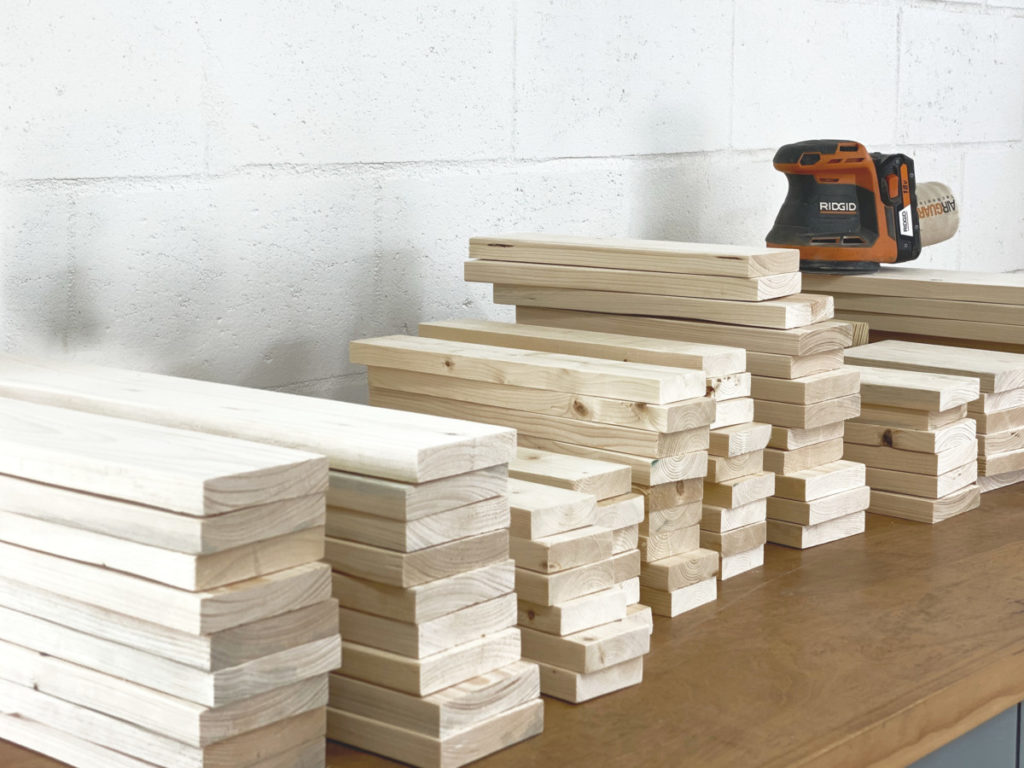
Step 1. Prep Materials
Before I get too far into the building process I prefer to prep all of my boards in advance. Using a miter saw I cut all the boards to proper length and then use an orbital sander to achieve a smooth finish.
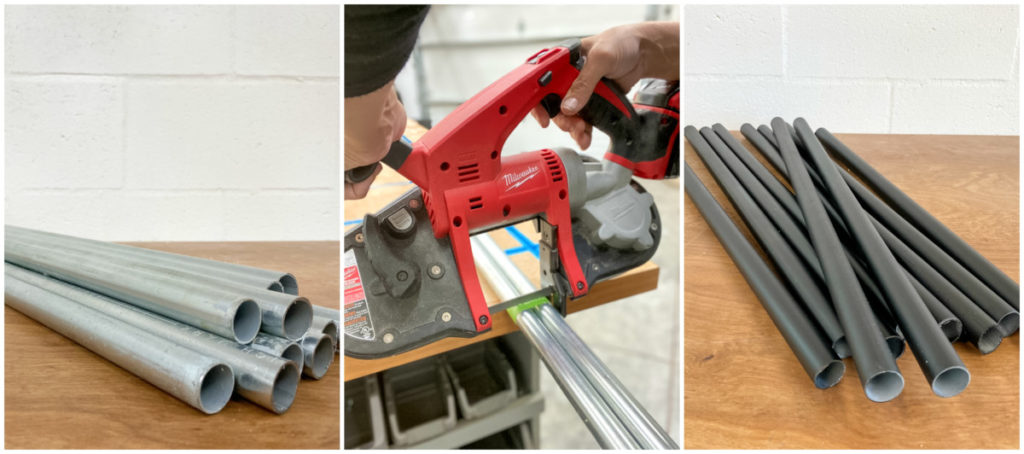
Using a hacksaw or saw and blade intended for metal use cut ¾” metal conduit. If desired apply a lacquer based paint intended for metal.
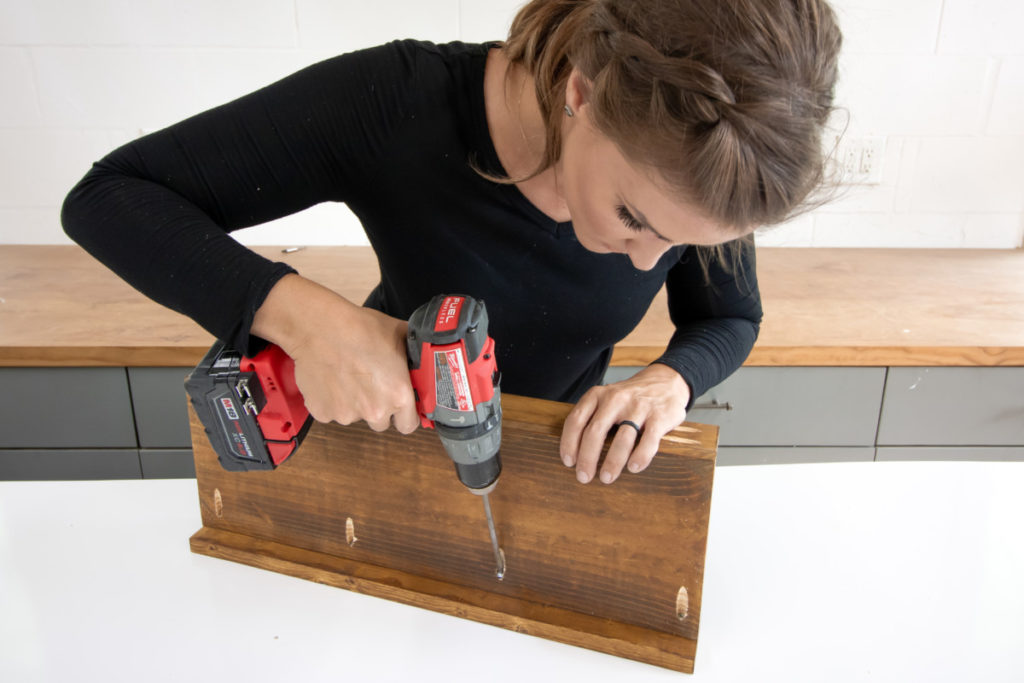
Step 2. Build Large Crate
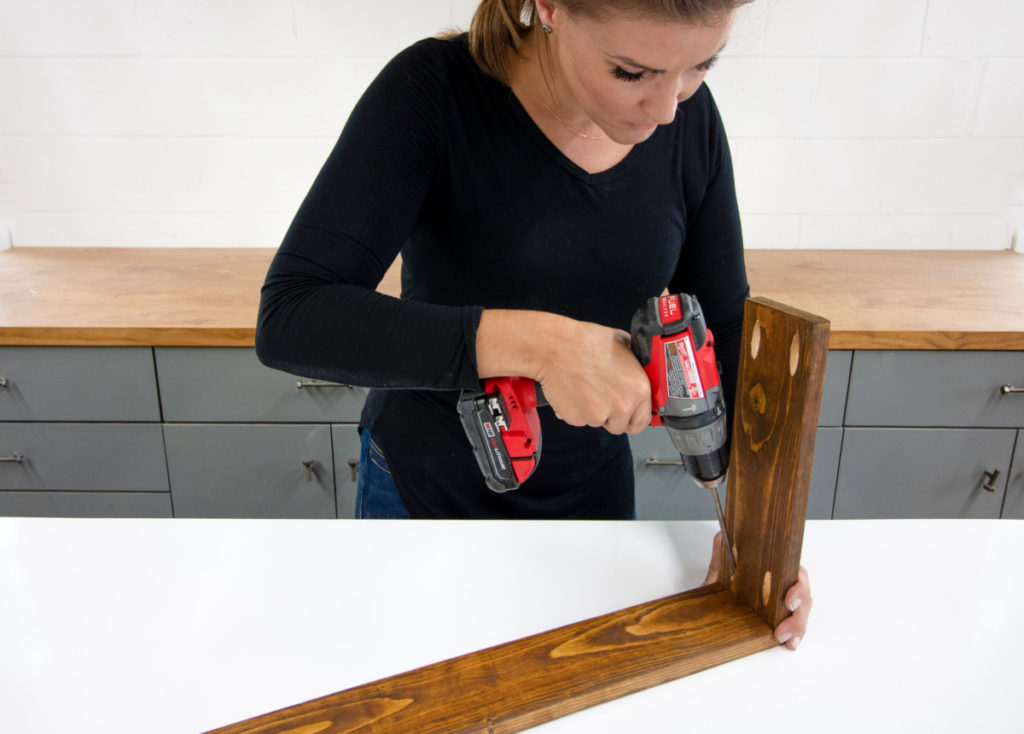
Using a pocket hole jig drill pocket holes into both ends of the Crate Sides.
Using the pocket screws secure the Crate Sides to the (Crate Front and Back). Do this for both sides, creating a rectangle. Repeat this process until (x3) rectangular structures are assembled. Repeat this process three times in order to create three Large Crates.
Step 3. Build Planter Boxes
Using a pocket hole jig drill pocket holes along the edge of the (Planter Sides). Using these holes secure the (Planter Sides) to the (Planter Front).
Using Pocket holes attach the (Planter Back) to both (Planter Sides) creating a rectangle.
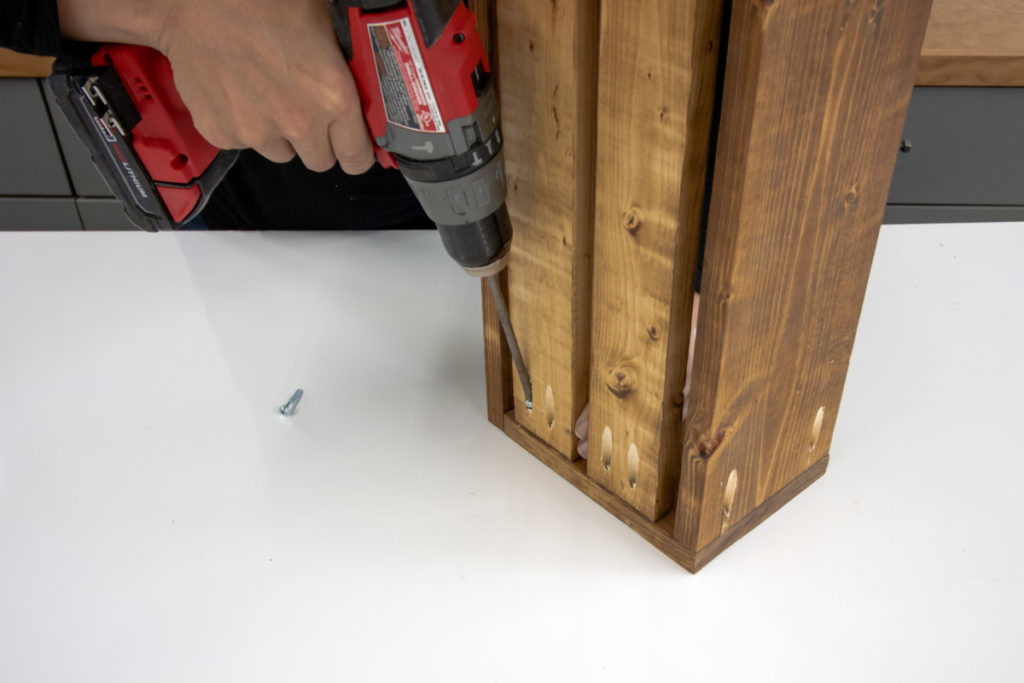
Using pocket holes fasten the (Bottom Slats) to the interior base of the newly constructed (Planter Box).
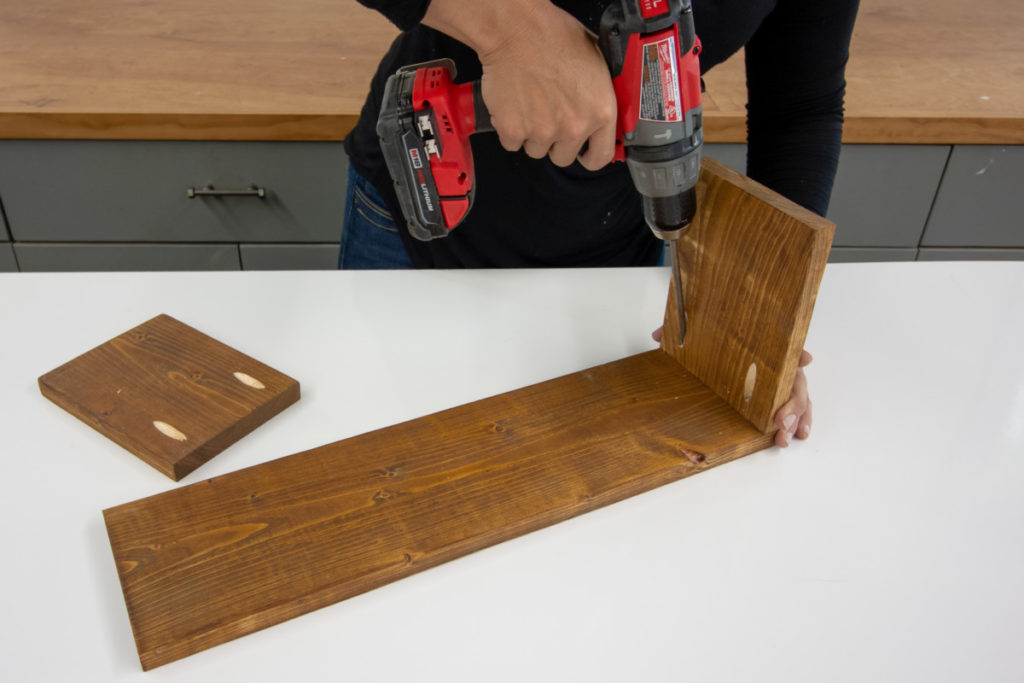
Step 4. Build Planter Ledges
We are down to the easy stuff now folks, stick with me! For the next component of the build we will be incorporating some small ledges.
The (Ledges) consist of only three boards, the Shelf, the Ledge, and the Back Support. Using stainless steel pocket holes attach the Back Support to the top back of the Shelf, and secure the Ledge to the front of the Shelf for added support. Repeat this process to create a total of three Planter Ledges.
Step 5. Planter Ring Mounts
Let’s add some character to this beast! I used six 6in.Vigoro Planter Rings for this design and I LOVE them. The contrast of the matte black against the Olympic Elite “American Chestnut” makes my heart skip a beat!
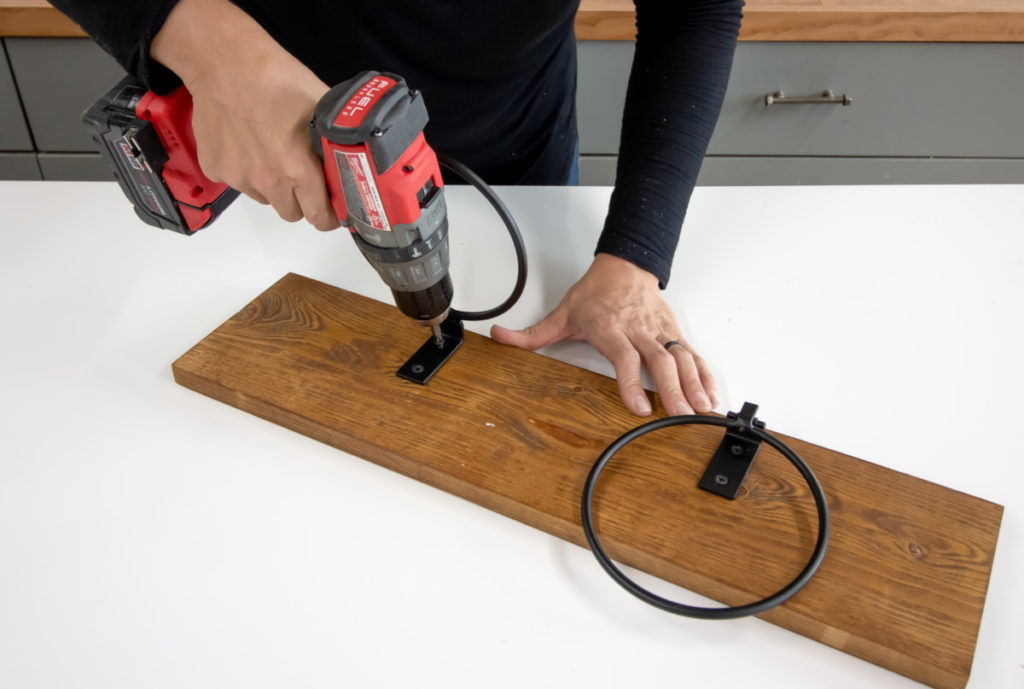
The Planter Ring Mounts, are fairly simple component. To create the Planter Ring Mount simply drill pocket holes along the back sides of the board (later used for installation) and screw the rings to the front of the Planter Ring Mount board.
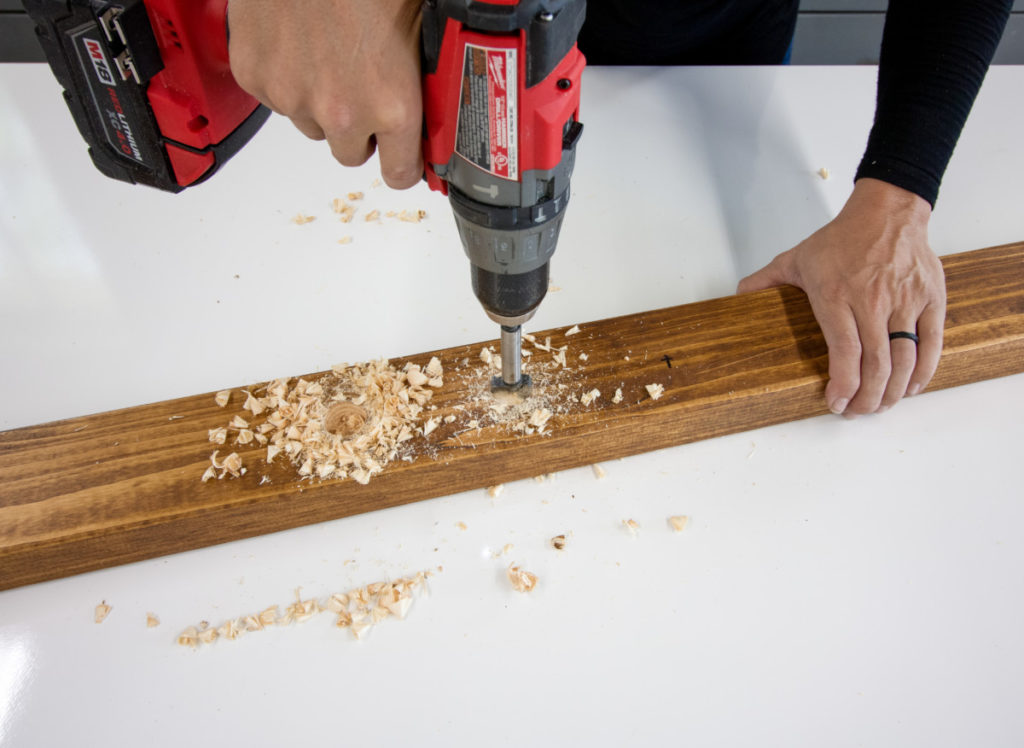
Step 6. Posts
We are now ready to prep our Posts for the wall planter install. Before we begin installing take a few extra minutes to mark the back of the (x4) Posts with the designated dimensions for Crate, Planter, Ledge, Ring Mounts, and Rods.
One last step before I could assemble this beast. I needed to add holes to house the electrical conduit Bars. Using a drill, and a forstner bit I drilled 1” deep coordinating holes that would hold the Rods in place.
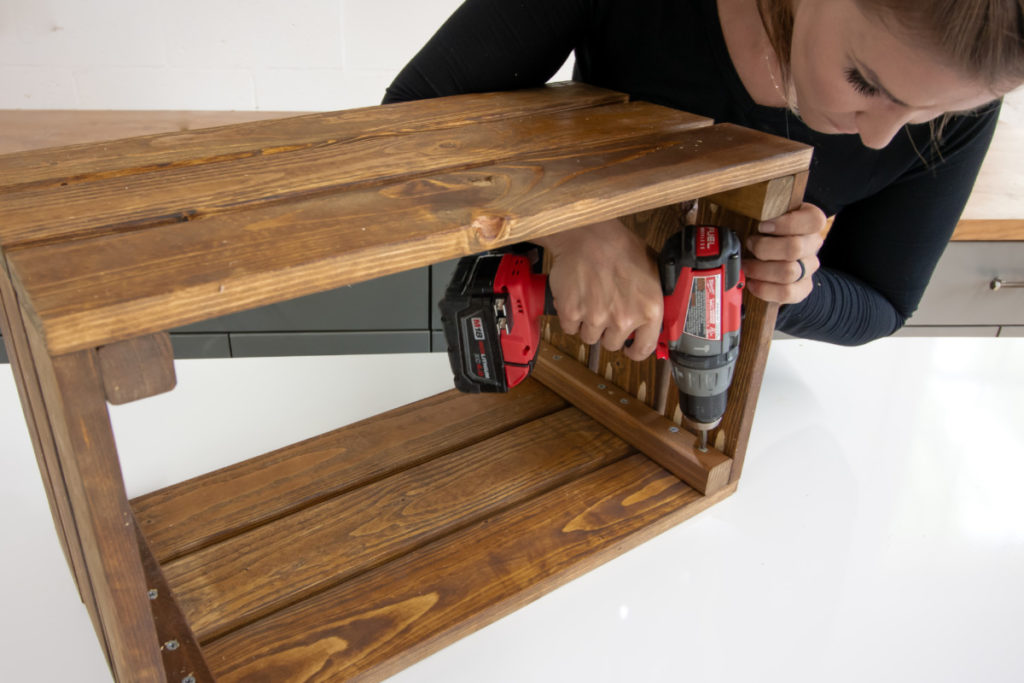
Step 7. Assembly
When assembling start with one side of the structure and work your way across. I recommend using a good wood glue when assembling, in addition to the recommended fasteners.
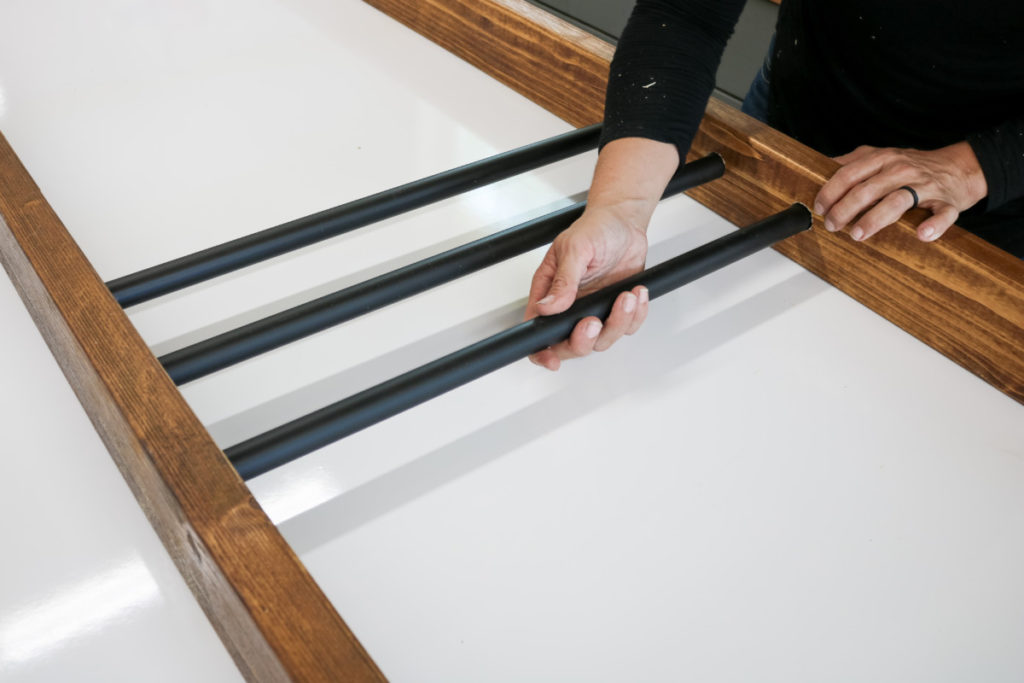
FIRST place your Rods(conduit) into place. After the rods are in positioned in the pre-drilled holes install the “Small Planter Box” (Step 3) the“Shelf” (Step 4) and the “Planter Ring Mounts” (Step 5).
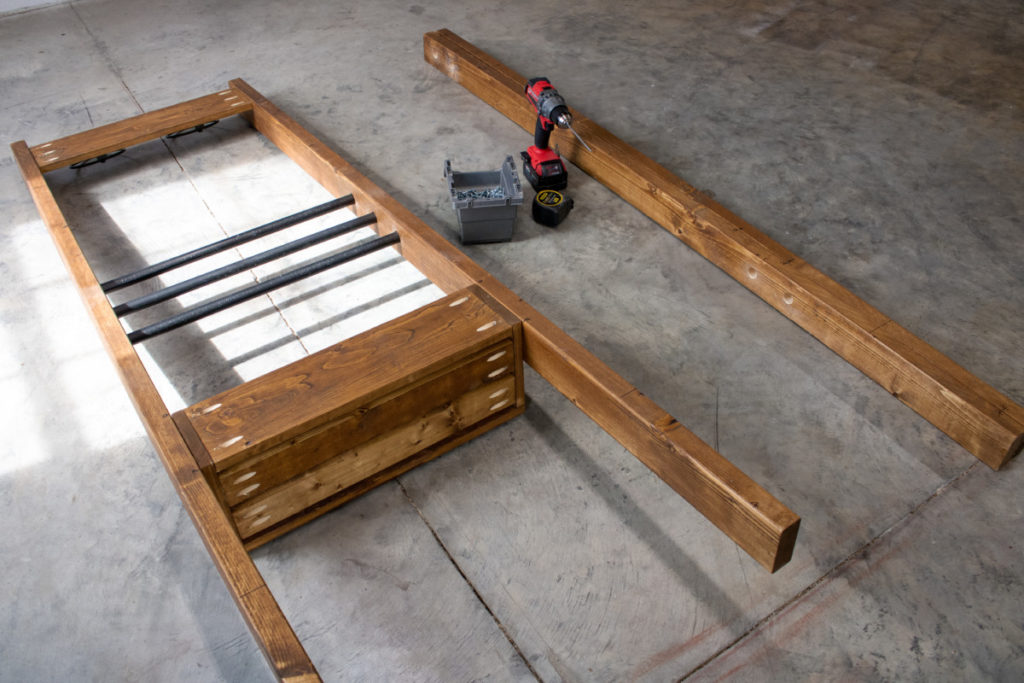
Once the first section is installed, move onto the second section repeating the above process.
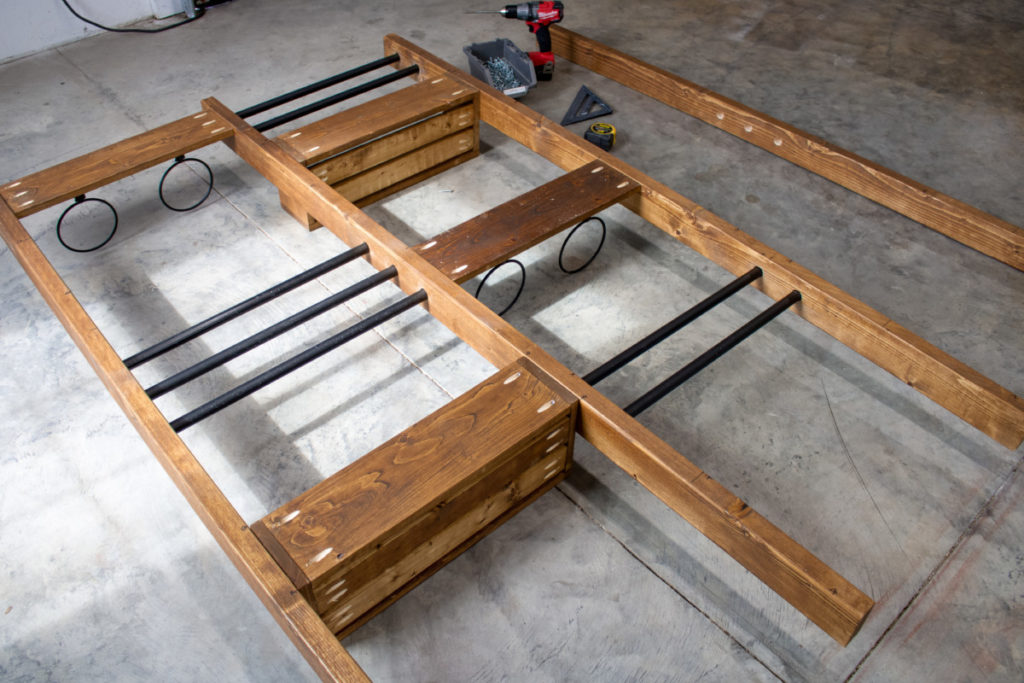
Alright, this may come as a shock, but you will need to repeat this process yet again for the last and final section of the planter.
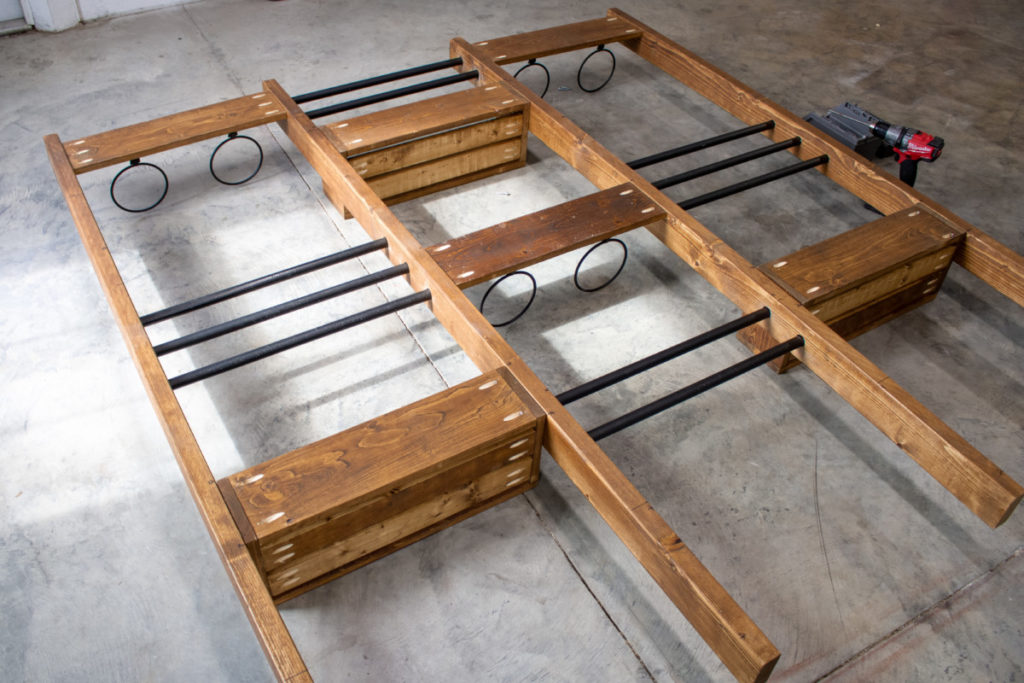
Once all of the Bars, Planter Boxes, Ledges, and Ring Mounts as installed you flip the entire unit over fasten the Large Crates to the base the Posts using 2” exterior screws.
Step 8. Planter Prep
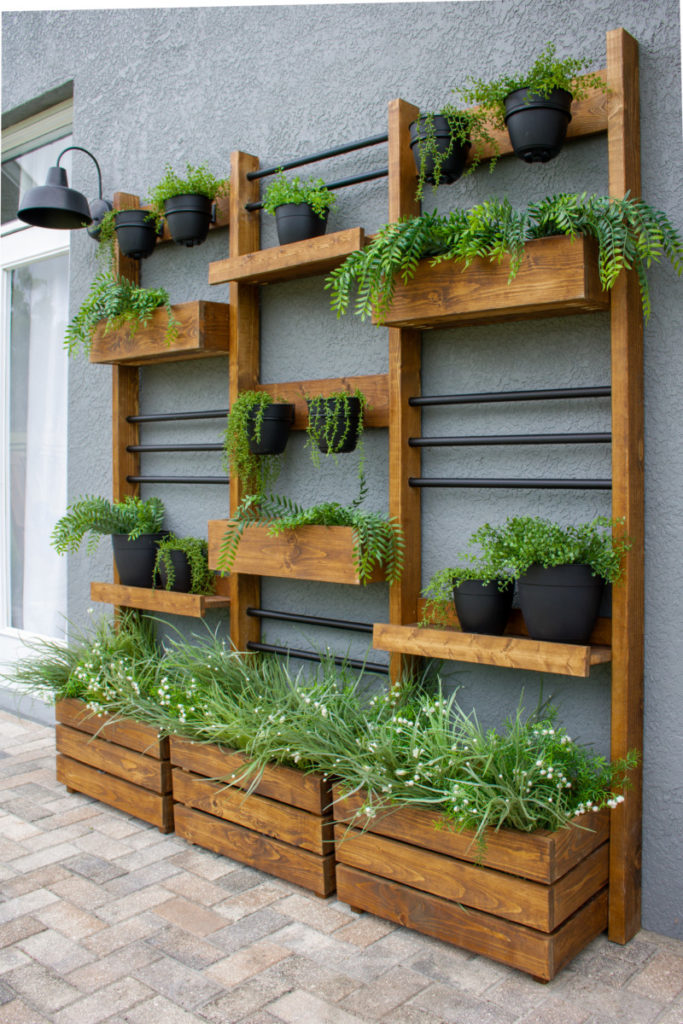
This wall planter project was not designed to be a free-standing piece. It is intended to be secured to a wall for further stability. I would suggest using a minimum of 5 anchor points.
I used the “Plant Ring Mounts” and the interior of the “Large Crates” at the base as my anchor points using 2 ½ inch, ¼” concrete screw anchors or something comparable. The fasteners necessary will differ based on your wall material stucco, brick, stud etc. This project was not designed to be a free-standing piece. It is intended to be secured to a wall for further stability. I would suggest using a minimum of 5 anchor points.


Hi Corey,
Love your work and your tutorials and plans. Purchased 2 plans for my projects around my house.
I had a question about the Wall Planter….did you use (x4) 2×4’s for the post in that build because I don’t see the sizes for the 4 post listed on your plans . I just purchased the plans and would just like to double check before I got started on the project. Thanks.
I am so sorry I am just seeing this comment. I hope you were able to figure it out without a problem. Yes, the 4 posts are made from 2×4’s. I will be sure to note it! Thank you.