• Blog
  • About
  • Press
  • Privacy

Let’s be social!

  • Skip to primary navigation
  • Skip to main content
  • Skip to primary sidebar
  • Skip to footer
Sawdust 2 Stitches

Sawdust 2 Stitches

  • Tutorials
    • Around the House
    • Organization
    • Wall Decor
    • Sewing
  • Makeovers
    • R.V.
    • Room Makeover
    • Furniture Makeover
    • Decor Makeover
  • Build Plans
    • Small Builds
    • Wall Decor
    • Dresser
    • Tables
    • Seating
    • Shelving
    • Hidden Compartment
  • Seasonal
    • Summer
    • Spring
    • Fall
    • Winter
  • Home Tours
    • First Home
    • Current Home
    • 70’s Ranch Home
  • Workshop

Pottery Barn Lamp Knockoff

October 17, 2014


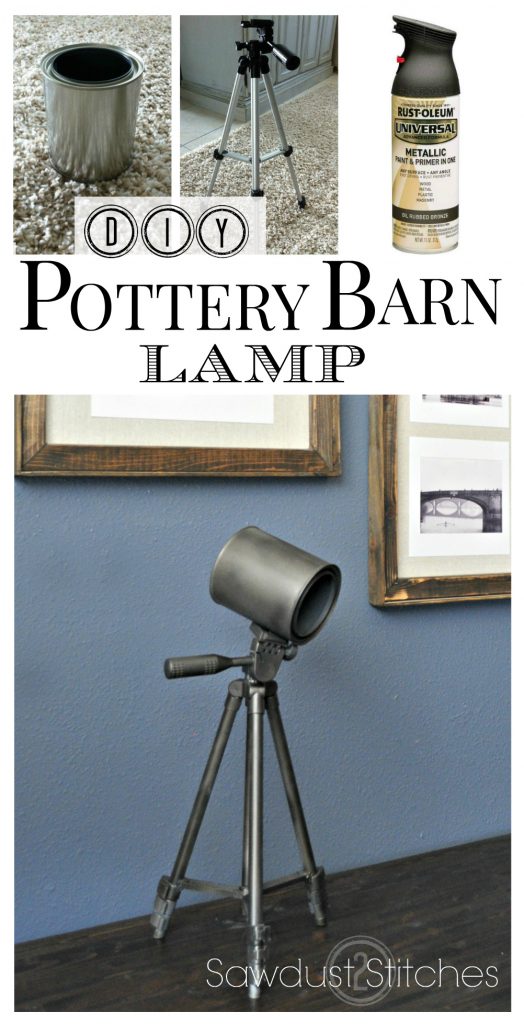
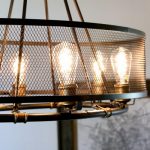
I love Pottery  Barn,  I just do. While I was perusing their catalog I came along a vintage style spotlight lamp.  Coincidentally  at the time I was also  trying to stage some shelves and was having a heck of a time finding something to fill a tall thin space.  LIGHT BULB…  I needed that  lamp!   Actually,  I didn’t need a lamp,  I just wanted it  because it looked awesome…  One thing led to another… the rest is history.

Pottery barn lamp pinterest   sawdust2stitches

Materials  Used

  • Old Tripod
  •  Metal Quart Size Paint Can
  •  Steel Wool
  •  Gray Spray Paint Primer
  •  Various Metallic Spray Paint
  • 1/4″ Bolt w/washer and nut

Tools Suggested

  • Drill
  • 1/4″ Drill Bit

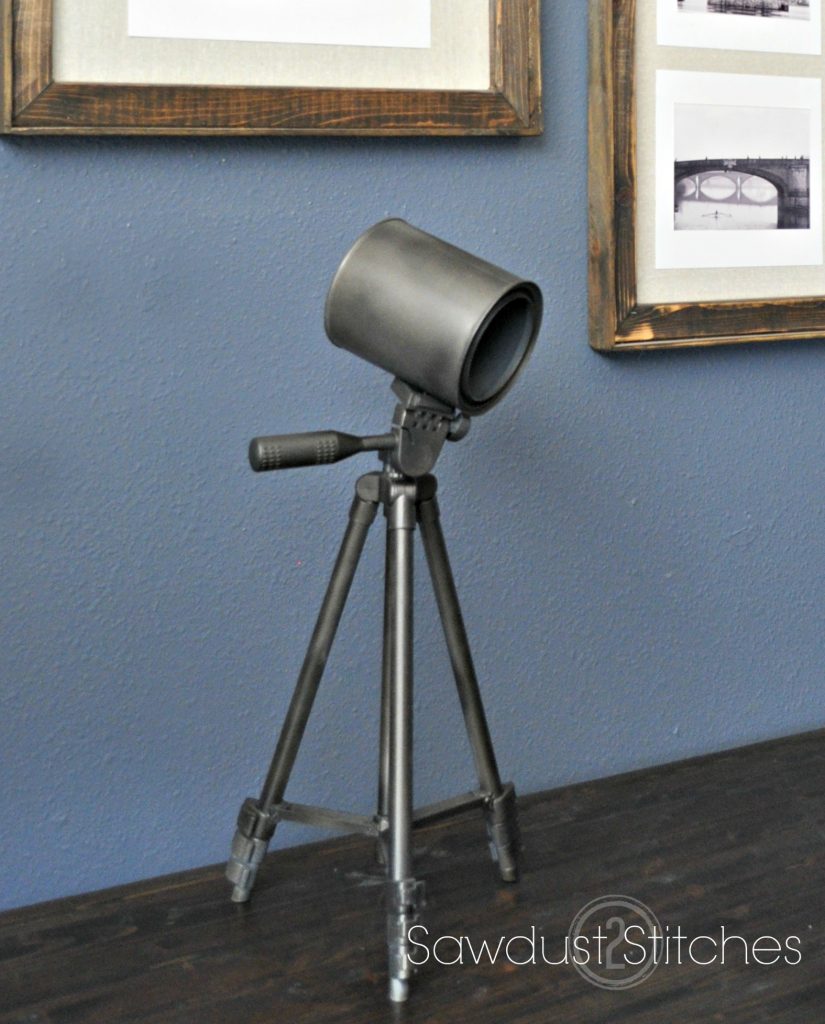
  After  a little bit of brainstorming I  concluded that the Pottery Barn lamp was  essentially a metal can mounted on a tripod…  Lucky (unlucky?) for me,  my kids had been playing with my tripod a few months ago.  Needless to say, it needed to be replaced.   The  broken one would work perfectly for the lamp!  All  I needed now was a largemetal  can.  I had considered  metal  food cans,  but I really  didn’t want the metal ridges on it.  Then  it dawned on me,  they  sell  empty paint cans at Depot!  Perfection.

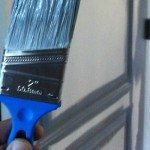
I began  by  scuffing up the paint can and the tripod as much as possible.  Steel wool  seemed to do the trick.  The idea is to simply scuff up the surface enough that the spray paint can properly adhere.

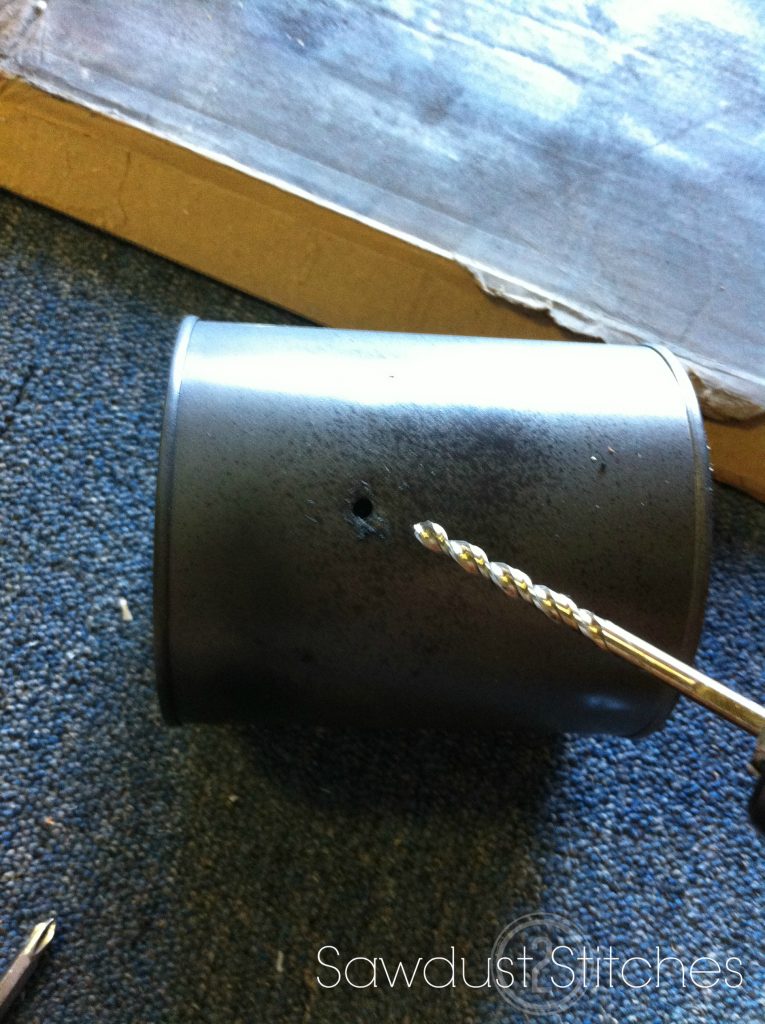
Next I used the 1/4″ drill bit and drilled a hole through  the paint can.

Sawdust2stitches spotlight lamp drill hole

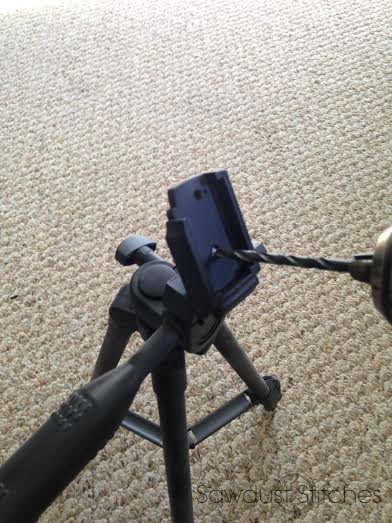
Then  drill through  the tripod. (Basically anywhere that  is accessible and somewhat  level surface).

Spotlight  drill hole in tripod sawdust2stitches edit

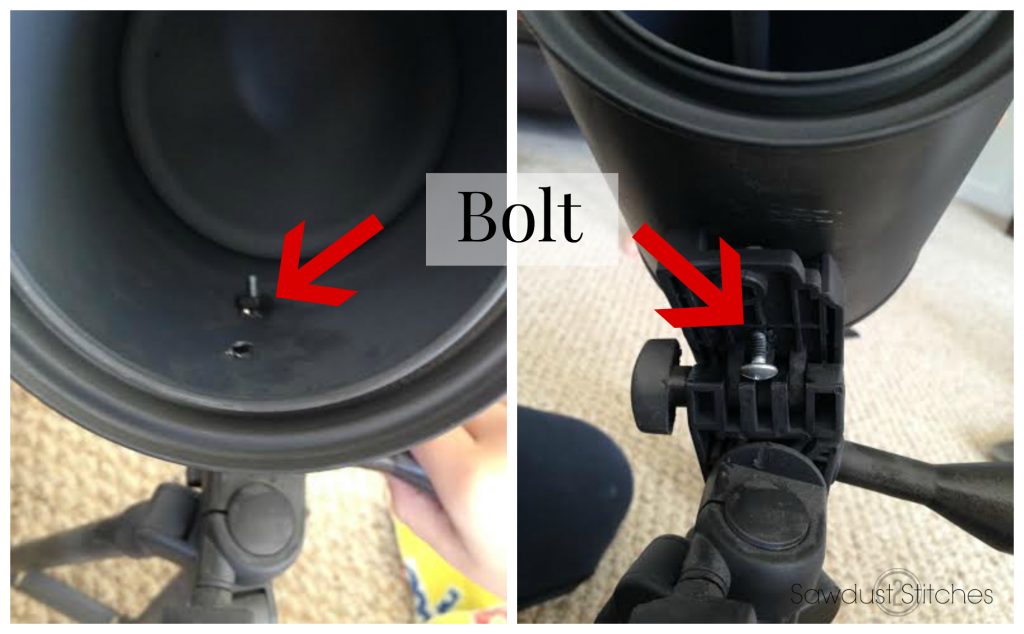
After  the  holes are drilled,   I  used a 1/4″ bolt,  a washer and a  nut to connect the tripod to the paint can.

Spotlight Bolt sawdust2stitches edit  At this point  I took a  gray  primer and sprayed the entire structure.  I followed up by dusting  the entire thing with  several different metallic spray paints.  I  used a technique  very similar to the  one I used on this project.

For the place that I was going to put this,  I did not need to  have it be a functional lamp, BUT  honestly if you are  set on the idea of it being functional,  it is doable!  Ikea sells a cord light kit for $5.00 that could easily  be adapted to fit  your new lamp.hemma-cord-set__36078_PE126952_S4

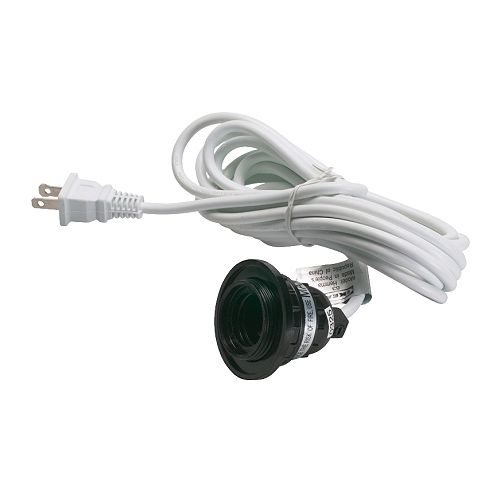
 Ta-da!  There you have it a Pottery Barn-esque spotlight for a fraction of the cost!

Spotlight closeup Sawdust2stitches


spotlight on shelf sawdust2stitches

More from my site

  • Modern Chair UpCycleModern Chair UpCycle
  • PVC Stairwell LightingPVC Stairwell Lighting
  • How to Paint Paneled DoorsHow to Paint Paneled Doors
  • How to: Paint Black Window PanesHow to: Paint Black Window Panes
  • Home Office MakeoverHome Office Makeover
  • How to use Pendants to make a Chandelier.How to use Pendants to make a Chandelier.

in Makovers, Tutorials, Uncategorized # Lighting, Painting, Spray Paint

Reader Interactions

you may also like
Back of Door Spice Rack
Pool Patio Design
How To: Exterior Door Makeover
Out-feed Assembly Workshop Table

Comments

  1. Chrysta Richards says

    November 24, 2014 at 12:51 am

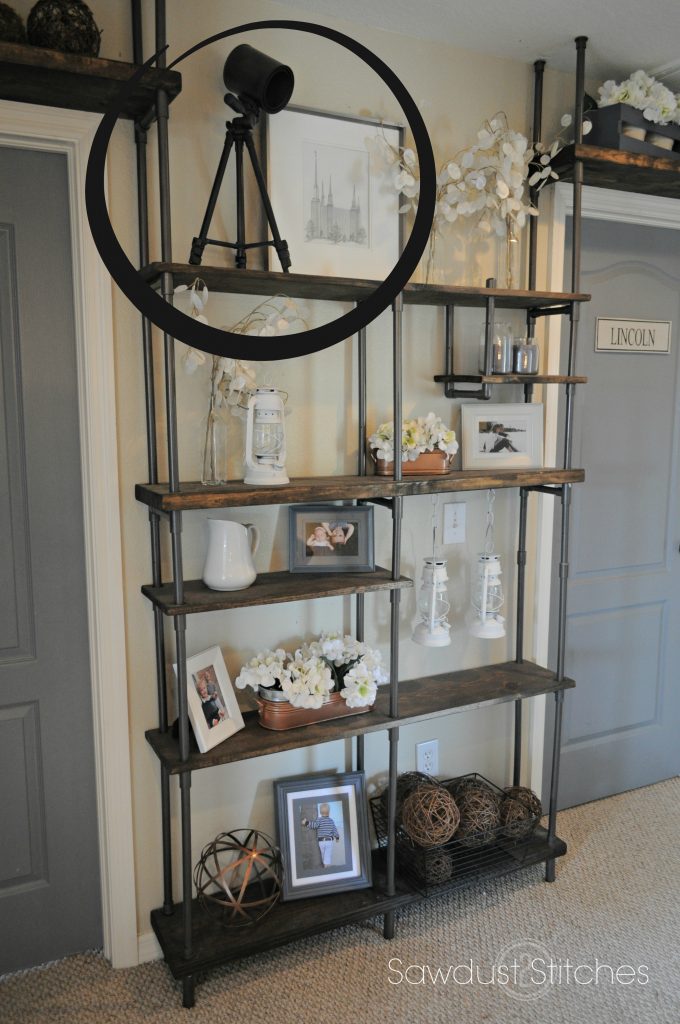
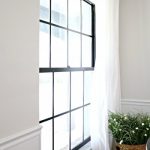
    Hey, so I see your stuff fairly often, but I just noticed the drawing of the Washington, DC temple on the shelf in this post. I got married there and proceeded to move all over with my Army husband, but we are in the Woodbridge, VA stake at the moment, south of DC. Just curious if you’re local-ish to me!

    • coreydecker@gmail.com says

      November 24, 2014 at 12:55 am

      Good eye! I actually live in Florida. I have just always loved that temple and decided to sketch it up. It’s a beautiful place, enjoy it, and thanks for reading!

Primary Sidebar

  • Facebook
  • Instagram
  • Pinterest
  • Twitter
  • YouTube
IMG_9167 (1).jpg fd

Popular Projects

  • How to: Faux Brick Wall
  • Cheap White Curtains
  • Ikea Cubbies into a Rustic Apothecary
  • Cabinet Transformed Into A Kitchen Island
  • R.V. Makeover
  • How to: R.V. Curtains
DIY & Design

Meet Corey

Hi everyone, my name is Corey, and I have a problem. I can’t leave well enough alone… The best therapy usually involves a variety of power tools. So, in the few “spare” moments I am not entertaining my two beautiful, rambunctious, boys, I can typically be found hunched over a sewing machine and/or covered in sawdust. All in the efforts to create a perfect balance of aesthetics and practicality in our home.
read more

Join our mailing list!

DIY & design ideas - right in your inbox!

Top Hits!

  • How to: Faux Brick Wall
  • Cheap White Curtains
  • Ikea Cubbies into a Rustic Apothecary

Featured

Back of Door Spice Rack

Categories

  • 70's Ranch Home
  • Around the House
  • Build Plans
  • Crafts
  • Current Home
  • Decor Makeovers
  • Dresser
  • Exterior
  • Fall
  • First Home
  • Furniture Makeover
  • Hidden Compartment
  • Kitchen
  • Lighting
  • Makovers
  • Master Closet
  • Organization
  • R.V.
  • Room Makeovers
  • Seasonal
  • Seating
  • Sewing
  • Shelving
  • Small Builds
  • Smart Home
  • Spring
  • Summer
  • Tables
  • Tablescape
  • Tutorials
  • Uncategorized
  • Wall Art
  • Wall Decor
  • Winter
  • Workshop

Footer

Contact Me: Corey@Sawdust2Stitches.com

Latest ‘Grams

Follow on Instagram
2020 © Your Blog Name
theme by soleilflare
Enter your name and email and get the weekly newsletter... it's FREE!
Your information will *never* be shared or sold to a 3rd party.