Supplies Used:
- 4′ x 8′ Sheet of 3/4″ Plywood
- (x2) 1 x 2 Common Pine Board
- (x1) 1″ x 3″ Common Pine Board
- wood glue
Tools Suggested:
- Table Saw
- Kreg Jig
- Drill
- Electric Sander
- Sand Paper
- 16 ga. nailer (optional)
Cut List :
3/4″ Plywood
- (x3) @ 32″ x 15.25″
- (x2) @ 64.5″ x 15.25″
1×2 Common Pine Board (actual dimensions 3/4″x 1.5″)
- (x2) @ 64.5″
- (x1) @ 32″
1 x 3 Common Pine Board (Actual Dimensions 3/4″ x 2.5″ )
- (x2) @ 32″
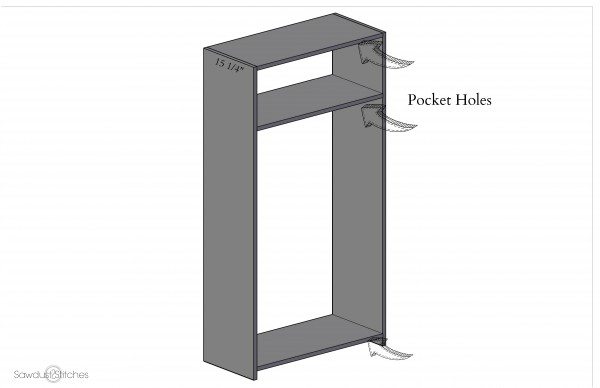
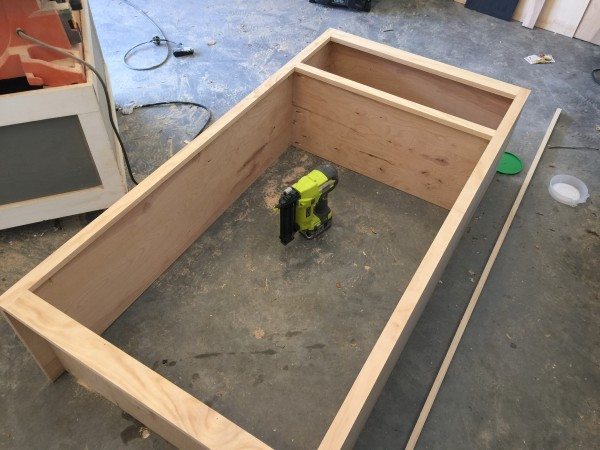
Step 1. Construct Carcass

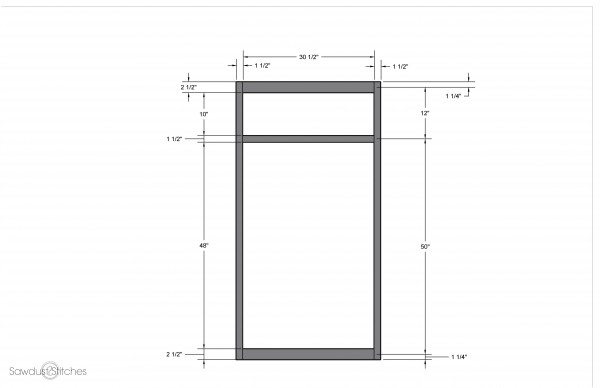
Step 2. Build Face Frame
Step 3. Attach Face Frame
You can attach the face frame 1 of 2 ways. You can utilize a Pocket Hole Jig and place pocket holes on the interior of the 15.25″x 64.5″ plywood. OR you can do what I did and apply wood glue to the face of the carcass (base) and then attach the face frame using finish nails and clamping.

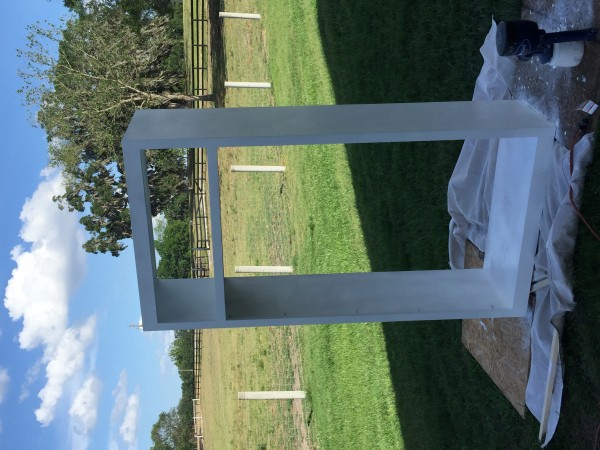
Step 4. Finish
Before applying paint and/or stain I gave it a quick once over with sand paper before applying paint. This will help create a nice smooth finish.
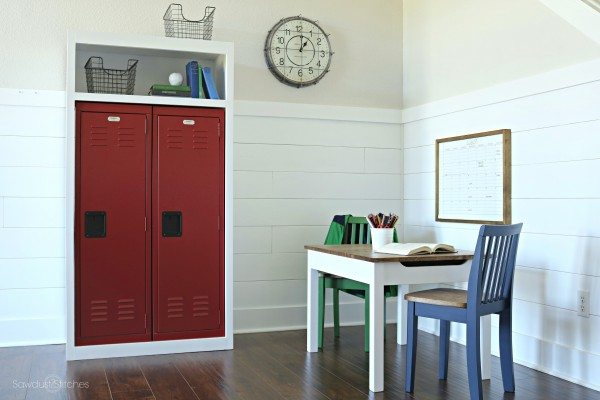
Step 6. Insert Lockers
I ordered (x2) lockers from HomeDepot.com, they come in several colors. I opted for red, and I love them! They serve as great HIDDEN storage. My favorite kind! 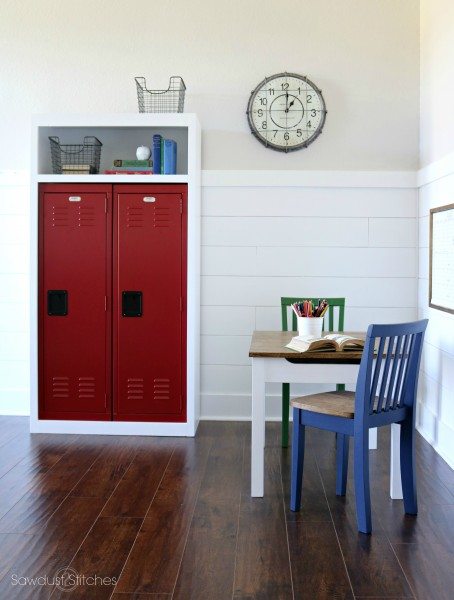
 Copyright secured by Digiprove © 2017