• Blog
  • About
  • Press
  • Privacy

Let’s be social!

  • Skip to primary navigation
  • Skip to main content
  • Skip to primary sidebar
  • Skip to footer
Sawdust 2 Stitches

Sawdust 2 Stitches

  • Tutorials
    • Around the House
    • Organization
    • Wall Decor
    • Sewing
  • Makeovers
    • R.V.
    • Room Makeover
    • Furniture Makeover
    • Decor Makeover
  • Build Plans
    • Small Builds
    • Wall Decor
    • Dresser
    • Tables
    • Seating
    • Shelving
    • Hidden Compartment
  • Seasonal
    • Summer
    • Spring
    • Fall
    • Winter
  • Home Tours
    • First Home
    • Current Home
    • 70’s Ranch Home
  • Workshop

Blog

Trim-a-Tree Series: Easy Tinsel Ornaments

November 29, 2013

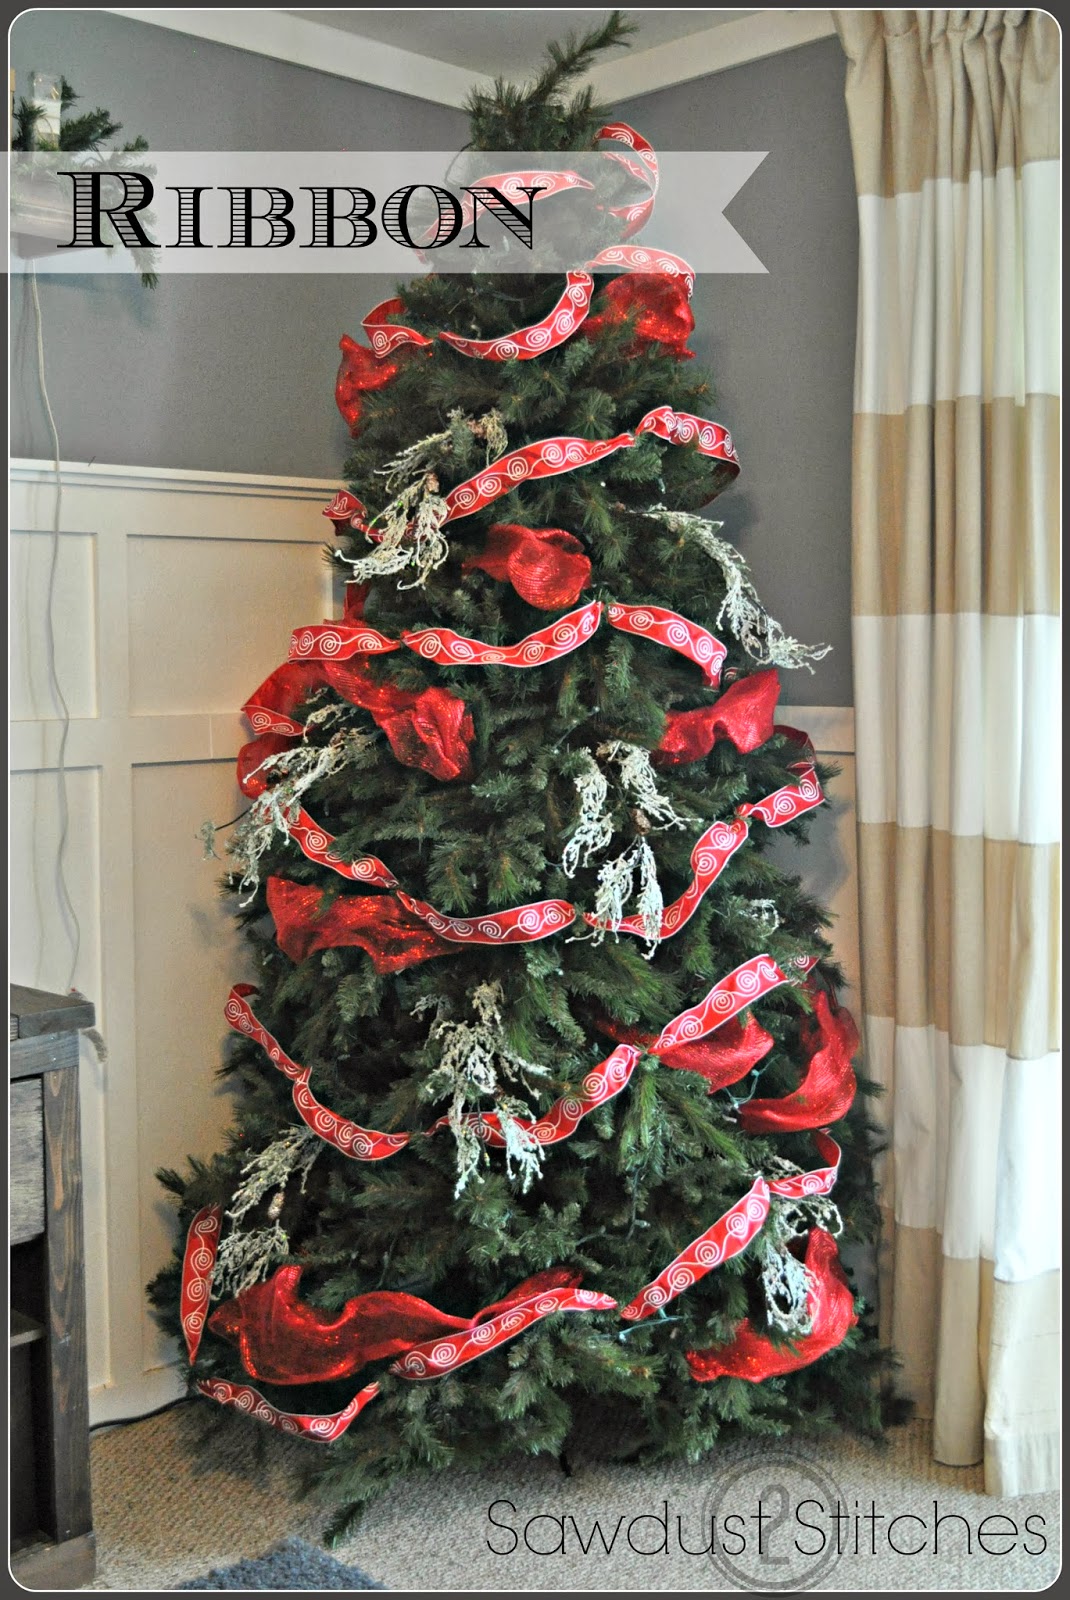
Happy Thanksgiving!  I know many families wait until the day after Thanksgiving to decorate for Christmas. (Obviously  I am not patient enough to share that notion)  In the event you have not decorated  yet, here is a VERY easy and cheap project…

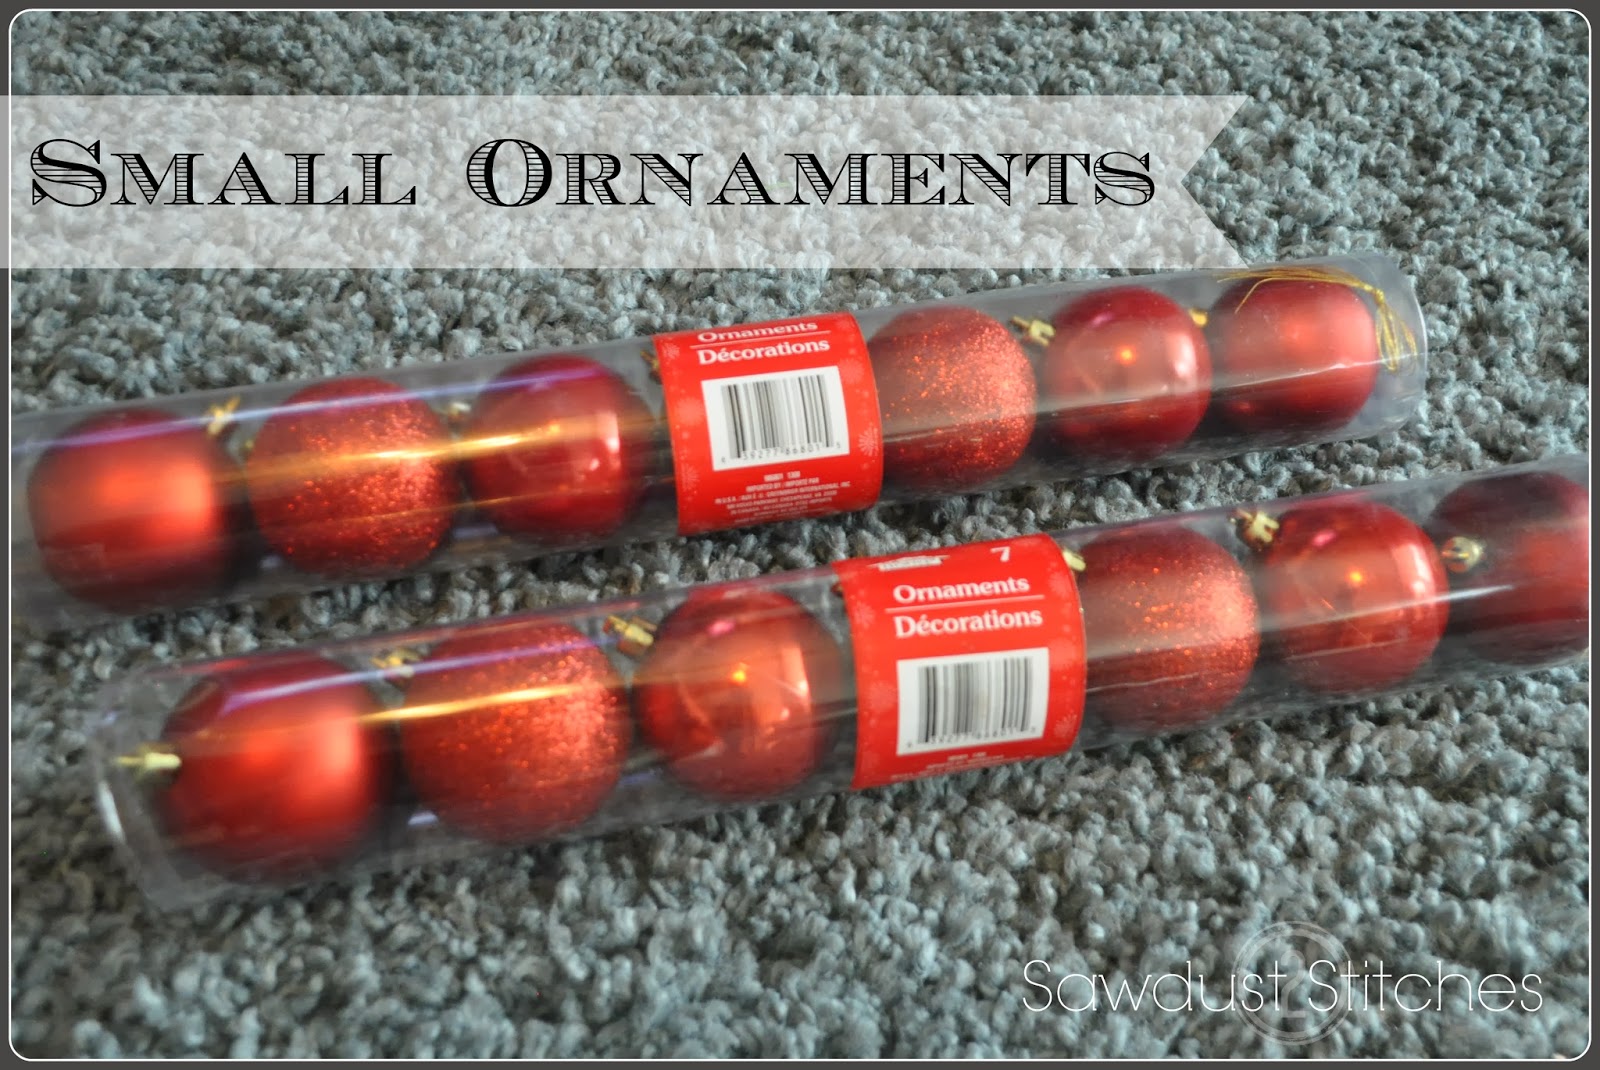
     I am  sure you  have all seen the many assortments of ugly that these ornaments have been subjected to.  They have been filled with potpourri, painted in marble pattern… I could go on and on…
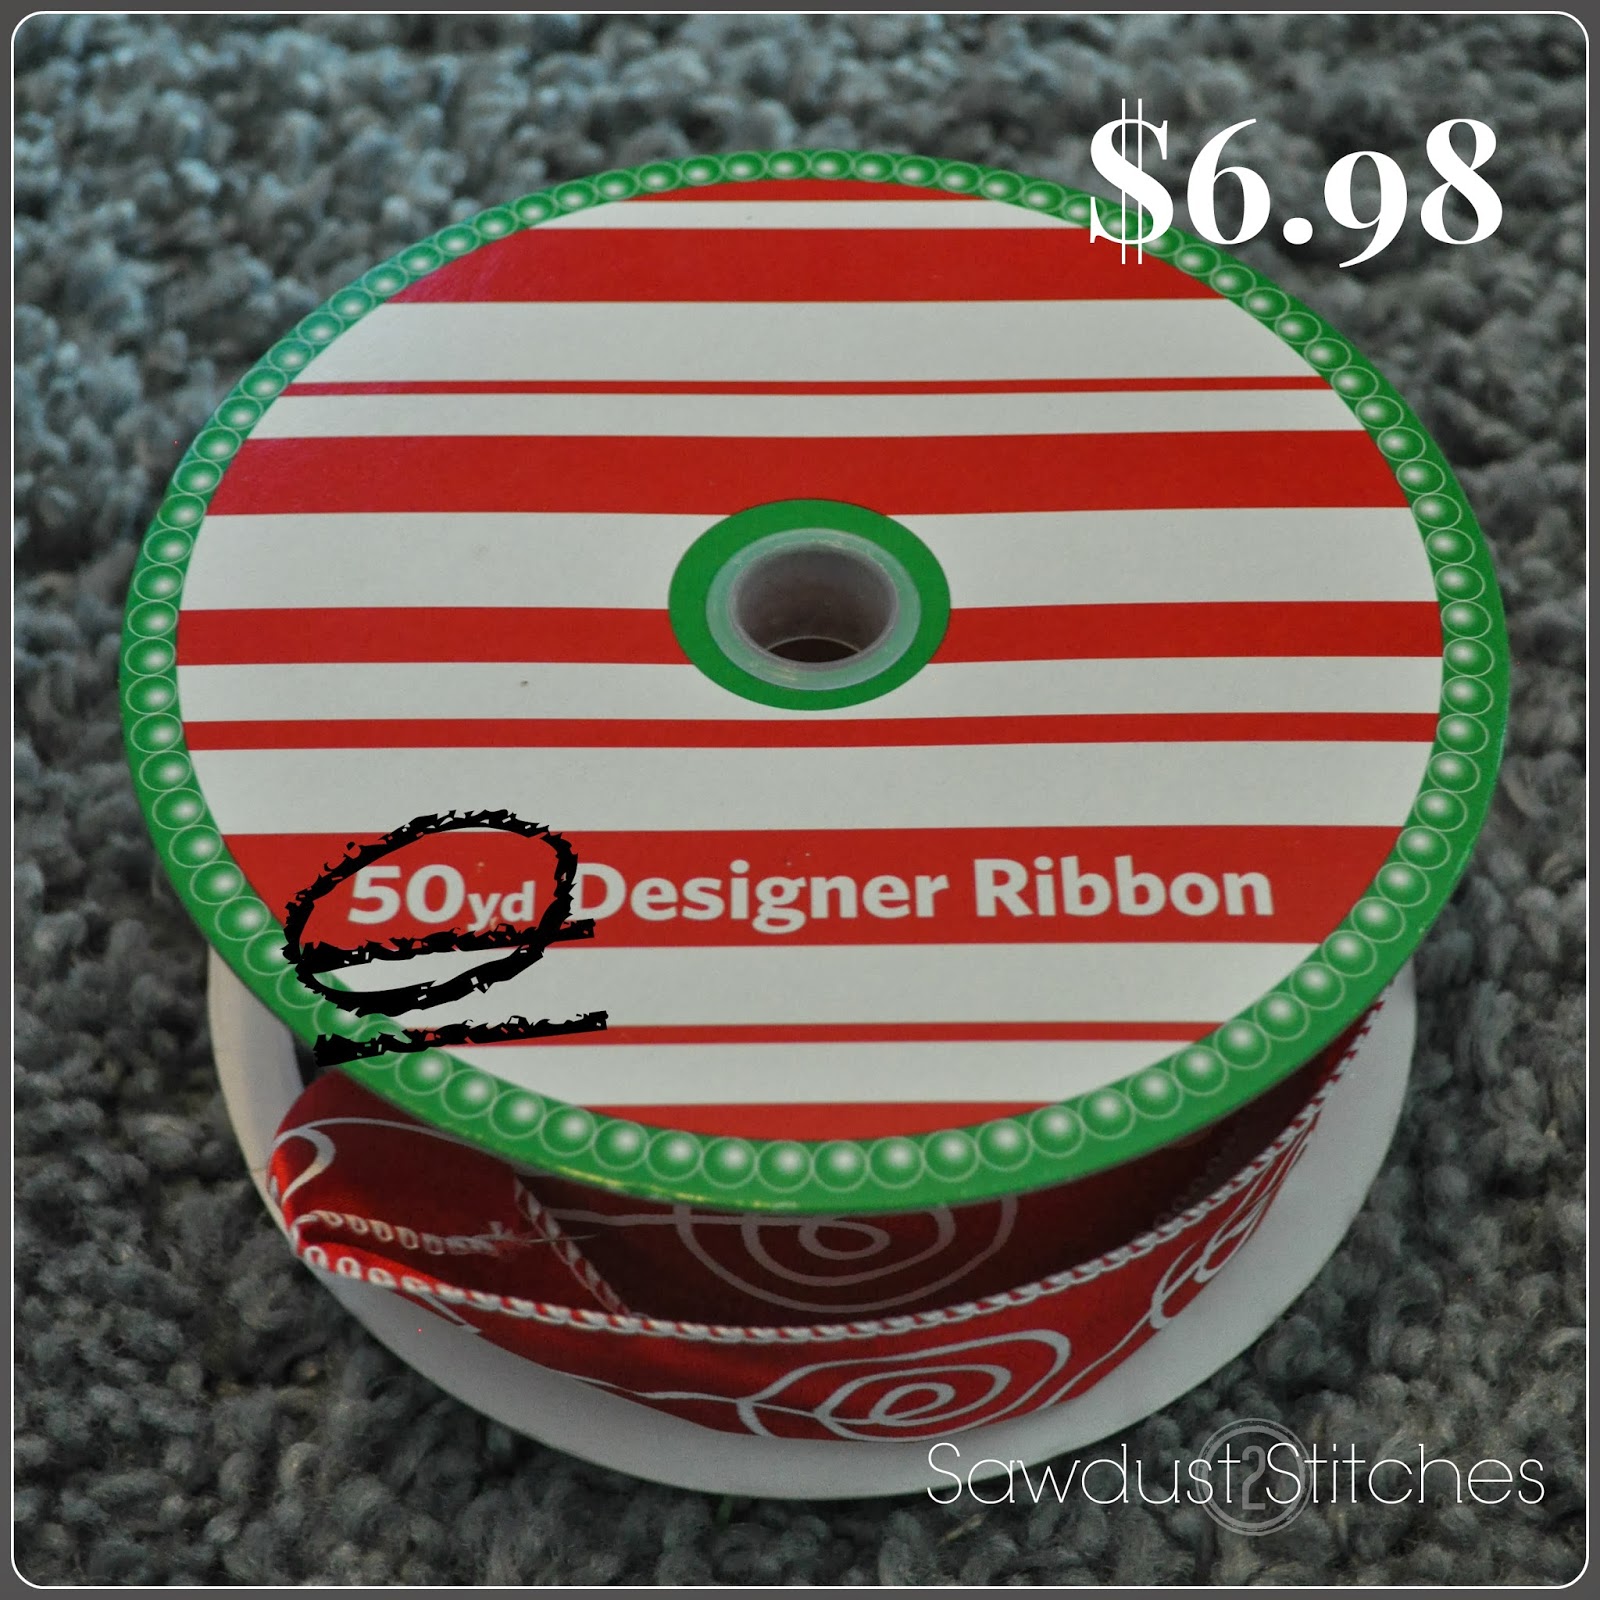
    Might I suggest this as an alternative.  It is cheap, easy, and  you can  change the color from year to year.
 
Step 1: cut a 6″ section of Tinsel
Step 2: Remove Ornament Cap
Step 3: Insert Tinsel
Step 4: Replace Ornament Cap
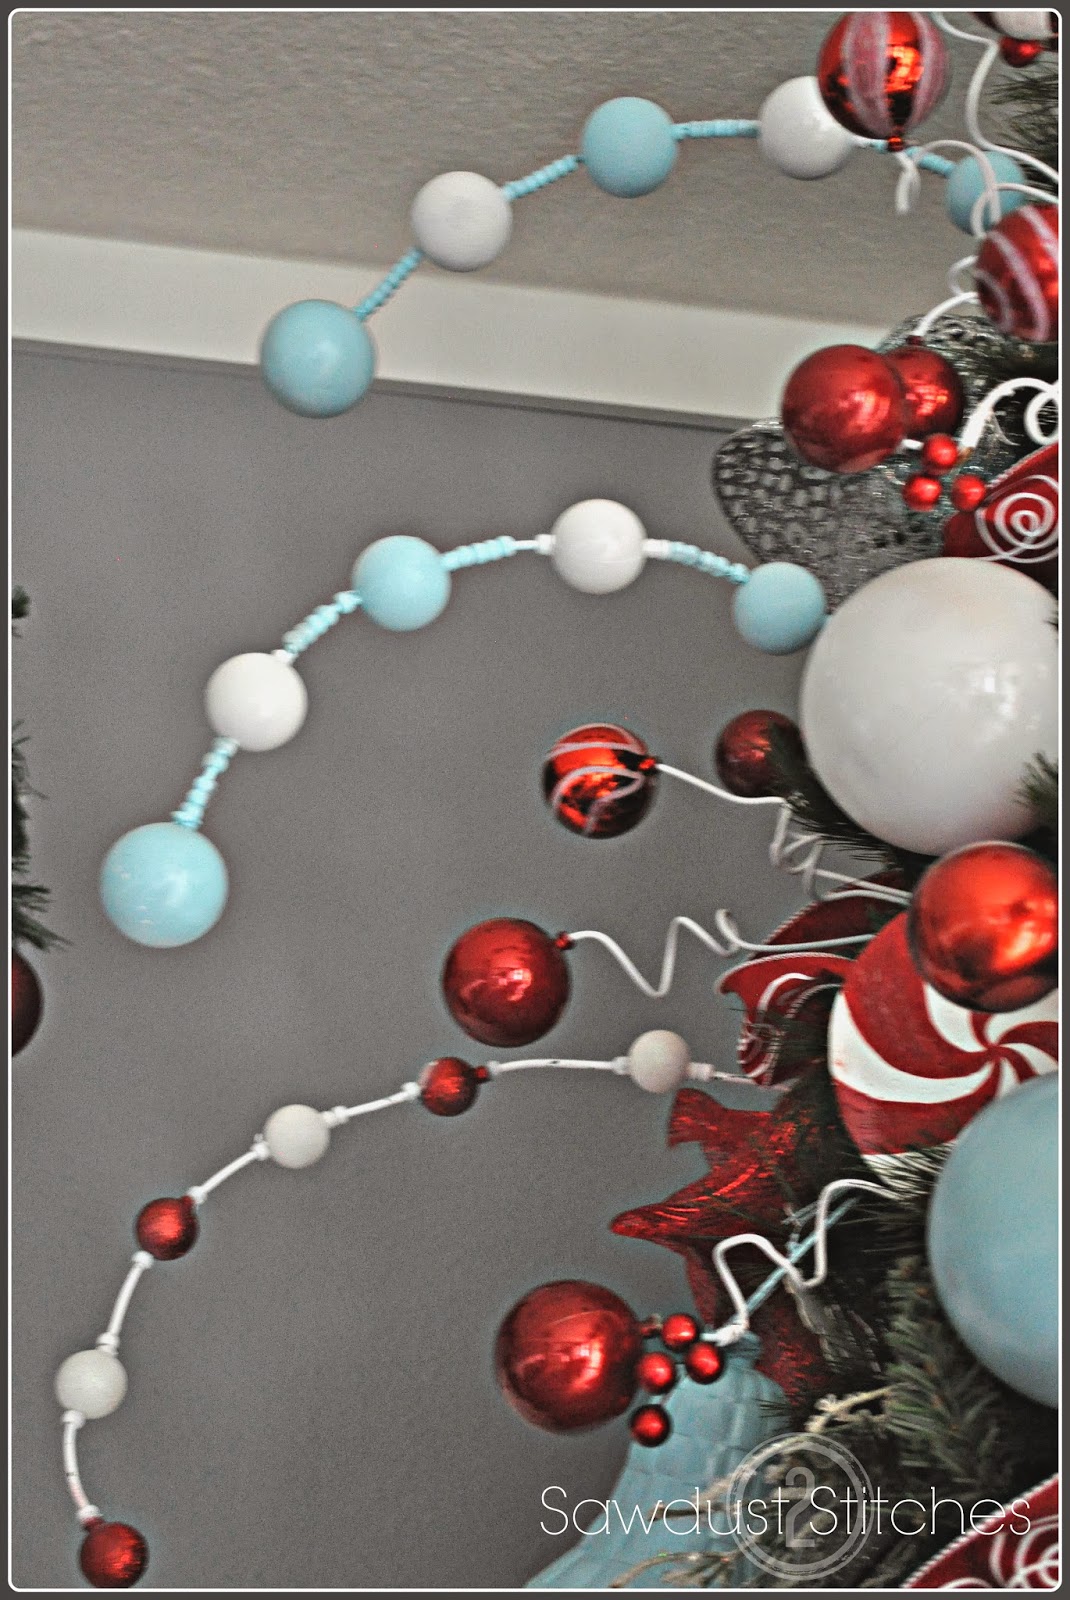
 That’s it,  your done!
It adds visual texture, and some sparkle without going overboard.

Trim-a-Tree Series: Cheap, Large Ornaments

November 24, 2013

How about another easy ornament ?

 Ok, here is another EASY one, and potentially free.

Supplies Needed:    
Wrapping paper
Tape
Scissors
Boxes of various sizes
Ribbon

Step 1: Wrap boxes
Step 2: Stick them in the tree

Yup,  that’s it,  your done.

How easy?   You can choose any wrapping paper to match your colors.  They take up a large amount of space, and they are super cheap!  You are welcome.

Have fun!

Corey Decker

Trim a Tree Series: Spray Paint is Your Friend!

November 22, 2013

Are you getting bored with your usual Christmas tree ?
Well then,  I have a suggestion for you.

Awesome LARGE ornaments, for less than a dollar, and in any color  your need !?  It’s a Christmas miracle.

Pretty self explanatory.  Now go and give your tree the “wow” factor.

Corey

Trim a Tree

November 19, 2013

I have said that  I have a  hard time decorating for Thanksgiving  because I LOVE decorating for Christmas. Well, I was not exaggerating.  I put up both of our trees this past week and love them!

        Now,  I realize that to many decorating a tree may be a no brainer… But to others, a  little help wouldn’t hurt. So here is a little step-by-step breakdown.
     First things first, put on the twinkle lights, and make sure they are evenly distributed.

* Remember, if the back of your tree is not exposed,  you do not need to decorate it! Lights                included,  I simply go back and forth and  save  myself lights and trouble of going around the back.
* Remember to know where your power source is, and plan  accordingly.

You can use traditional spray snow, from a can, (only a few bucks at Walmart)  OR you can do what  I did, I took extra boughs from an old tree and spray painted them white.

Adding the white  I think make a huge difference,  it creates contrast and I like it.

Do not under estimate the impact that  ribbon can add  to a tree! It can cover a lot of space for just a few bucks.  It also breaks up the space, you want a variety of sizes, textures, and shapes,  ribbon helps achieve this!

At Sam’s Club you can get a 50 YARD roll for $7.00!  In the event you don’t price ribbon, you should know this is an amazing deal!  They have a ton of colors and patterns to choose from.  I had MORE than enough to cover my entire tree, a few garlands and still had extra.

I also  used the  new popular product  wide mesh ribbon.
*Instead of using the mesh as ribbon,  I actually  cut it into sections (a few feet each), and then   gathered the ends with pipe cleaners.  Then wired the pipe cleaners into the tree.  It created the illusion of going around the tree,  with  using a minimal amount.

    When you add your large decorations, make sure you spread them out evenly.
(That is why  I add all my large pieces all at once. It is easier to make it balanced.)

I got all of these decorations for only a dollar a peice.  If you price large ornaments,  you know that even the cheapest ones are easily $5.00 a peice.

These are also Dollar Tree Ornaments!

This is my favorite part, adding   the accent color. I  suggest  using three colors when decorating your tree.  I would use two classic colors that can easily be used year to year.  Then for your “Pop Color”  you can go trendy and not need to replace your entire tree as trends or styles change.

Each of  these were  a dollar or less each. When you are willing to put in a little elbow grease you can really  add the WOW factor to your tree.

Ok, so NOW is the time to use the normal size ornaments!  You can get these sleeves for only $1, again at Dollar Tree!  Go through and fill in all the small gaps, don’t be afraid to layer as well.

EXTRA CREDIT:
If you feel like being a little ridiculously over the top,  you an add decoration that extends out beyond the tree.  I think  this last step can really  take the tree to the next level!

 The end result ?  A picture perfect tree!
  Have fun, and enjoy preparing for the Holiday Season!
                                                                              Corey

5 min Thanksgiving Fix

November 7, 2013

 
 I am by no means an anti-Thanksgiving nut,  but I do have a hard time “decorating” for it.  If I am being honest with myself, I know I will not make it until after Thanksgiving to put up my Christmas tree. ( I know, I know,  say what you want,  but it takes a lot of work to get all those decorations up and I want to enjoy it!  It doesn’t make me enjoy or celebrate Thanksgiving any less.)
So instead of putting up more decorations for Thanksgiving,  I just take  down some of the Halloween!  Genius.
So there you have it folks, a five minute transition from Halloween to Thanksgiving.  What could make this better?  It is free!
Now to start preparations for my  little Winter Wonderland.

Halloween Costumes

November 5, 2013

 I  hope that everyone had a Happy Halloween!  In the Decker household,  we began preparations a few weeks ago.   Granted this not a tutorial,  BUT,  I will have you know I made both costumes, accessories and all for under $30.00!  I’m sorry, but you can’t buy a halfway decent costume for $15.00!

  When it comes to costumes,  just remember  thrift stores are your friend!  I got the kids boots and jackets in the women’s department!  I tore them apart and recreated them. Buying the material alone would have been way more than $30. So,  just remember to think outside the box!


My kids are still at an age that they really  don’t care what costume I put them in,  so I take advantage of it!  This year I talked Wyatt into the idea that Captain Hook is a “Cool” pirate!  I figured I could get him to get on board with that idea,  because he currently  likes  “Jake and the Neverland Pirates”.   My only criteria  for costumes is that  I have an elaborate one to make!
Its all about the details!

Anyone who knows me, knows I have a small fixation on dressing my two boys to match or at least coordinate.  So, if Wyatt was going to be a pirate,  then  Mr. Linc would need to be either  Peter Pan or another Pirate Captain….
So,  I opted for another elaborate pirate.  I was going for the Jack Sparrow look,  I  knew that there was NO way this kid would wear a wig,  so he is kind of  Jack Sparrow.

I  had convinced Wyatt  wearing the costume would be fun.  He was a bit skeptical at first,  but after a few minutes,  he relaxed and got into it!

So did Lincoln.

Lastly,  here is our trunk for “Trunk or Treat”

Hope you all had a wonderful Halloween… now let the holiday season preparations commence!  It’s gonna be good.

  • previous
  • Page 1
  • Interim pages omitted …
  • Page 40
  • Page 41
  • Page 42
  • Page 43
  • Page 44
  • Interim pages omitted …
  • Page 47
  • next

Primary Sidebar

  • Facebook
  • Instagram
  • Pinterest
  • Twitter
  • YouTube
IMG_9167 (1).jpg fd
DIY & Design

Meet Corey

Hi everyone, my name is Corey, and I have a problem. I can’t leave well enough alone… The best therapy usually involves a variety of power tools. So, in the few “spare” moments I am not entertaining my two beautiful, rambunctious, boys, I can typically be found hunched over a sewing machine and/or covered in sawdust. All in the efforts to create a perfect balance of aesthetics and practicality in our home.
read more

Join our mailing list!

DIY & design ideas - right in your inbox!

Featured

Stair Tread Makeover

Categories

  • 70's Ranch Home
  • Around the House
  • Build Plans
  • Crafts
  • Current Home
  • Decor Makeovers
  • Dresser
  • Exterior
  • Fall
  • First Home
  • Furniture Makeover
  • Hidden Compartment
  • Kitchen
  • Lighting
  • Makovers
  • Master Closet
  • Organization
  • R.V.
  • Room Makeovers
  • Seasonal
  • Seating
  • Sewing
  • Shelving
  • Small Builds
  • Smart Home
  • Spring
  • Summer
  • Tables
  • Tablescape
  • Tutorials
  • Uncategorized
  • Wall Art
  • Wall Decor
  • Winter
  • Workshop

Footer

Contact Me: Corey@Sawdust2Stitches.com

Latest ‘Grams

Follow on Instagram
2020 © Your Blog Name
theme by soleilflare
Enter your name and email and get the weekly newsletter... it's FREE!
Your information will *never* be shared or sold to a 3rd party.