• Blog
  • About
  • Press
  • Privacy

Let’s be social!

  • Skip to primary navigation
  • Skip to main content
  • Skip to primary sidebar
  • Skip to footer
Sawdust 2 Stitches

Sawdust 2 Stitches

  • Tutorials
    • Around the House
    • Organization
    • Wall Decor
    • Sewing
  • Makeovers
    • R.V.
    • Room Makeover
    • Furniture Makeover
    • Decor Makeover
  • Build Plans
    • Small Builds
    • Wall Decor
    • Dresser
    • Tables
    • Seating
    • Shelving
    • Hidden Compartment
  • Seasonal
    • Summer
    • Spring
    • Fall
    • Winter
  • Home Tours
    • First Home
    • Current Home
    • 70’s Ranch Home
  • Workshop

Trim a Tree

November 19, 2013

I have said that  I have a  hard time decorating for Thanksgiving  because I LOVE decorating for Christmas. Well, I was not exaggerating.  I put up both of our trees this past week and love them!

        Now,  I realize that to many decorating a tree may be a no brainer… But to others, a  little help wouldn’t hurt. So here is a little step-by-step breakdown.
     First things first, put on the twinkle lights, and make sure they are evenly distributed.

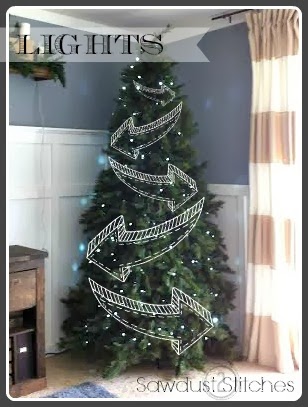
* Remember, if the back of your tree is not exposed,  you do not need to decorate it! Lights                included,  I simply go back and forth and  save  myself lights and trouble of going around the back.
* Remember to know where your power source is, and plan  accordingly.

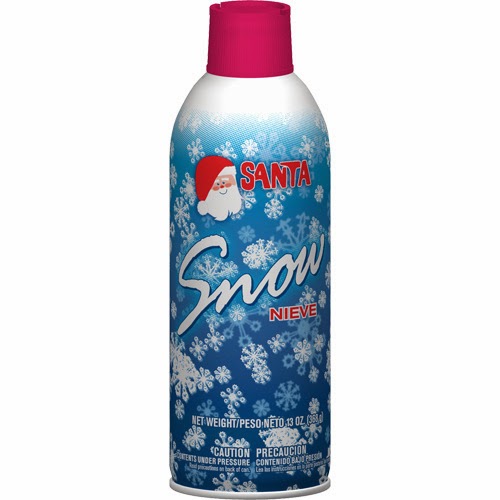
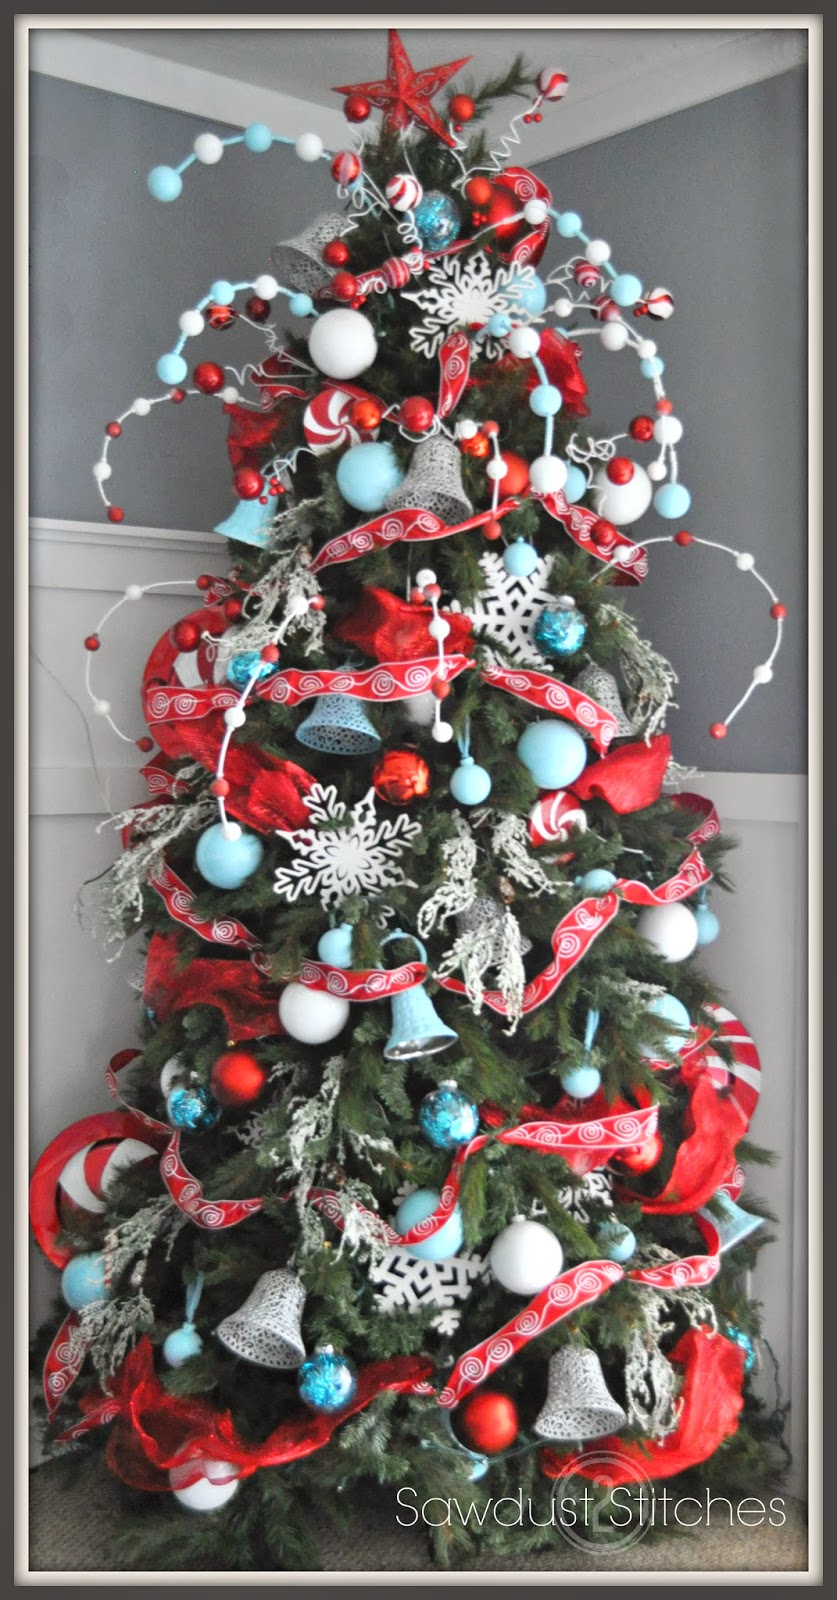
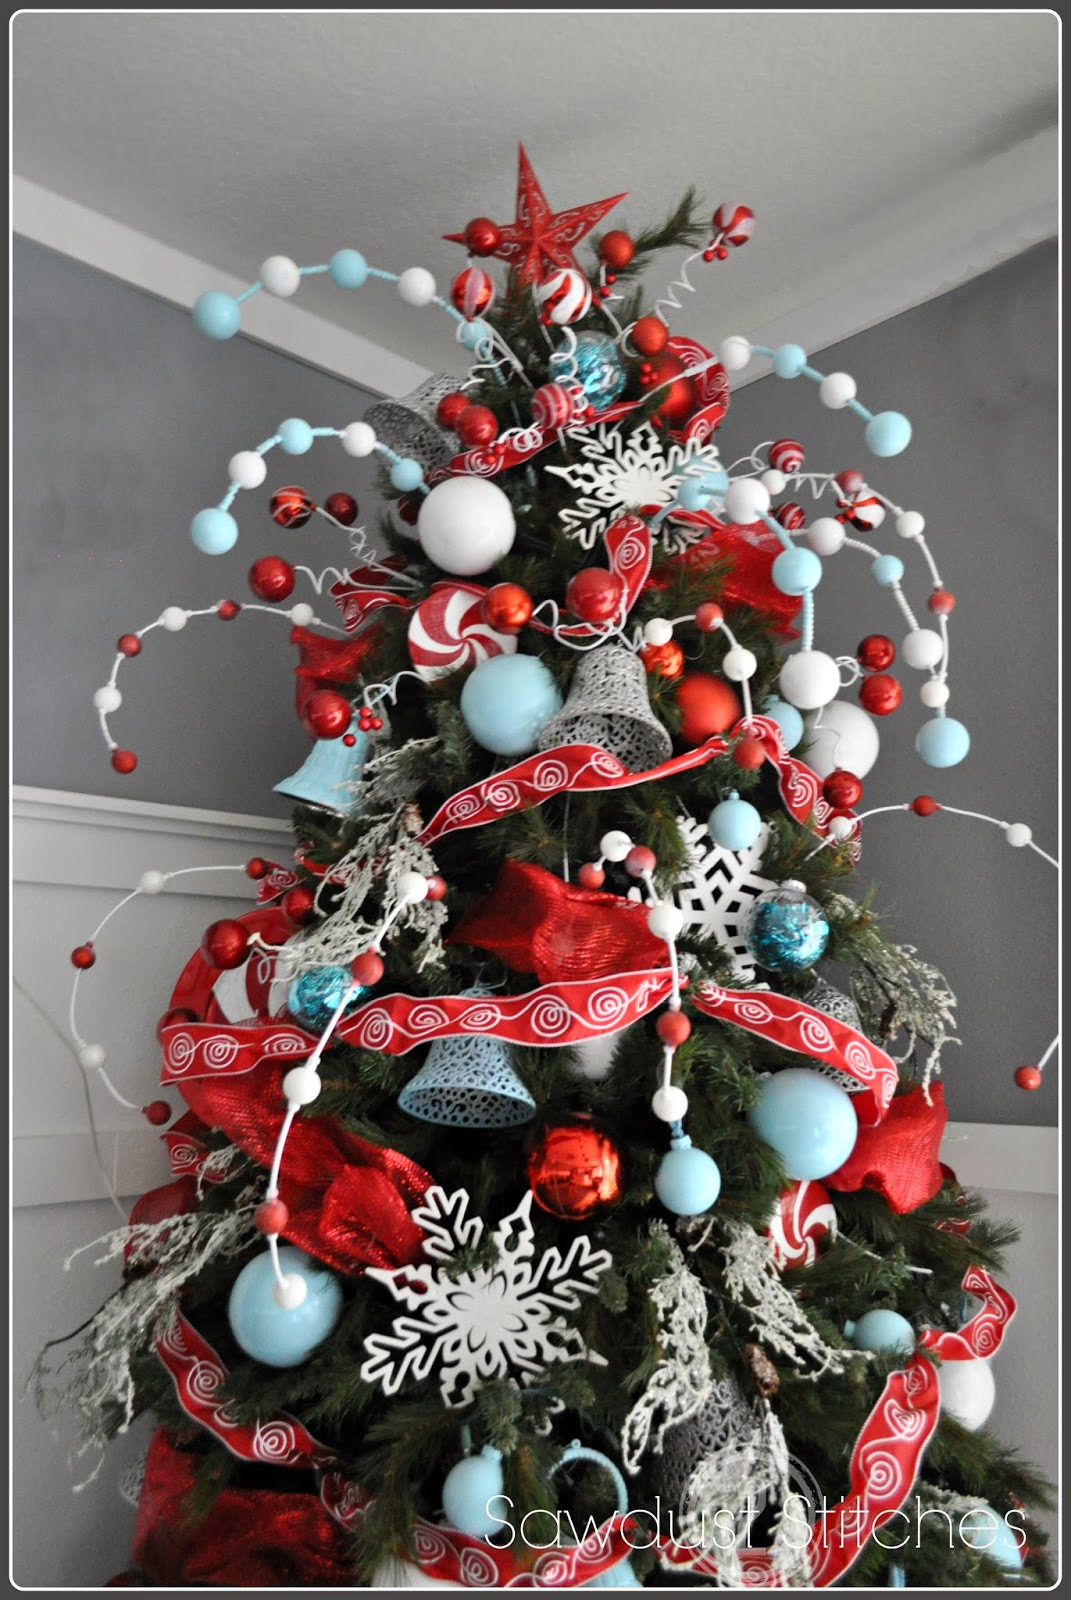
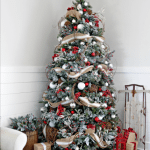
You can use traditional spray snow, from a can, (only a few bucks at Walmart)  OR you can do what  I did, I took extra boughs from an old tree and spray painted them white.

Adding the white  I think make a huge difference,  it creates contrast and I like it.

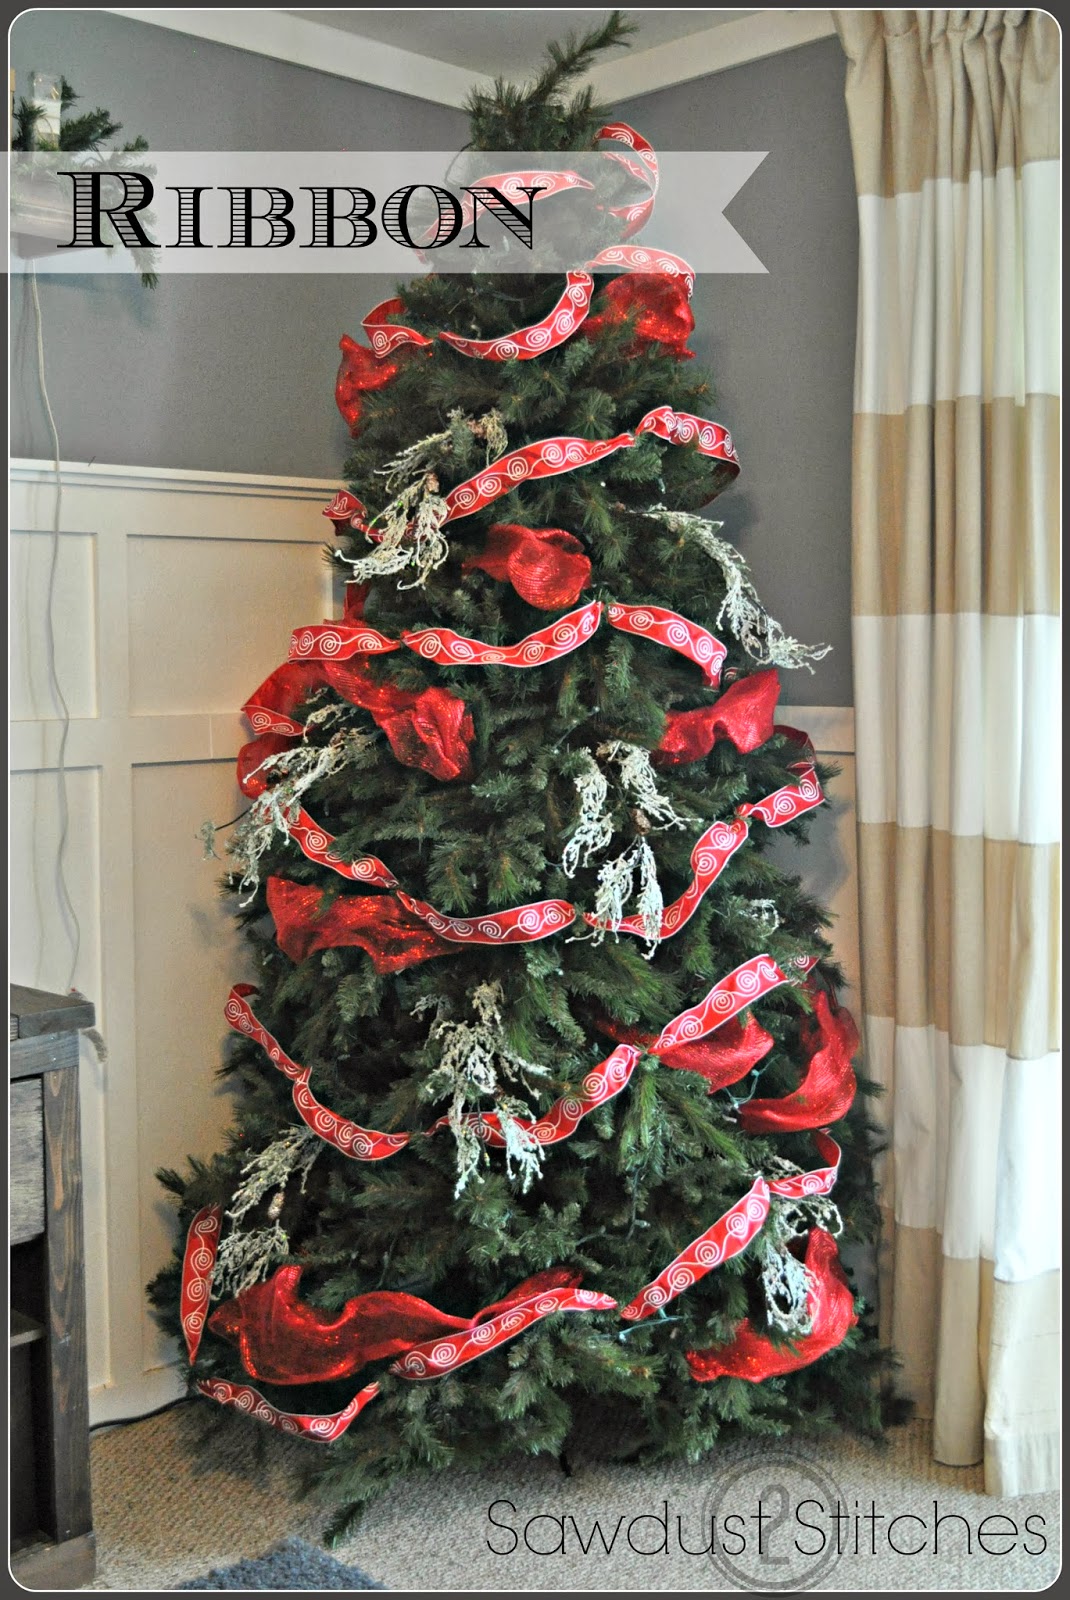
Do not under estimate the impact that  ribbon can add  to a tree! It can cover a lot of space for just a few bucks.  It also breaks up the space, you want a variety of sizes, textures, and shapes,  ribbon helps achieve this!

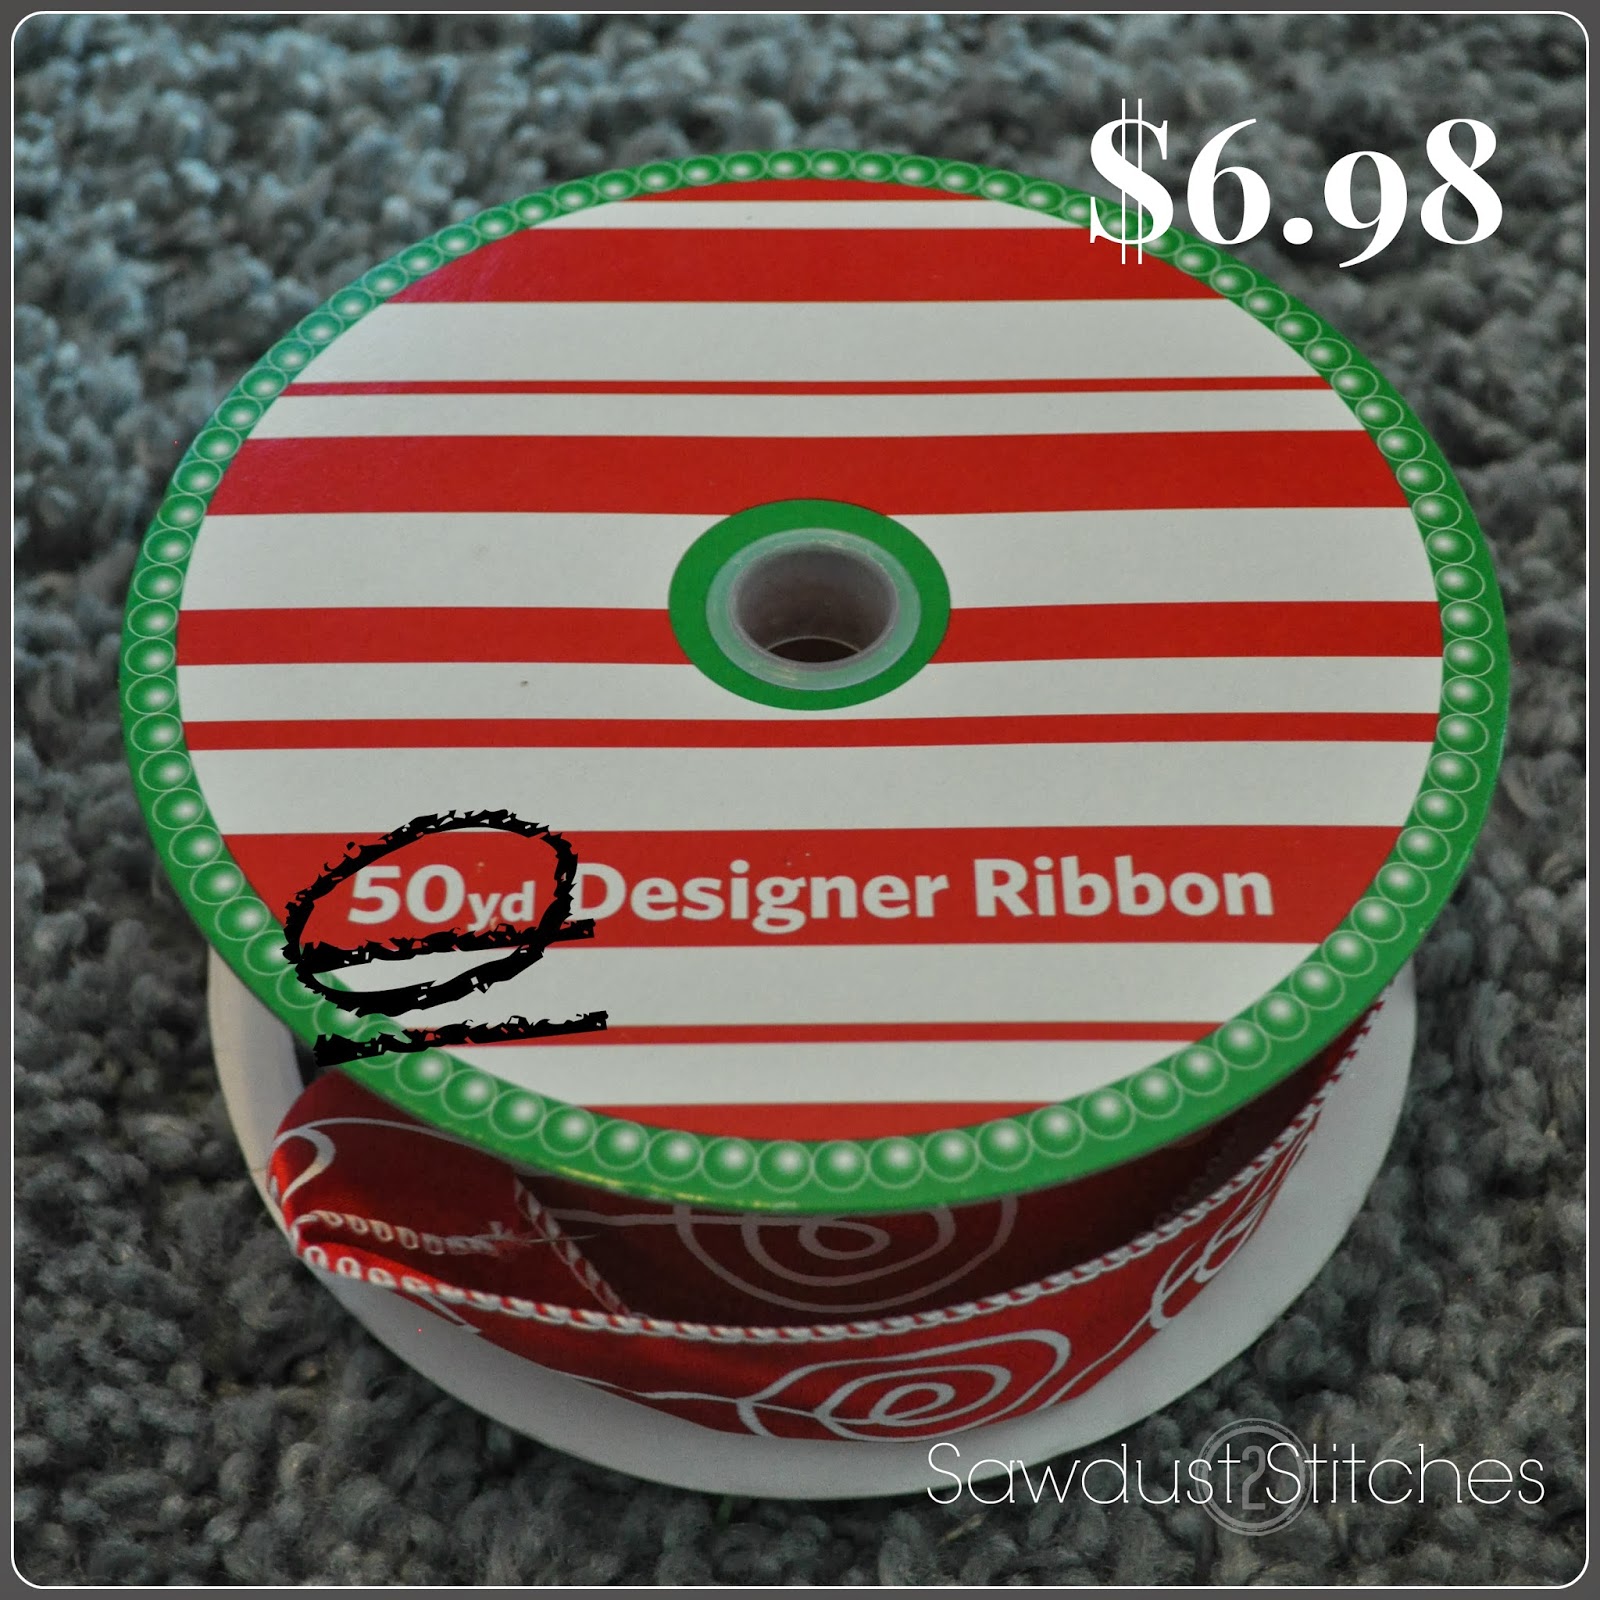
At Sam’s Club you can get a 50 YARD roll for $7.00!  In the event you don’t price ribbon, you should know this is an amazing deal!  They have a ton of colors and patterns to choose from.  I had MORE than enough to cover my entire tree, a few garlands and still had extra.

I also  used the  new popular product  wide mesh ribbon.
*Instead of using the mesh as ribbon,  I actually  cut it into sections (a few feet each), and then   gathered the ends with pipe cleaners.  Then wired the pipe cleaners into the tree.  It created the illusion of going around the tree,  with  using a minimal amount.

    When you add your large decorations, make sure you spread them out evenly.
(That is why  I add all my large pieces all at once. It is easier to make it balanced.)

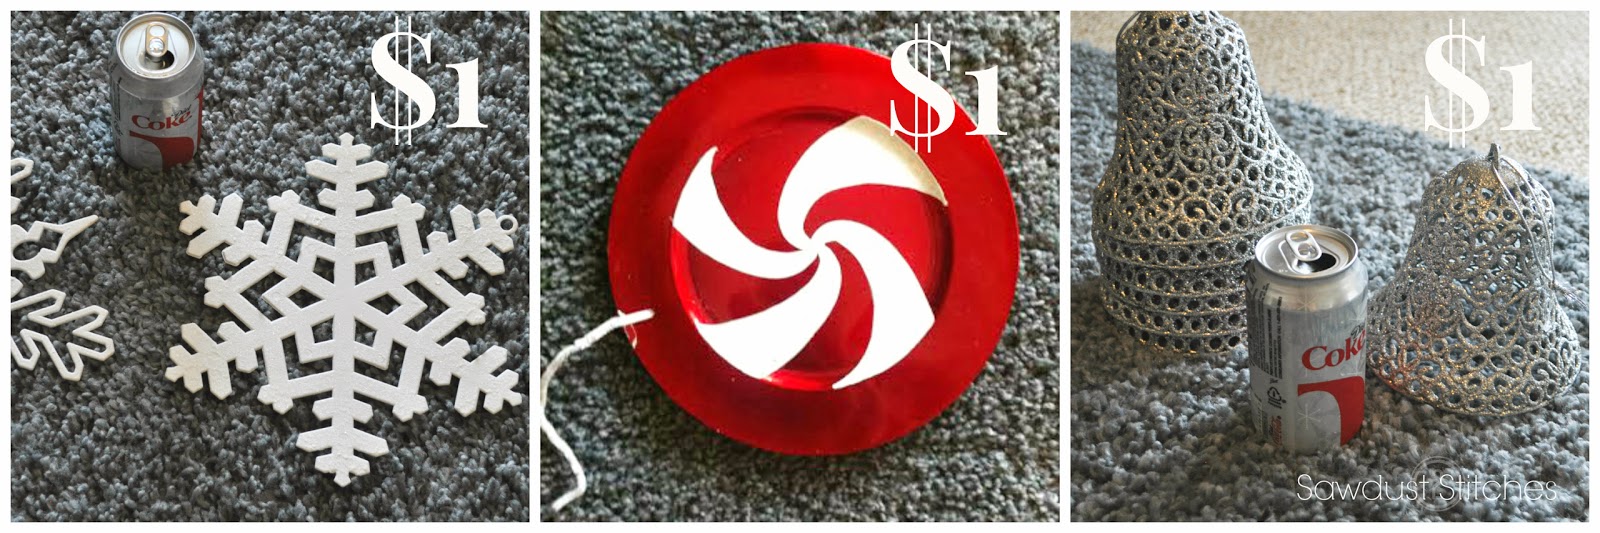
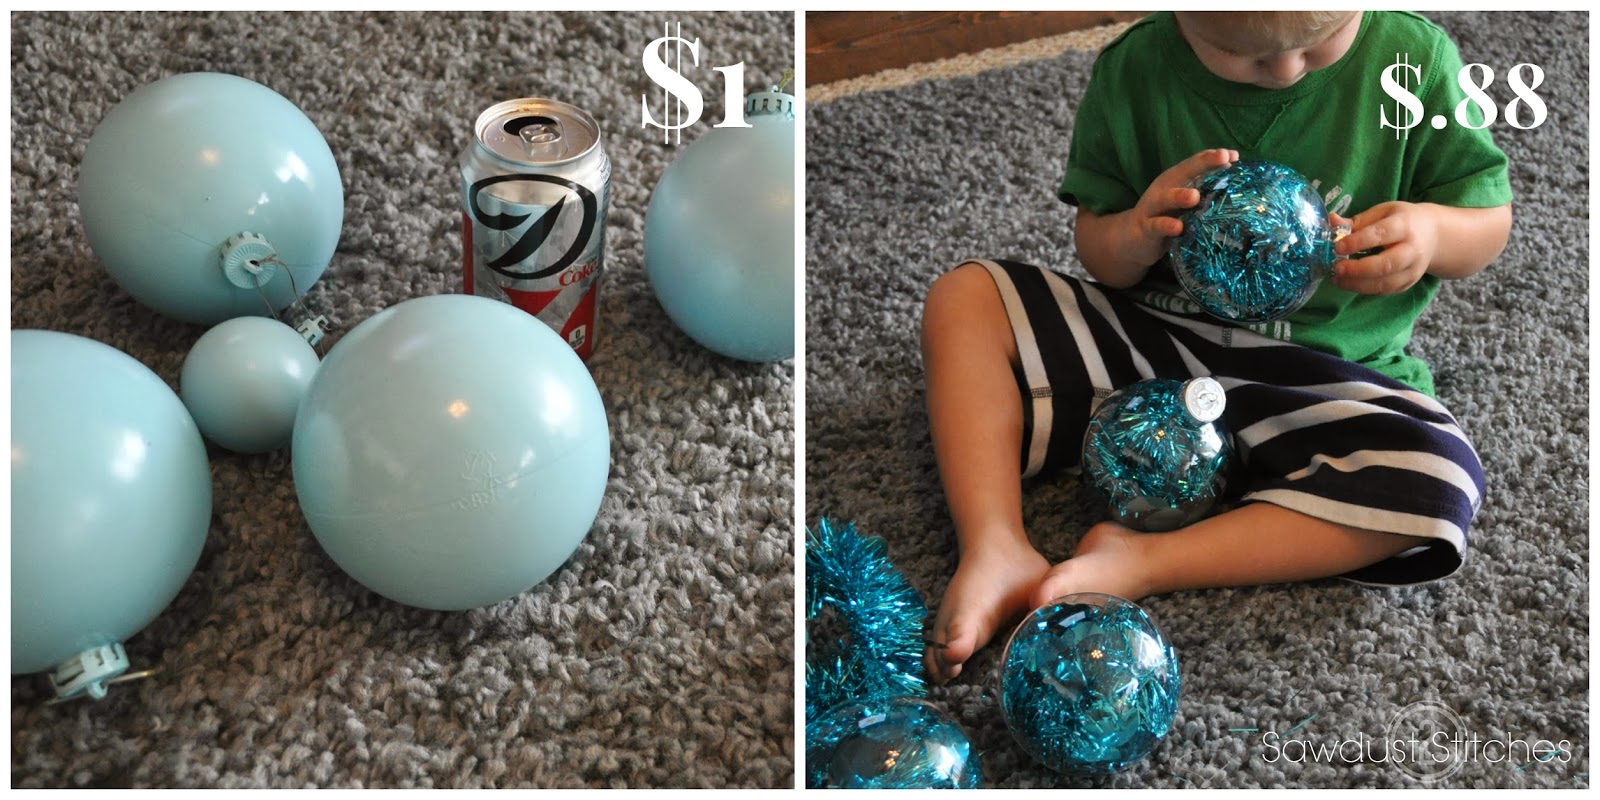
I got all of these decorations for only a dollar a peice.  If you price large ornaments,  you know that even the cheapest ones are easily $5.00 a peice.

These are also Dollar Tree Ornaments!

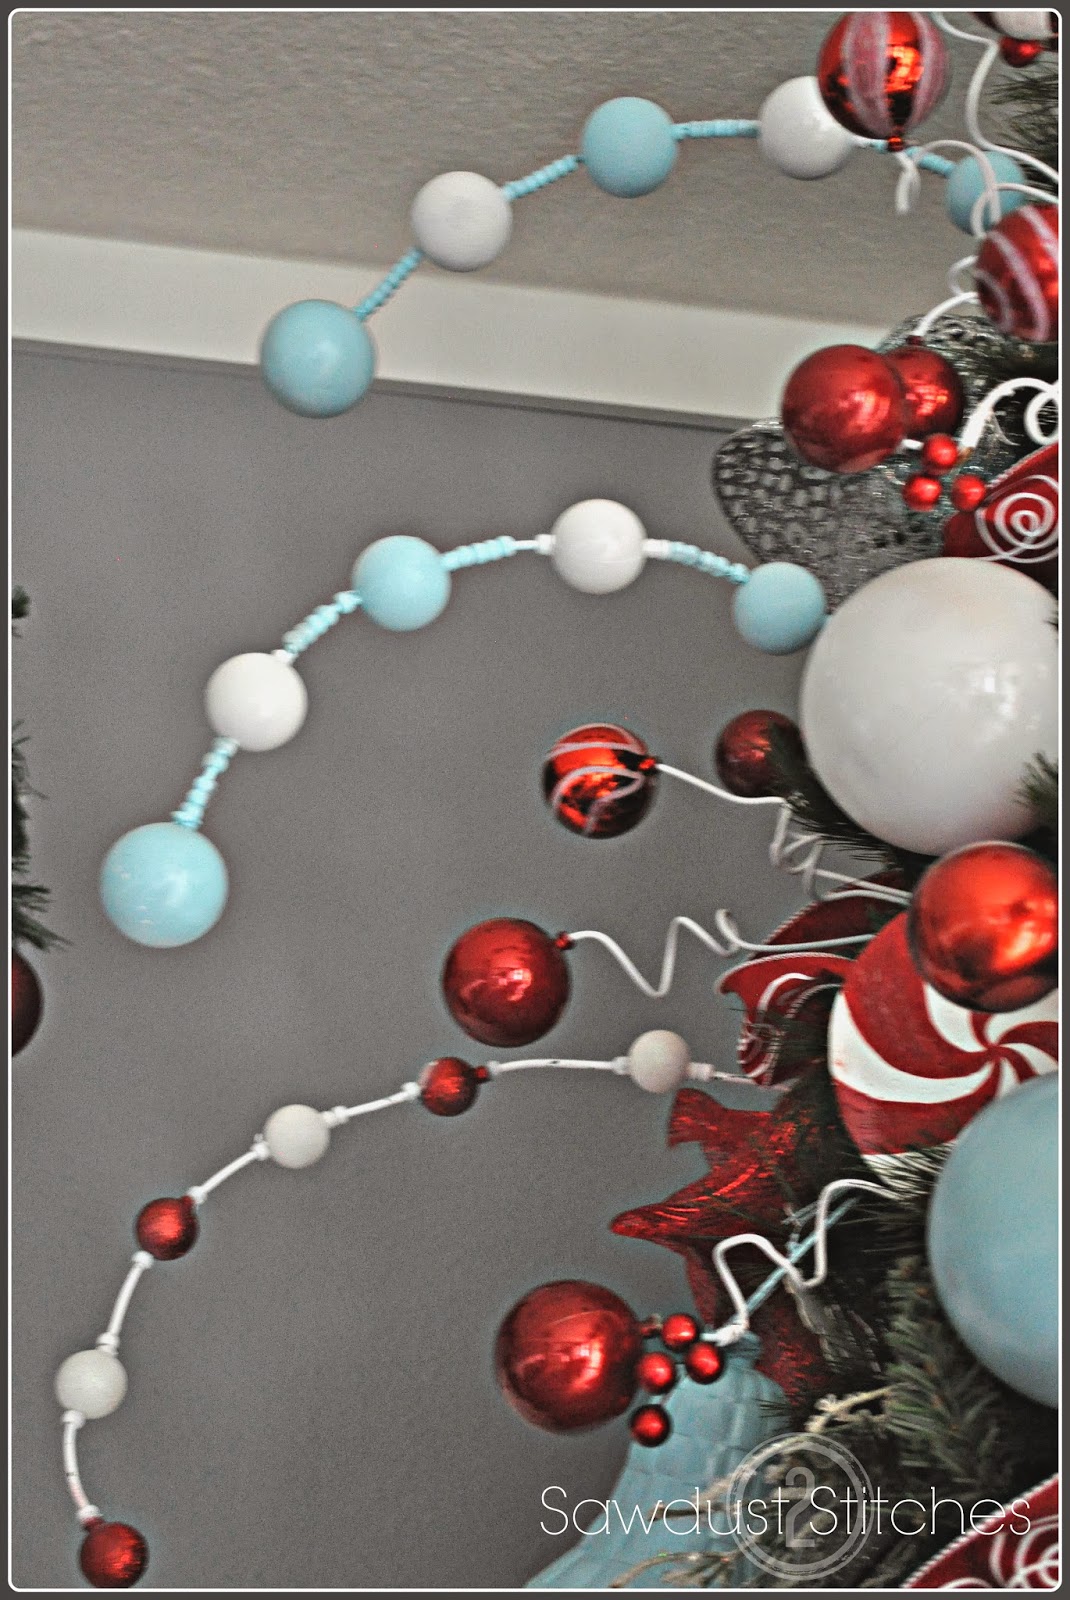
This is my favorite part, adding   the accent color. I  suggest  using three colors when decorating your tree.  I would use two classic colors that can easily be used year to year.  Then for your “Pop Color”  you can go trendy and not need to replace your entire tree as trends or styles change.

Each of  these were  a dollar or less each. When you are willing to put in a little elbow grease you can really  add the WOW factor to your tree.

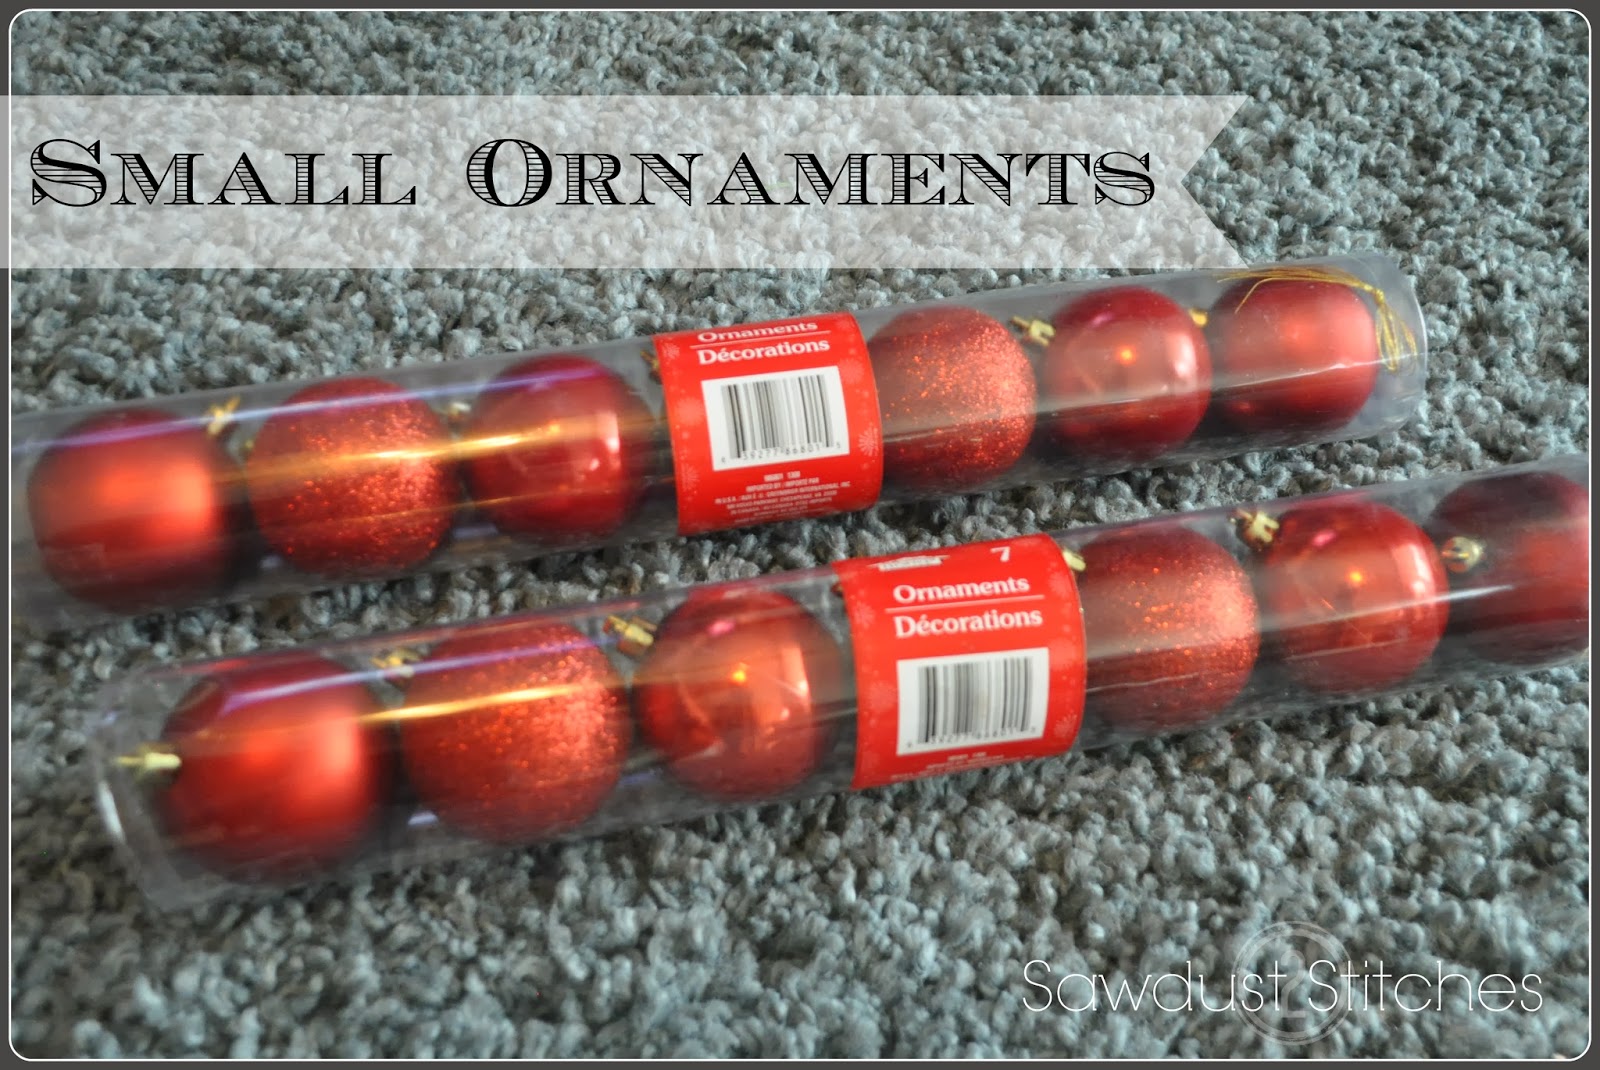
Ok, so NOW is the time to use the normal size ornaments!  You can get these sleeves for only $1, again at Dollar Tree!  Go through and fill in all the small gaps, don’t be afraid to layer as well.

EXTRA CREDIT:
If you feel like being a little ridiculously over the top,  you an add decoration that extends out beyond the tree.  I think  this last step can really  take the tree to the next level!

 The end result ?  A picture perfect tree!
  Have fun, and enjoy preparing for the Holiday Season!
                                                                              Corey

More from my site

  • Holiday Home Tour 2016Holiday Home Tour 2016
  • My Holiday Home TourMy Holiday Home Tour
  • How to make a Who-ville Tree !How to make a Who-ville Tree !
  • Trim a Tree Series: Spray Paint is Your Friend!Trim a Tree Series: Spray Paint is Your Friend!
  • Rustic Christmas TreeRustic Christmas Tree
  • Designer Christmas Tree from the Dollar Tree!Designer Christmas Tree from the Dollar Tree!

in Seasonal, Uncategorized, Winter # Christmas, Christmas Tree, Ornaments

Reader Interactions

you may also like
Back of Door Spice Rack
Pool Patio Design
How To: Exterior Door Makeover
Out-feed Assembly Workshop Table

Comments

  1. Katelynn Tax says

    November 21, 2013 at 10:23 pm

    HOLY CRAP! Corey it looks amazing!! It looks like a tree you would find at whoville! Lucky Lance has your create skills and did the tree this year, I helped but it his baby. Anyways the step to step completely make sense, I wish I saw your post earlier I think it would have saved us some time on placing the ornaments. Oh well, it will be for next year!

  2. The Deckers says

    November 22, 2013 at 1:06 am

    Lance does have mad skills! He was a huge help last year, and you helped make ornaments last year. I want to see pictures of the tree!

  3. Savage says

    November 22, 2013 at 5:53 am

    Corey! So, so, SOOOO cute! What awesome talent you have!

  4. The Deckers says

    November 22, 2013 at 9:17 pm

    Thanks Jamie! Miss your face, and your crazy amounts of enthusiasm during workouts!

Primary Sidebar

  • Facebook
  • Instagram
  • Pinterest
  • Twitter
  • YouTube
IMG_9167 (1).jpg fd

Popular Projects

  • How to: Faux Brick Wall
  • Cheap White Curtains
  • Ikea Cubbies into a Rustic Apothecary
  • Cabinet Transformed Into A Kitchen Island
  • R.V. Makeover
  • How to: R.V. Curtains
DIY & Design

Meet Corey

Hi everyone, my name is Corey, and I have a problem. I can’t leave well enough alone… The best therapy usually involves a variety of power tools. So, in the few “spare” moments I am not entertaining my two beautiful, rambunctious, boys, I can typically be found hunched over a sewing machine and/or covered in sawdust. All in the efforts to create a perfect balance of aesthetics and practicality in our home.
read more

Join our mailing list!

DIY & design ideas - right in your inbox!

Top Hits!

  • How to: Faux Brick Wall
  • Cheap White Curtains
  • Ikea Cubbies into a Rustic Apothecary

Featured

Back of Door Spice Rack

Categories

  • 70's Ranch Home
  • Around the House
  • Build Plans
  • Crafts
  • Current Home
  • Decor Makeovers
  • Dresser
  • Exterior
  • Fall
  • First Home
  • Furniture Makeover
  • Hidden Compartment
  • Kitchen
  • Lighting
  • Makovers
  • Master Closet
  • Organization
  • R.V.
  • Room Makeovers
  • Seasonal
  • Seating
  • Sewing
  • Shelving
  • Small Builds
  • Smart Home
  • Spring
  • Summer
  • Tables
  • Tablescape
  • Tutorials
  • Uncategorized
  • Wall Art
  • Wall Decor
  • Winter
  • Workshop

Footer

Contact Me: Corey@Sawdust2Stitches.com

Latest ‘Grams

Follow on Instagram
2020 © Your Blog Name
theme by soleilflare
Enter your name and email and get the weekly newsletter... it's FREE!
Your information will *never* be shared or sold to a 3rd party.