Hey there Sportsfans, I am absolutely ecstatic about today’s tutorial. I am teaming up with Home Depot team to bring you my own personal flair their Wheelbarrow ! I honestly could not be more pleased with the finished product! #DIHworkshop #Sponsored

Home Depot Offers Workshops!
- The Home Depot offers Workshops at all of their locations for do-it-yourselfers of all ages and experience levels. If you are interested in learning more, there is more info HERE.
- There are three types of Workshops offered – Do-It Yourself (DIY), Do-It-Herself (DIH) and Kids.
- Customers can learn how to build décor projects, how to make easy home repairs and how to operate tools through demonstrations and step-by-step instructions.
- Visit and Home Depot to REGISTER learn more.
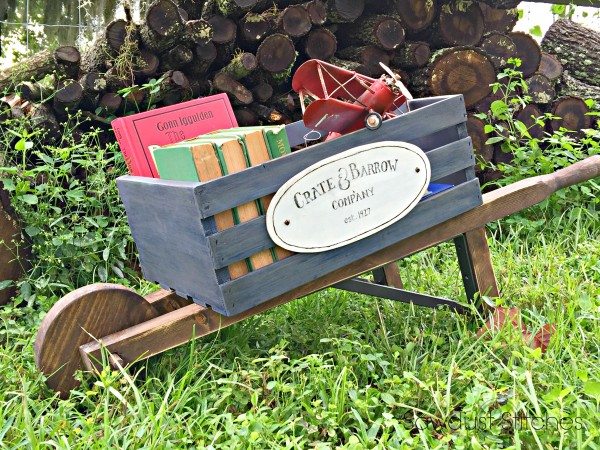
Rustic Wheelbarrow
Supplies Used:
- Crates and Pallet Crate
- 2″x 2″ board (x 2)
- 2″x 8″ Board
- 1/2″ Dowel Rod
- Shelf Supports (x2) *Optional*
- Spray Paint *Optional*
- Paint and/or Stain
- 1″ wood Screws
Tools Suggested
- Miter Saw
- Jigsaw
- Sander
- Drill w/ 1/2″ bit
- Nail Gun or Drill
- * I used a lathe to make the handles rounded *
Disclosure: Some of the links provided are affiliate links. By purchasing through these links it supports this site and helps keep content free. You can read more about how we do this with no extra cost to you.
Step 1.
Cut List:
2″x 2″
- (2) @ 8″ -Legs
- (2) @ 36″- Handles
Dowel Rod @
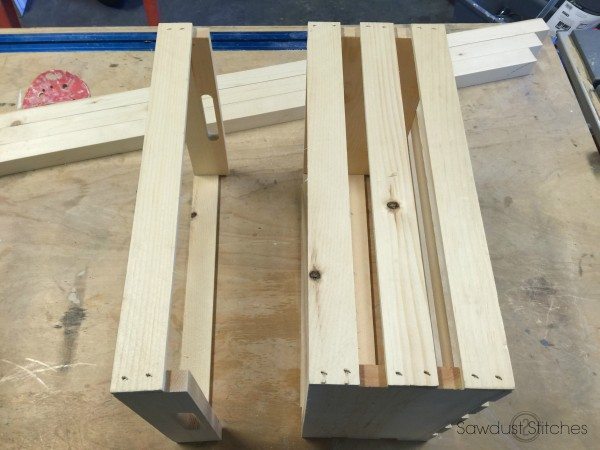
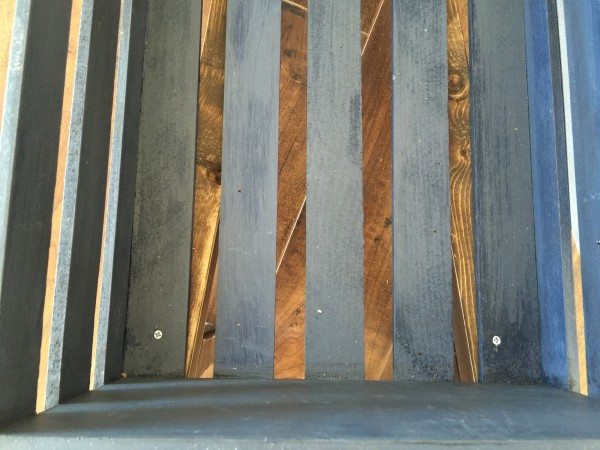
Step 2. Cut Down Crate
While I loved the original full size crate, I wanted mine to be a little more shallow. SO, I cut off the top slat. Just ran it through the table saw, rotated it, ran it through again, and again. Boom, decapitated crate.
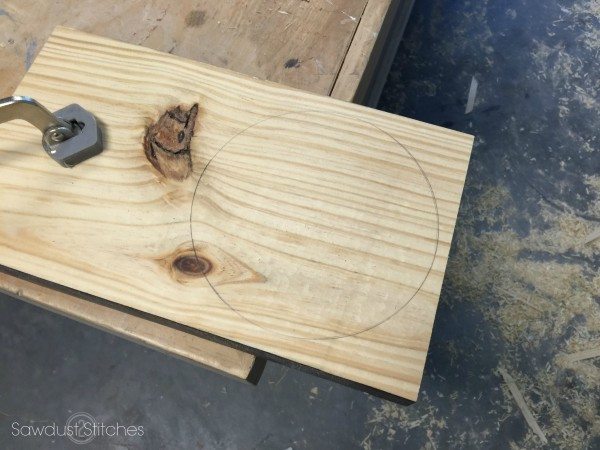
Step 3. Cut Out Wheel
I drew a 7″ circle on a my 2″x 8″, then cut it out with a jigsaw.
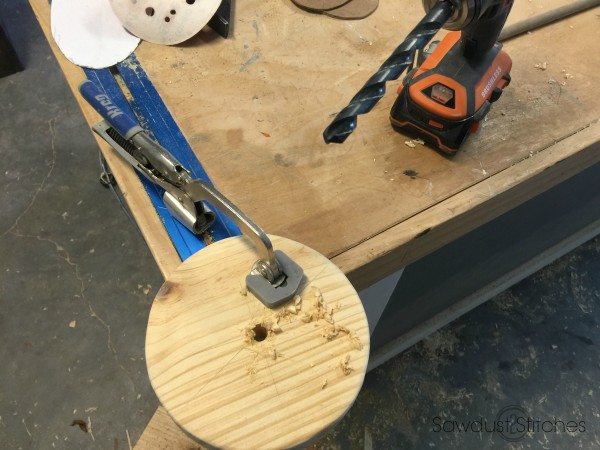
Step 4. Drill Hole for Dowel Rod
Naturally you will want to drill the whole in the “wheel” in the dead center, or it will wobble a little wonky when you push it. But honestly, this isn’t really built for functionality, so if you miss the mark breathe deep… it’s gonna be okay.
 Ok so when you drill the hole in the “handles” it will take a little finesse and/or some fudging to make it work. I drilled my 1/2″ holes approximately 1 1/2′ from the end of the handle. It is APPROXIMATELY a 5 degree angle. I took the very mathematical approach and just winged it (wong it?).
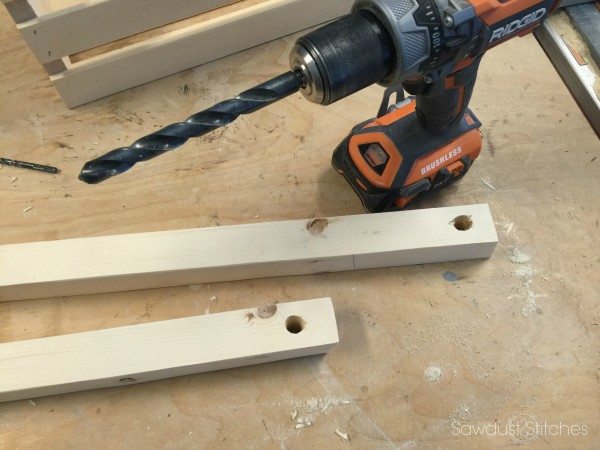
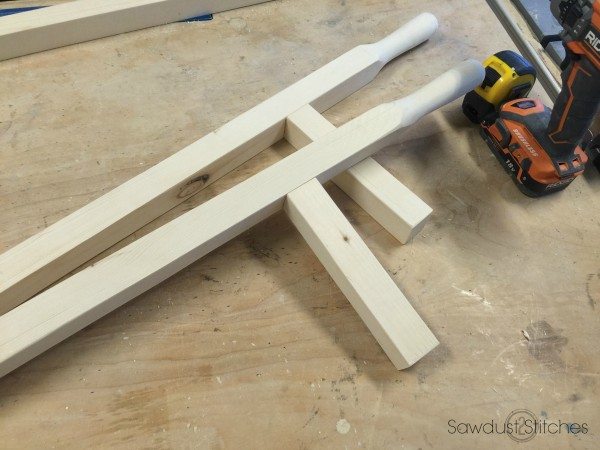
Step 5. Attach Legs to Handles
I then attached the “legs” to the “handles”. I placed mine 11.5″ from the end (centered). I attached using wood glue and tacked it on using 2″ finish nails. ( I knew I would be attaching shelf supports later). If you do not plan to use supports, I would suggest using something a little beefier. Example : 2.5″ Wood Screw (Pre-drilled)
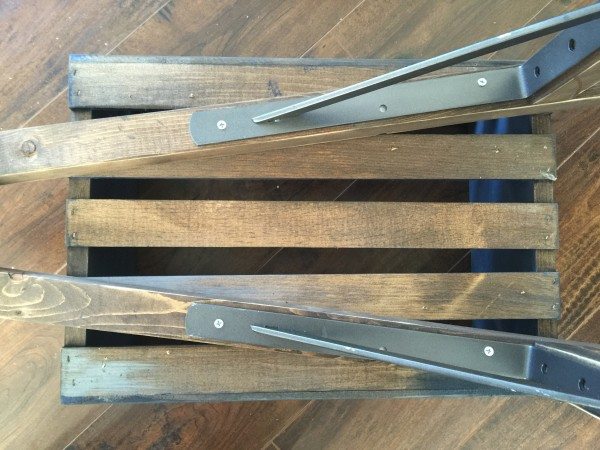
Step 6. Add Supports (Optional)
This step is optional, but I am not going to lie, I feel like these supports totally “MAKE” this wheelbarrow. I purchased these from Home Depot. I simply scuffed them up and spray painted those suckers.
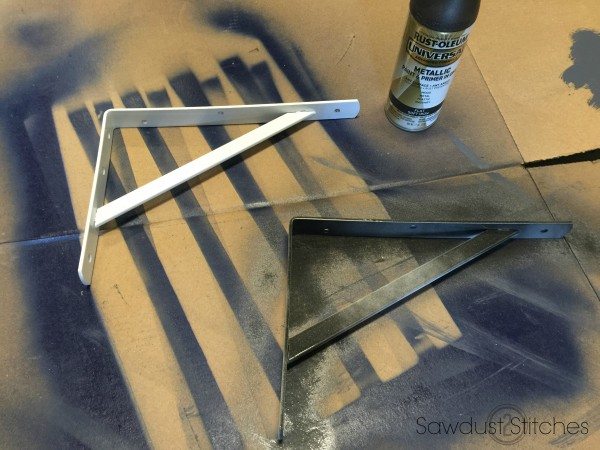 Then attach! You can use a wafer head screw, OR a finish washers and screws.
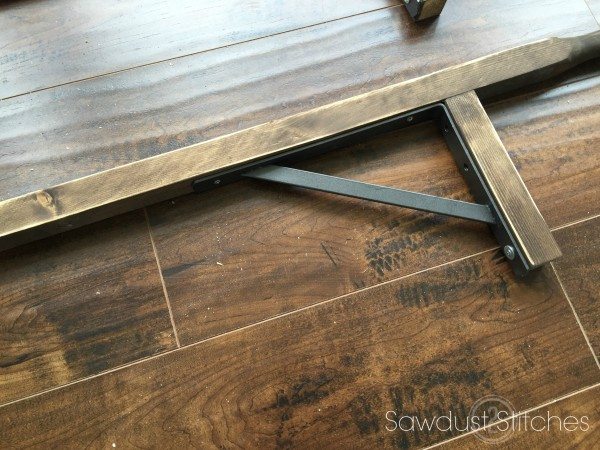
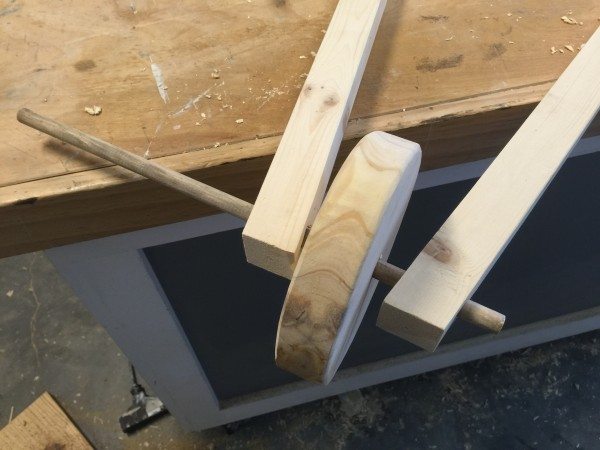
Step 7. Add Wheel to Handles
Remember how I said I was kind of winging it when I drilled the holes for the dowel rod? I found that it was easiest to assemble the dowel rod/wheel/handles before attaching it to the crate. It allowed for a little more wiggle room.
Step 8. Attach Crate to Handles
Step 9. Finishing Touches
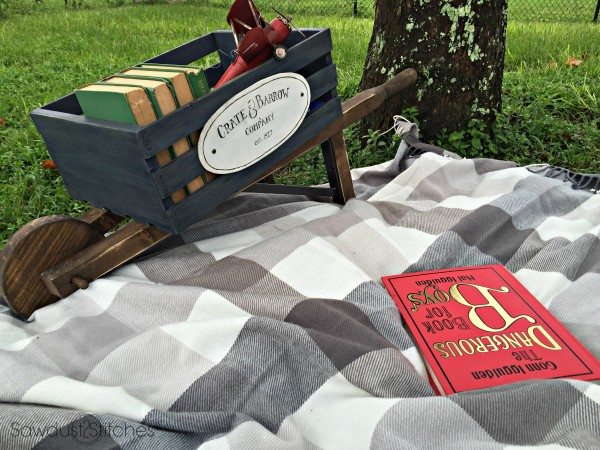
Then of course is my favorite part! The finishing touches! I used a small piece of MDF paneling and cut out and oval using a jigsaw. Then I just painted on some charming lettering and called it good! 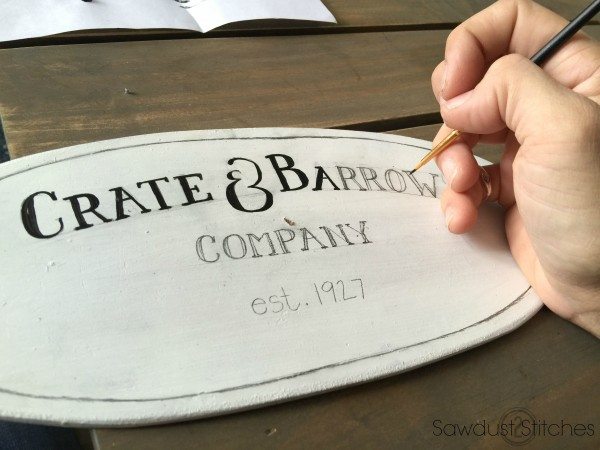
There you have it folks, my take on the Home Depot Wheelbarrow!
Make sure you sign up at your local Home Depot HERE.

Thanks for checking in! Make sure you drop in and see all the different variations of this project! You can find them all in the links below.
Take Luck,
Corey
#DIHWorkshop Virtual Party Blog Post Links
Cozy Little House
 Copyright secured by Digiprove © 2016


I think my favorite part is your lettering on the “label.” Such a perfect touch.
Ok the metal shelf supports was a brilliant idea, I am not going to lie, I am a little star stuck at your genius! I love everything about your wheelbarrow Corey, awesome job!
This turned out SOO good! I just keep coming back to it.. love your use of the shelf supports, the colors you used.. everything. Great job!
Hacking off the top of the crate is such a great idea for customizing it! Love the color and monogram detail too! Great work!
who knew that a wheelbarrow could be so pretty. I love the added touches of the sign and the metal brackets. great job!