Hey all! It’s that time again! Time to dress up the Easter tablescape and “Wow” your Easter guests. Or in my case admire it for a few days, until reality sets in and you run out of paper plates and the kids start to ask if we are always going to eat dinner on the kitchen floor.
 I kid, I kid. Haha, I let them sit at the counter. But in all seriousness, if you are entertaining this Easter or you simply want to take your Easter Dinner up a notch this is a fun DIY project you are gonna love! Enjoy and Happy Easter!
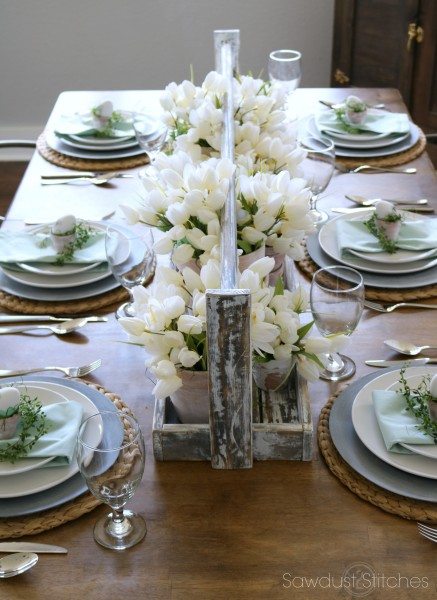

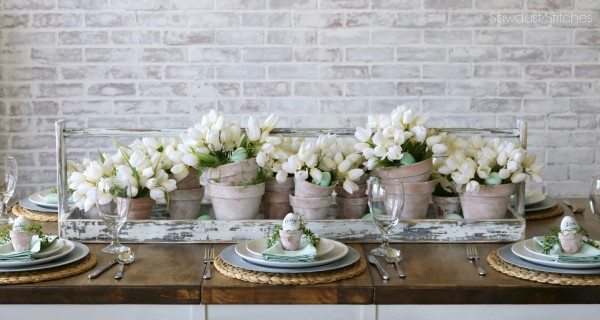
Easter Tablescape – The Centerpiece
Let’s start the centerpiece. Instead of using the usual table runner, I decided to build a long rustic basket. (There will be plans coming soon, but in the meantime you can see the original farmhouse try I modified HERE.)
If you love the chippy paint effect, you can find the full TUTORIAL HERE.

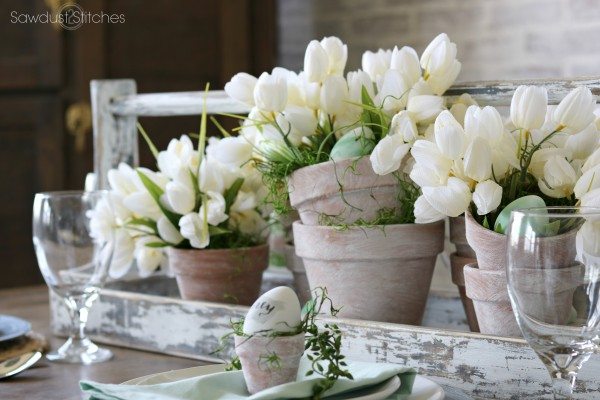
Easter Tablescape – The Pots
As for the pots sitting in the tray, they are your basic run of the mill Terra Cotta pots! These are super cheap and easy to find, I think I spent right around $15- $20 on all of them. I wanted them to not be so ORANGE so I gave them a little face lift. I used this limewash glaze, it really does create a cool texture, but if you don’t care about the texture you can dry brush white paint on with a stiff bristled brush and still achieve the same effect. 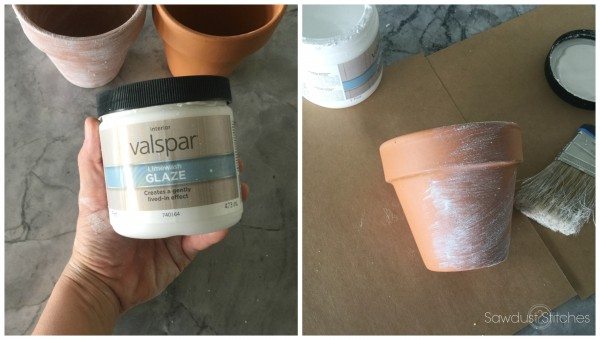 I decided I LOVE the stacked look of these posts, so I used some spanish moss to separate them and to add some gorgeous texture. You can purchase a bag of moss for $3.50 at Walmart.
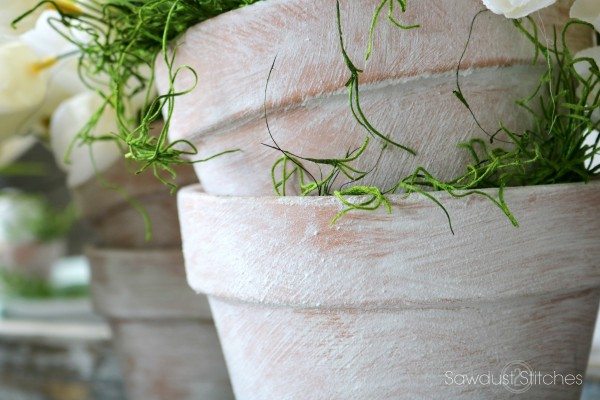
Easter Tablescape – Tulips
I then added copious amounts of tulips to get that gorgeous Magnolia Market/Spring feel. Now, I wish these were real, or the amazingly real-like fake ones. However, when I was playing around with them at Michael’s I decided that when they were in large groups they actually looked pretty convincing! Bonus: when they are on sale you can get them for about $2.50 a bushel. In this tablescape I used 15. Honestly, I love them and would have bought more, but I cleaned them out!
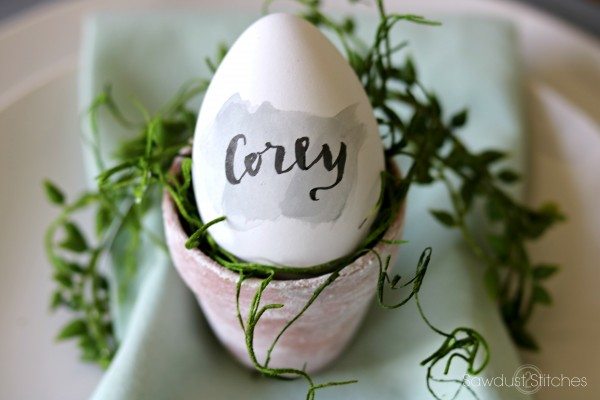
I wanted to do something original and CHEAP for the name placement cards… I had picked up these fake Easter Eggs for the kids to paint from Walmart. ($2 for a dozen) Watching them paint them gave me an idea, (and an eye twitch). So instead of watching them mix colors to create a “beautiful!” brown concoction, I grabbed some paint of my own. I used gray paint and watered it down until I could create the same effect as a water color. Once the paint was dry I used a black brush tip marker to write our names in a sloppy calligraphy. (If you want to try this it is easier than it looks! Just write in cursive and make the downward strokes thick, and the upward strokes light. Impress EVERYONE!)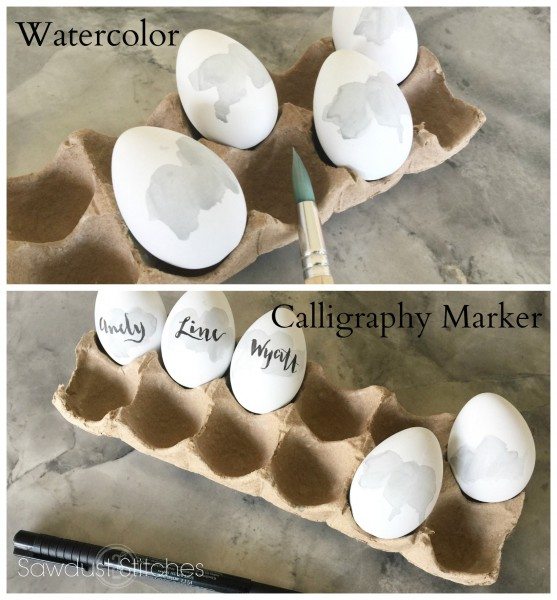
I then placed them in these little mini pots! You can get them from Walmart for $.38! I then used the leftover limewash from the larger pots to give them the aged look. Let’s break it down, that means that one placement holder is only $.54 ! So to make all 6 was approximately $3.50 . Not bad!
I tried a couple of the standard napkin rings, but it made the napkin way to gathered, but it definitely needed SOMETHING. So, I threw together these oversize napkin rings. Best part, they are cheap! You can get the wire for $1, and floral tape for $1, and I purchased this bunch of greenery for $3 when it was on sale at Hobby Lobby!
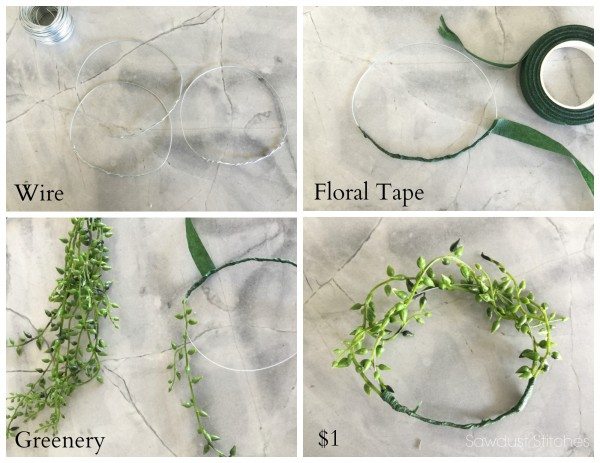
Ta-Da! A gorgeous non-traditional napkin ring. 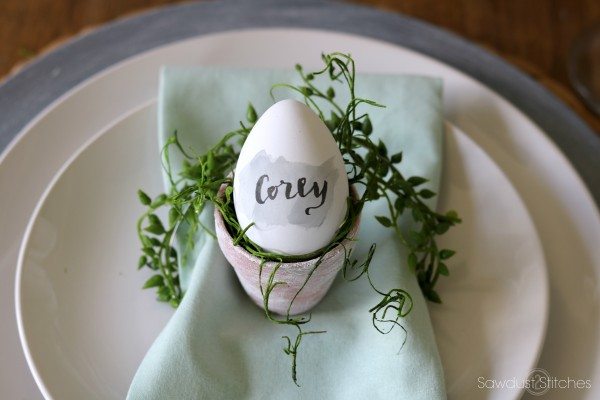
And there you have it folks, my take on this years Easter table.
(Let’s be real, it probably won’t make it to Easter, but one can hope/pretend.)
Take Luck,
Corey
 Copyright secured by Digiprove © 2017


This is so very pretty!
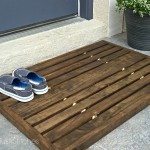
i cant find instructions for farmhouse basket
So sorry, I fixed the in text link, but here you go! http://sawdust2stitches.com/farmhouse-tray/