• Blog
  • About
  • Press
  • Privacy

Let’s be social!

  • Skip to primary navigation
  • Skip to main content
  • Skip to primary sidebar
  • Skip to footer
Sawdust 2 Stitches

Sawdust 2 Stitches

  • Tutorials
    • Around the House
    • Organization
    • Wall Decor
    • Sewing
  • Makeovers
    • R.V.
    • Room Makeover
    • Furniture Makeover
    • Decor Makeover
  • Build Plans
    • Small Builds
    • Wall Decor
    • Dresser
    • Tables
    • Seating
    • Shelving
    • Hidden Compartment
  • Seasonal
    • Summer
    • Spring
    • Fall
    • Winter
  • Home Tours
    • First Home
    • Current Home
    • 70’s Ranch Home
  • Workshop

DIY Trestle Entry Table

November 10, 2017

DIY Trestle Entry Table – *This post is sponsored by DAP*

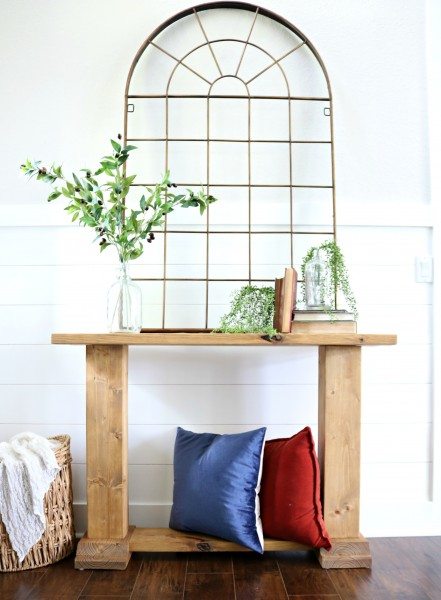
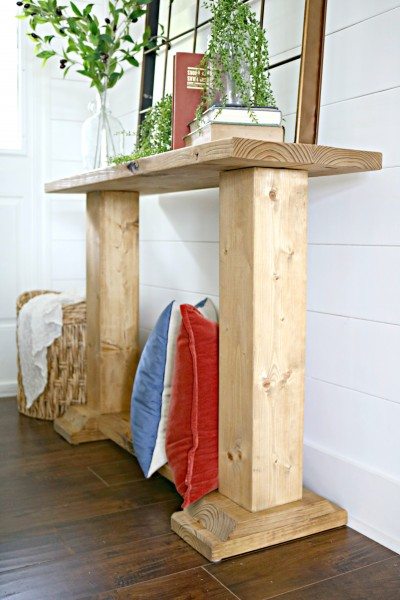
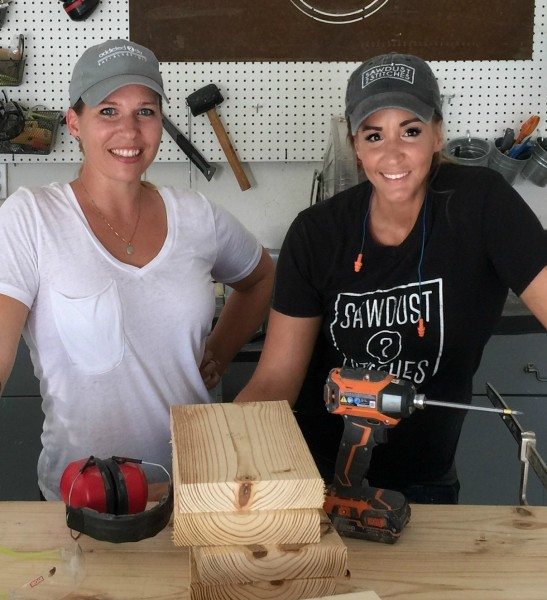
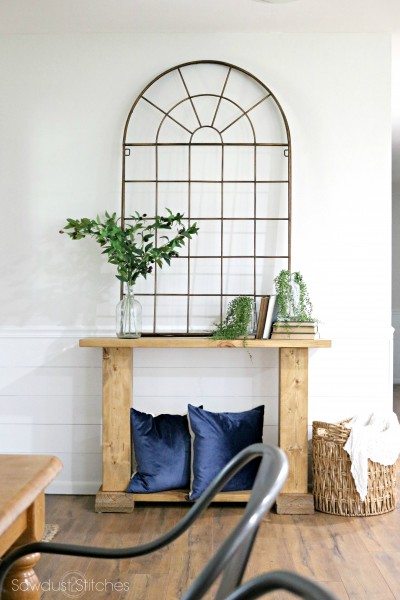
Hey all!  This was hands down the funnest build I have done for the blog thus far. Why?  Because I got to team up with one of my builder blogger besties to design and build it!  It all started with an innocent trip she was taking with her family to Orlando… well once we discovered we would be within driving distance of each other,  we started conspiring. It was unanimously decided we simply could not get together and not build SOMETHING! So we teamed up with the great folks at DAP to create this entry table that I desperately needed to stage the 70’s Ranch Entry! DIY Trestle Entry Table

So here is how it’s going to work,  Katie from Addicted 2 DIY has the printable build plans available here.  You can also follow along here for more tips and tricks for this build.

So let’s get started!


DIY Trestle Entry Table – The Base    (Reference Step 1-3 here)

We started at the bottom and worked our way up! We decided to give it a beefy base so we doubled up 2 x 8 boards, and gave them chamfered edges to add character. (See tutorial step 1 for dimensions.)

 DIY Trestle Entry Table

Once the feet were assembled we were ready to add our stretcher (Board that spans between the two legs). We used two pocket holes on  the under side of  the stretcher and secured it to the (bottom of the top board) 2x 8.  Repeat on both sides.


DIY Trestle Entry Table – The Legs   (Reference Steps 4-6 here)

We wanted this table to have some BEEFY legs! Most lumber stores don’t carry what we needed, so we decided to DIY it! Here is what we did.

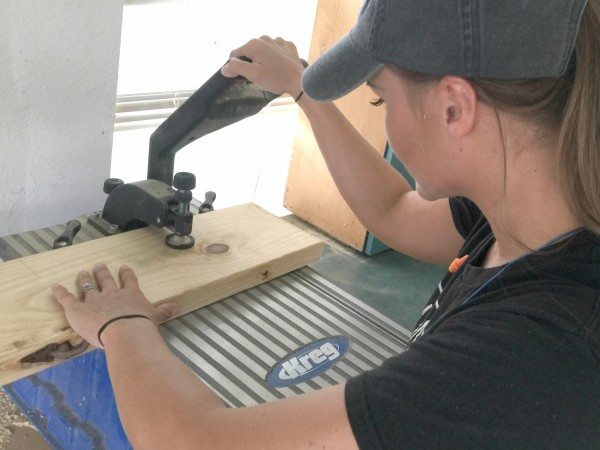
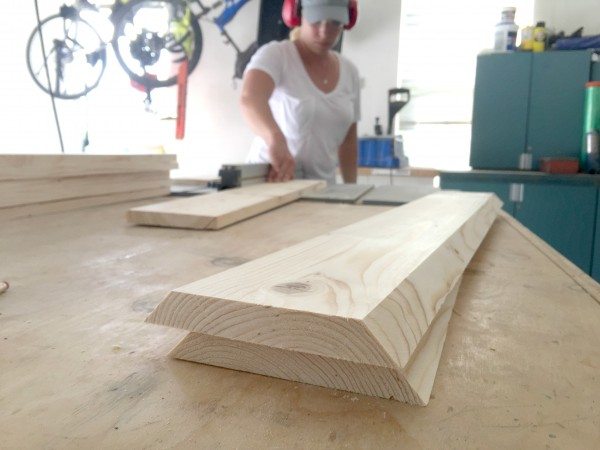
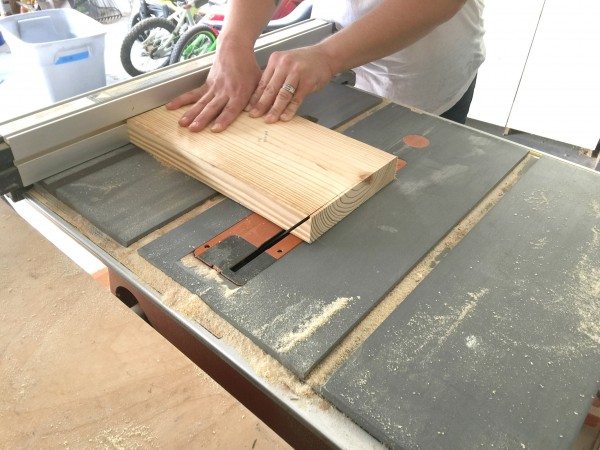
We set our table saw blade at 45 degrees, and set up the fence to maintain as much of the width as possible.  Essentially  we wanted to cut our 1×6 boards so that they all were uniform and had 45 degree angles one both long sides of the board. (See tutorial for cut dimensions.) DIY Trestle Entry Table

Next we were ready to assemble! The assembly of these can be a little tricky, so we took a few extra precautions to make sure these legs came out perfect!

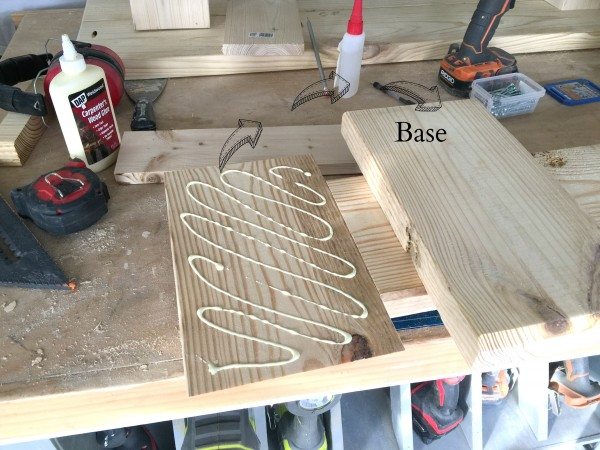
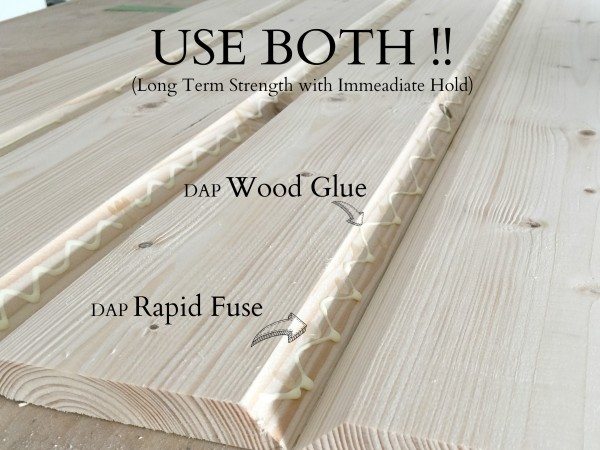
First we applied DAP Carpenter’s Wood Glue along the edges in a serpentine pattern. Next we added small dabs of Rapid Fuse  in the hills and valleys of the wood glue. Why? I’ll tell you why!  When putting something like this together it can be tricky to get it to stay in place long term while the glue sets.   The Rapid Fuse glue,  does just what it claims.  It fuses the surfaces together rapidly. For loss of better words, it is essentially a super glue for wood.  By using the Rapid Fuse with the Carpenter’s Wood Glue,  it will form an immediate bond that will make the project workable within minutes and will hold joints together while the wood glue sets.

We are so cool,  we even got some video footage of us doing our thang!  Check out how we assembled the legs.


Due to the nature of wood, it isn’t always perfectly  straight, so often times you will find discrepancies.  That is where Plastic Wood comes in!  As you can see in the image below  some of our joints had a slight gap. Seeing as this is supposed to appear as a solid beam, that simply would not do! So we used spackle knifes and filled the corners with Dap Plastic Wood .  This stuff sands like a dream and is stainable too, Booyah!
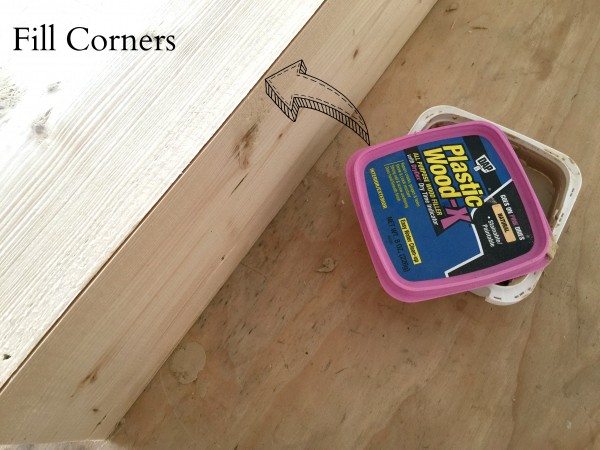
  Once the Plastic Wood was completely dry, we used a sander to give the legs a nice smooth finish.

DIY Trestle Entry Table -The Top  (Reference Step 8)

Next Katie cut our top boards.  Again, we used 2×8 boards to create a nice chunky look.
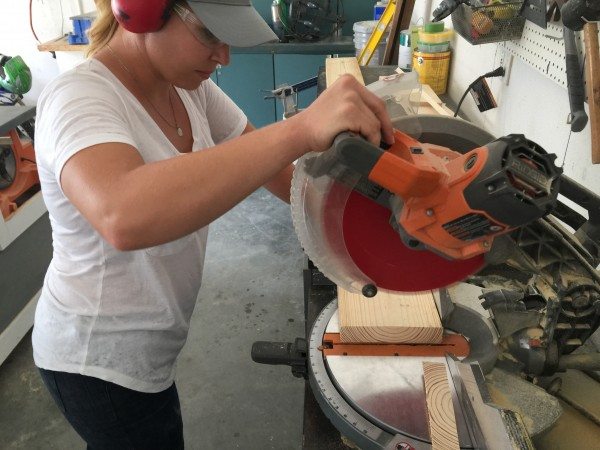
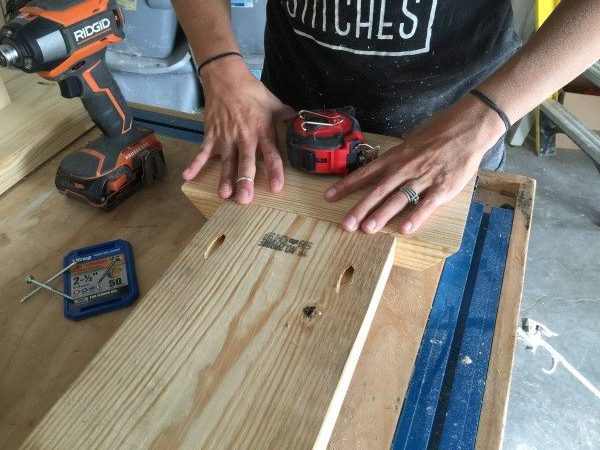
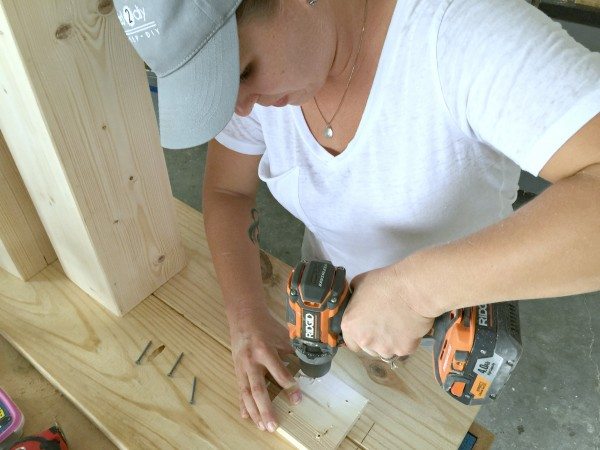
 The top would require us joining two boards together, to do that we used pocket holes.

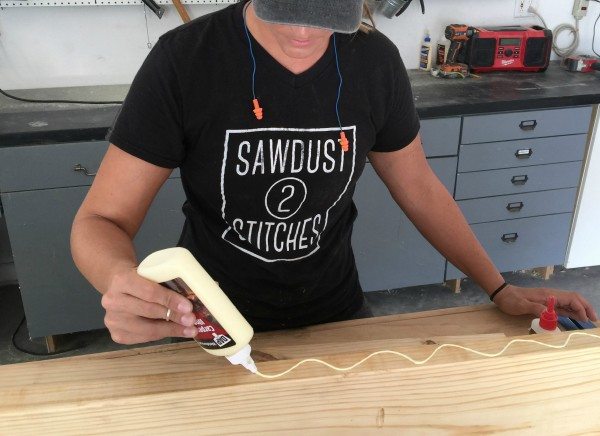
We wanted this to be a nice tight joint so we used our glue up technique again.  First I applied Carpenter’s Wood Glue in a serpentine pattern. DIY Trestle Entry Table

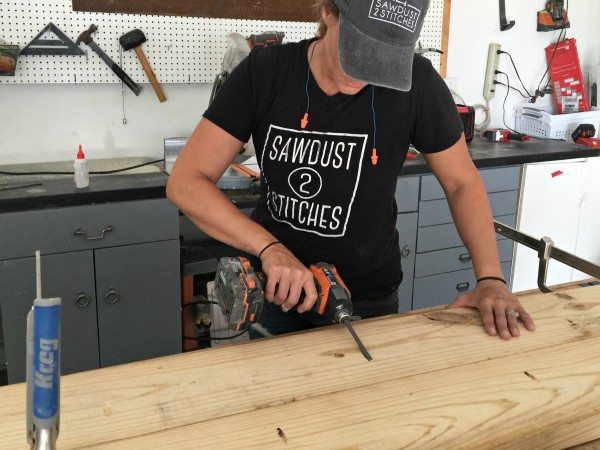
After applying the Carpenter’s Wood Glue, I added small dabs of Rapid Fuse.  Lastly, I secured the boards with 2 1/2″ pocket screws. 

DIY Trestle Entry Table – Assembly

(See tutorial for placement and dimensions)

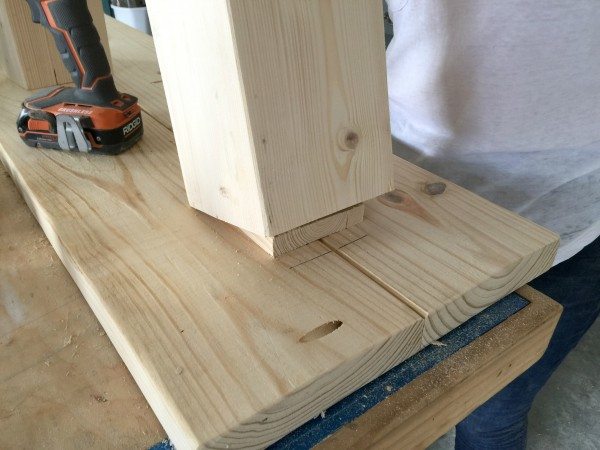
Next, Katie secured our blocks to the underside of the table, as well as the top of the base/feet.  These blocks will fit snuggly under/in the hollow part of the legs.
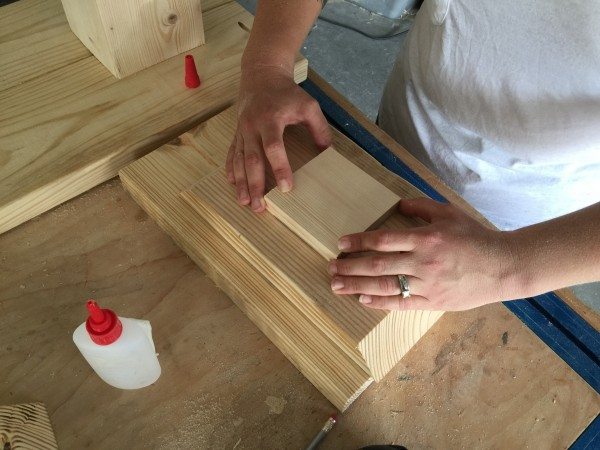
DIY Trestle Entry Table

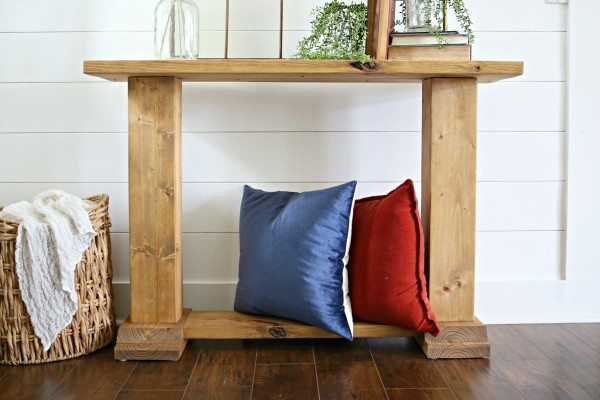
Once you have the blocks in place,  dry fit them to ensure you have a good fit. After you have confirmed a good fit go ahead and apply Carpenter’s Wood Glue  to the bottom and insides of  the table leg , and then use 1 1/4″ finish nails to secure.  (Make sure that the nails are driven through the leg and into the blocks.) At last we were ready to apply our paint and/or stain. We opted for “Golden Oak” stain by Minwax.  Phew!  Yes, we designed the table,  shopped for the supplies, built said table, and then stained it all in ONE day.  But wait there is more!  We even got a little crazy and staged it together!

 Us DIY bloggers are our own breed of crazy, and we dig it! Isn’t it just yummy!!?  I would later take it over to my friends home and use it as part of the Entry Makeover.  I loved the way Katie and I styled it so much that I duplicated the style in colors that would work in the new space.  I just love everything about it! 

Digiprove sealCopyright secured by Digiprove © 2017
More from my site

  • Modern Chair UpCycleModern Chair UpCycle
  • Home Depot Virtual PartyHome Depot Virtual Party
  • Out-feed Assembly Workshop TableOut-feed Assembly Workshop Table
  • Powder Room Vanity Build PlansPowder Room Vanity Build Plans
  • Rustic Wood Slice Fall BannerRustic Wood Slice Fall Banner
  • Want to see  MY “Craft Room” ?Want to see MY “Craft Room” ?

in Build Plans, Tables, Tutorials

Reader Interactions

you may also like
DIY Paint Booth
Add Character by Adding a Gorgeous DIY Garage Trellis
Hot Tool Storage/Organization Drawer
Built-in Pantry Makeover

Trackbacks

  1. DIY Trestle Table says:
    January 14, 2018 at 8:00 am

    […] walk in the front door, we really have nowhere to throw our keys, our mail, or our purse. Corey at Sawdust2Stitches has come up with a plan to build a trestle style entry table that would fit most narrow […]

Primary Sidebar

  • Facebook
  • Instagram
  • Pinterest
  • Twitter
  • YouTube
IMG_9167 (1).jpg fd

Popular Projects

  • How to: Faux Brick Wall
  • Cheap White Curtains
  • Ikea Cubbies into a Rustic Apothecary
  • Cabinet Transformed Into A Kitchen Island
  • R.V. Makeover
  • How to: R.V. Curtains
DIY & Design

Meet Corey

Hi everyone, my name is Corey, and I have a problem. I can’t leave well enough alone… The best therapy usually involves a variety of power tools. So, in the few “spare” moments I am not entertaining my two beautiful, rambunctious, boys, I can typically be found hunched over a sewing machine and/or covered in sawdust. All in the efforts to create a perfect balance of aesthetics and practicality in our home.
read more

Join our mailing list!

DIY & design ideas - right in your inbox!

Top Hits!

  • How to: Faux Brick Wall
  • Cheap White Curtains
  • Ikea Cubbies into a Rustic Apothecary

Featured

Back of Door Spice Rack

Categories

  • 70's Ranch Home
  • Around the House
  • Build Plans
  • Crafts
  • Current Home
  • Decor Makeovers
  • Dresser
  • Exterior
  • Fall
  • First Home
  • Furniture Makeover
  • Hidden Compartment
  • Kitchen
  • Lighting
  • Makovers
  • Master Closet
  • Organization
  • R.V.
  • Room Makeovers
  • Seasonal
  • Seating
  • Sewing
  • Shelving
  • Small Builds
  • Smart Home
  • Spring
  • Summer
  • Tables
  • Tablescape
  • Tutorials
  • Uncategorized
  • Wall Art
  • Wall Decor
  • Winter
  • Workshop

Footer

Contact Me: Corey@Sawdust2Stitches.com

Latest ‘Grams

Follow on Instagram
2020 © Your Blog Name
theme by soleilflare
Enter your name and email and get the weekly newsletter... it's FREE!
Your information will *never* be shared or sold to a 3rd party.