This post is sponsored by DAP*
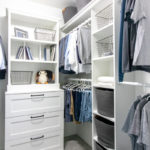
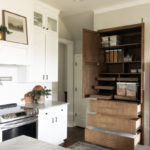
Hey all! Coming at you midway through my master closet makeover. I have been working around the clock on my master closet makeover and it is paying off! Last week I cleared out the closet and got it down to ground zero. All the holes are filled, and I have a beautiful window casing. All it needs now is some storage and organization. So this past week I have been working on some dresser that will house all the clothing that will not be hanging in the (future) built-in wardrobe space. 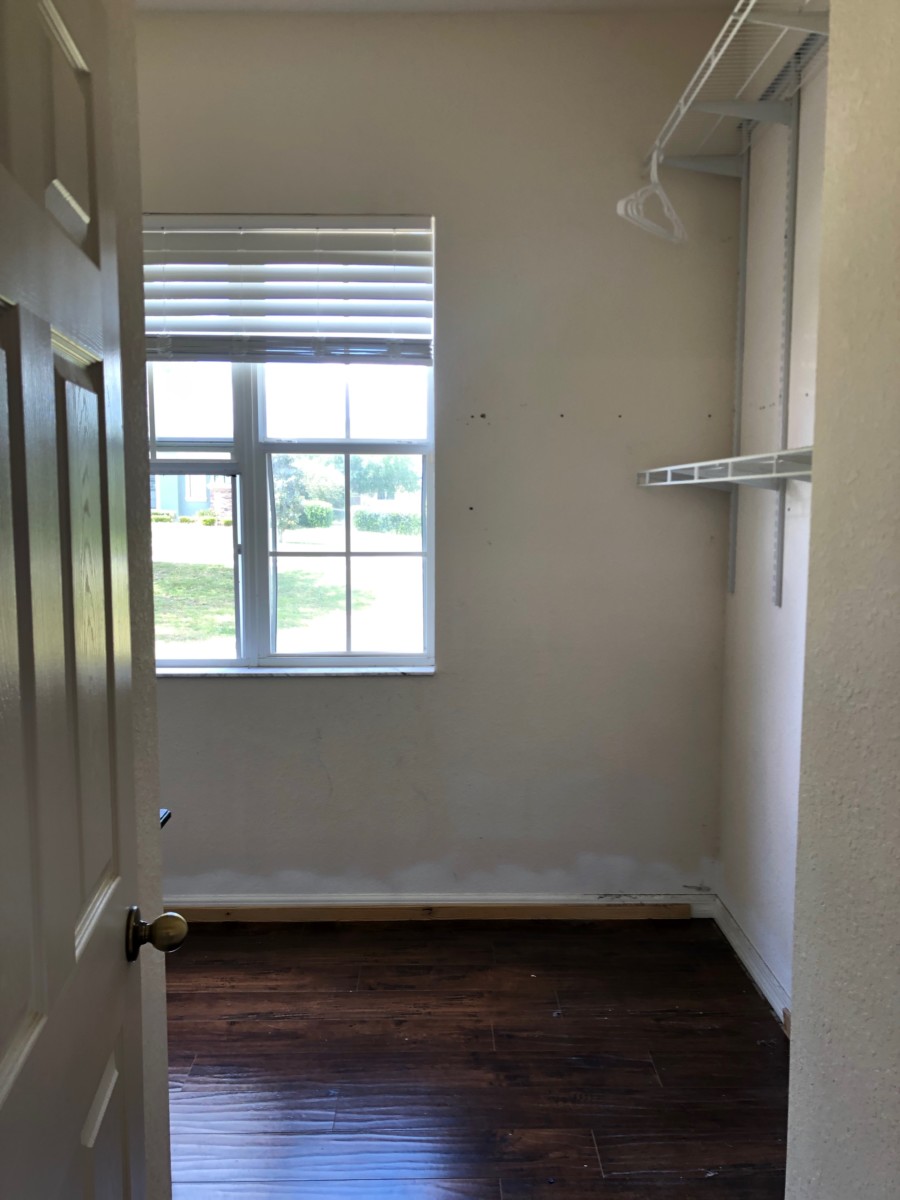
To create this custom space I am teaming up with the great folks over at DAP to create this completely custom dresser! The thing I love about this design, is it could EASILY be built as a stand alone dresser, or you could take a page out of my book and build it specifically for a gorgeous walk-in closet.
So let’s get started!
Sides
When designing this dresser, I wanted to maximize the drawer space without loosing my design aesthetic. I opted for a frameless style dresser. (Which means it does not have a wider face frame attached, and typically means the drawers are inset.) I used 3/4” paneling as my dresser sides. A nice plywood is perfect for this type of build, the only drawback is the exposed ply on the sides. Seeing as the sides would be visible I opted to band my edges.
This is a fairly straightforward process. I prefer the “ pre-glued Iron-on” variety. As you can see in the image below the bottom board has the edging applied, whereas the top does not. 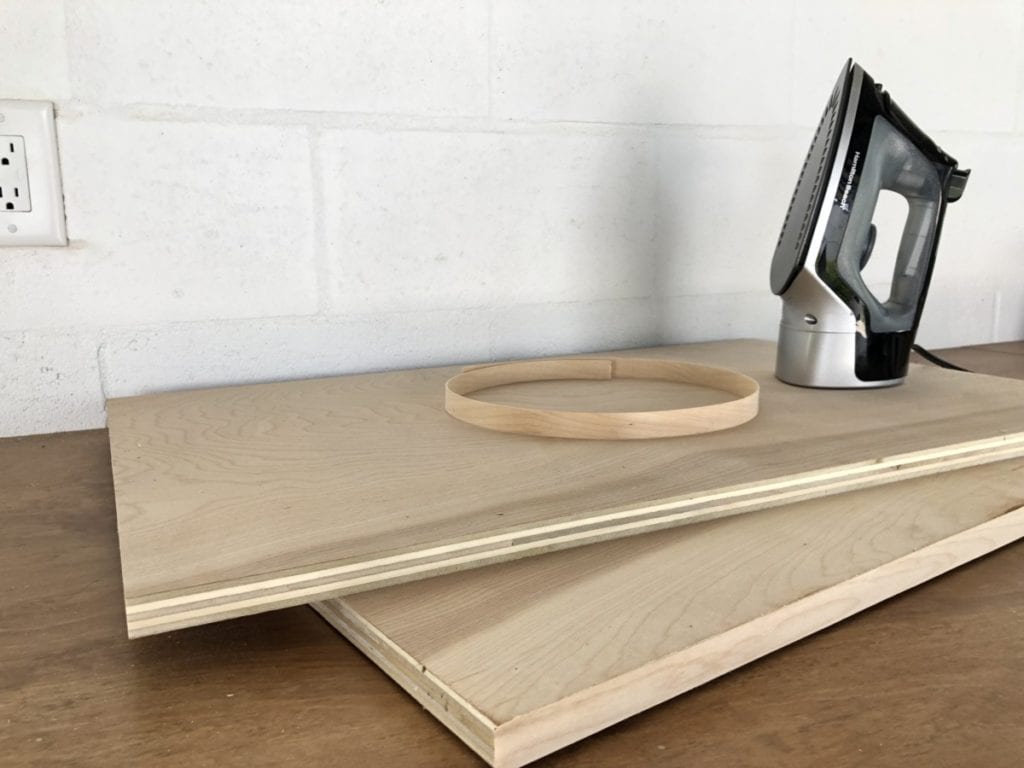
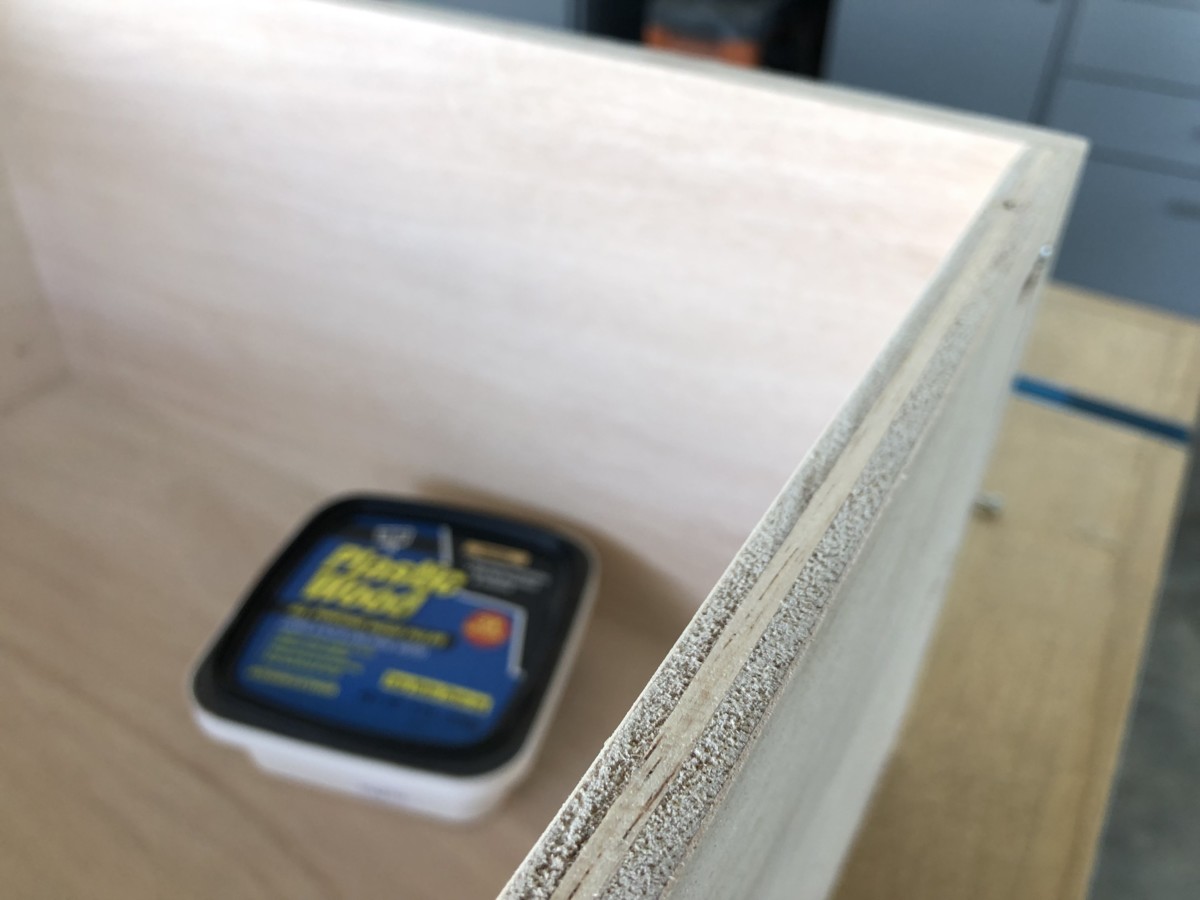
The edging is great but I find every once in awhile there is a seam in the banding! Most of the time I try to work around these seams but every once in awhile one sneaks in there and I don’t notice it until after the fact. Now, I suppose I could rip it off and start again, but I have found an option that works fabulously. DAP Plastic Wood to the rescue!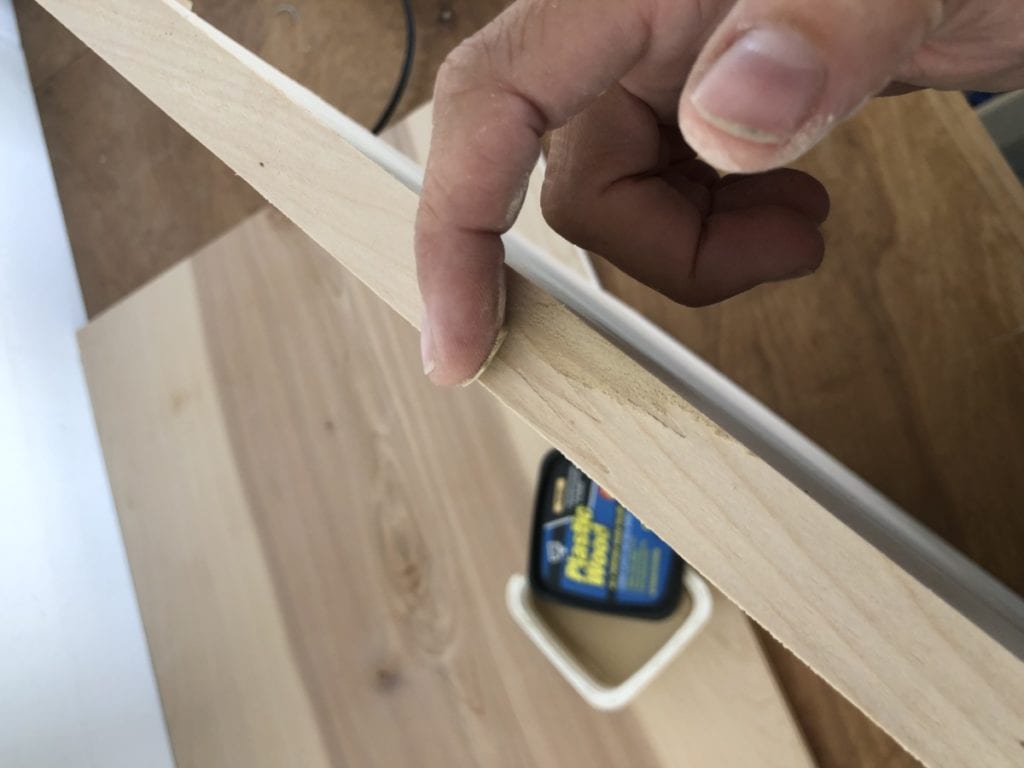 Just add a small amount of DAP Plastic Wood to the seam and allow to dry. Once dry, lightly sand with a fine grit sanding sponge. It makes the seam all but disappear! BOOM BABY!
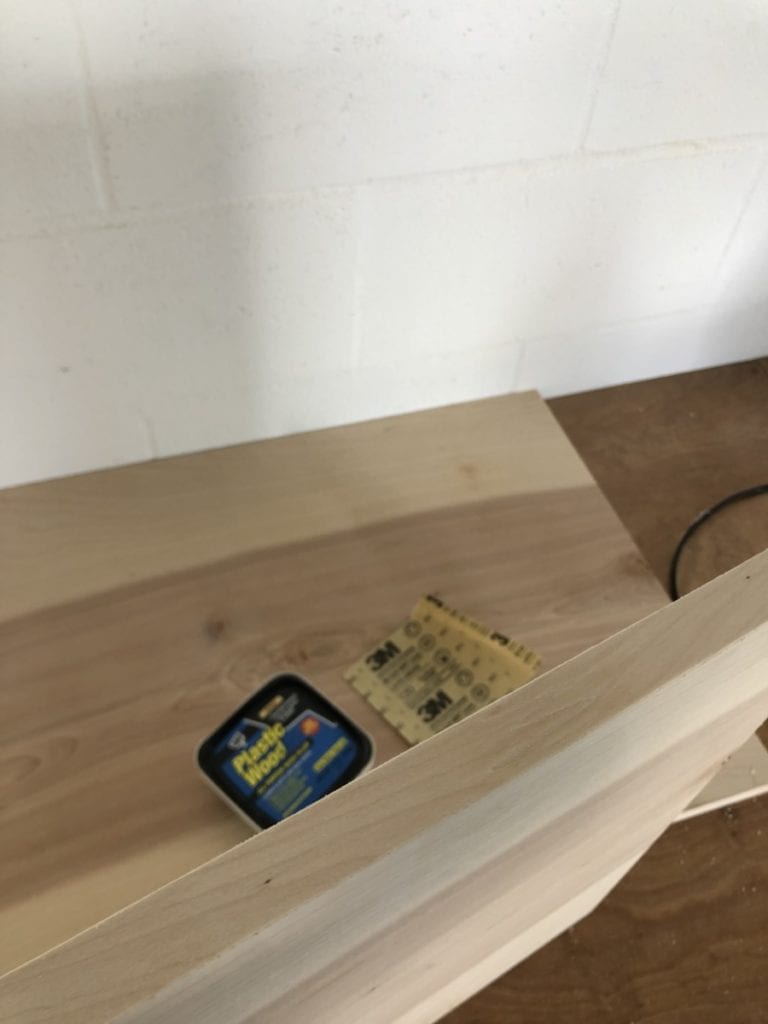 Next up? The Rails for the dresser. I love how quickly the carcass of a dresser goes together! Just a few boards and it reallly starts to look like a dresser. When attaching my boards, I prefer to glue them up and use pocket holes to secure.


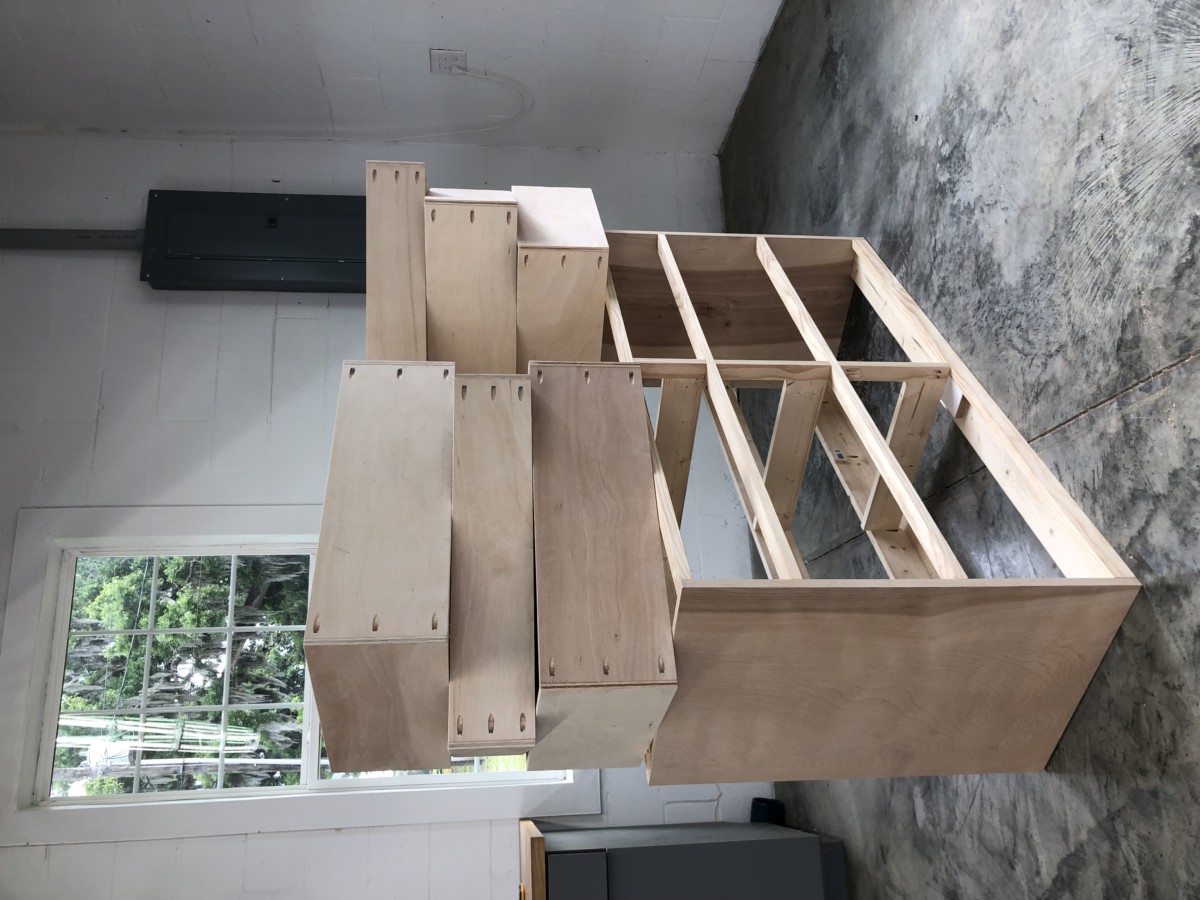
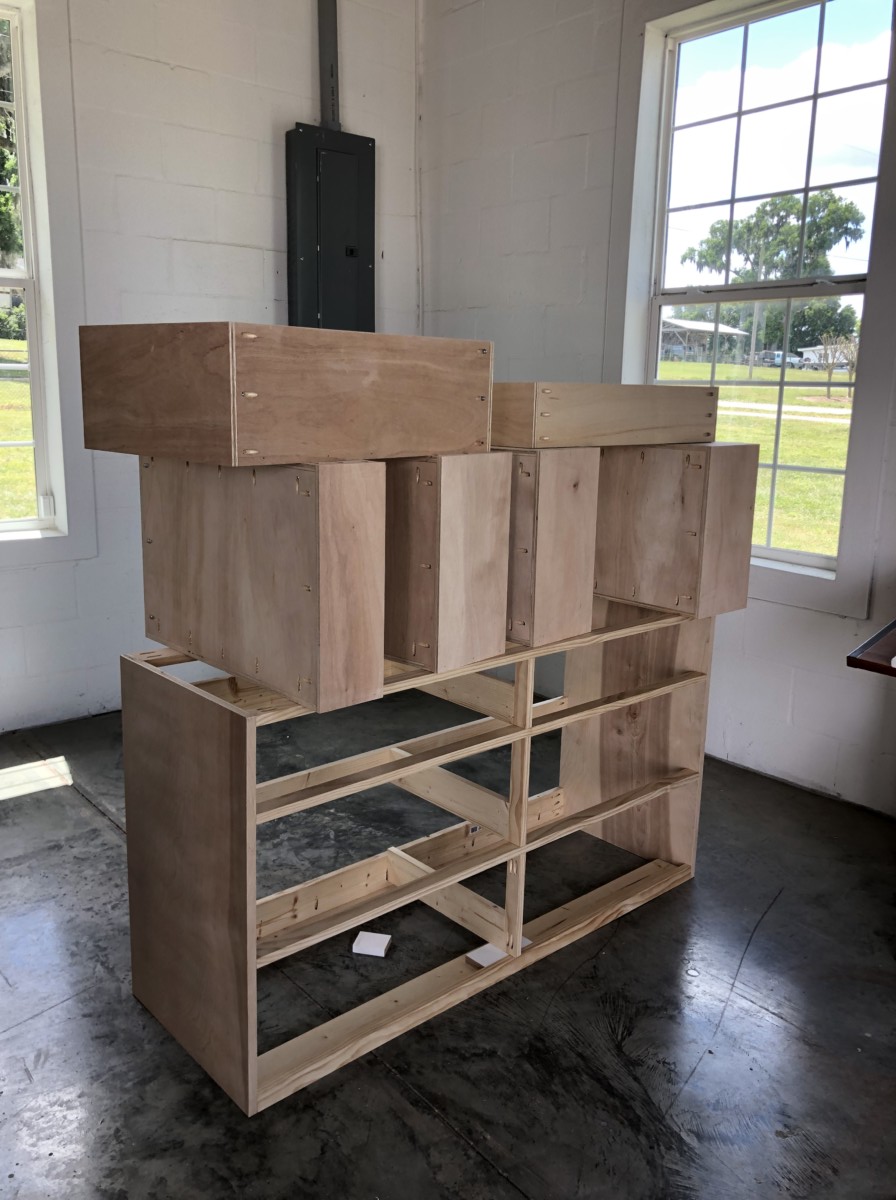
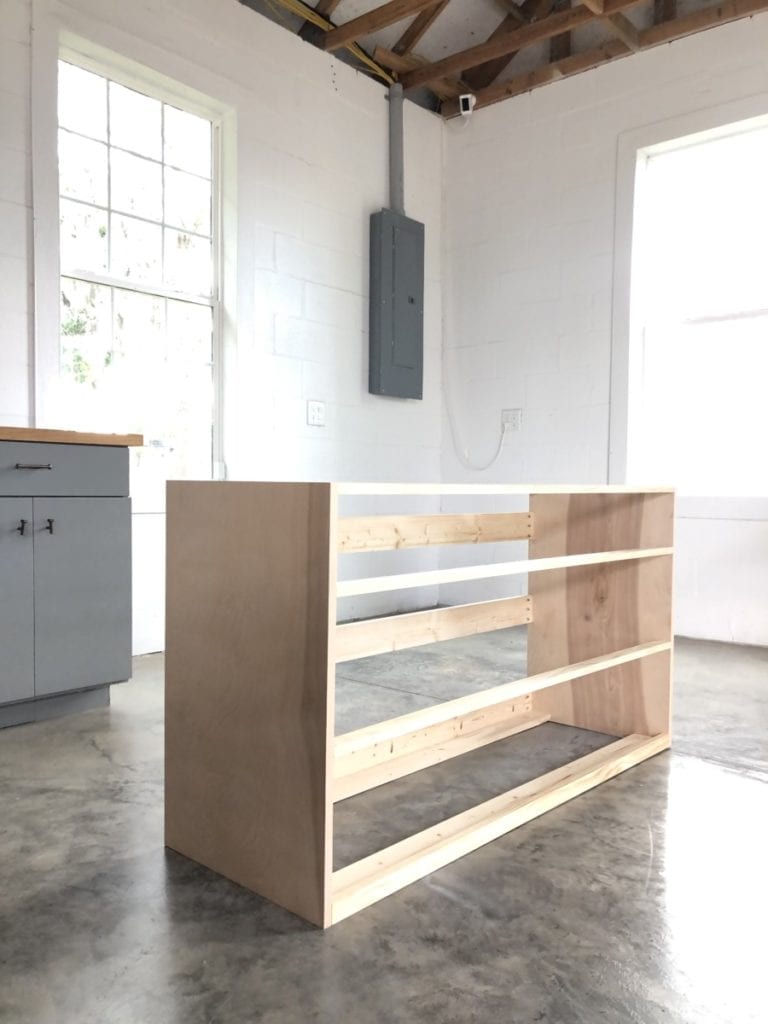 Once the dresser carcass was complete it was time to move on to the boxes. I like a very simple sturdy approach, I use 1/2” plywood for the bottom and the sides.
 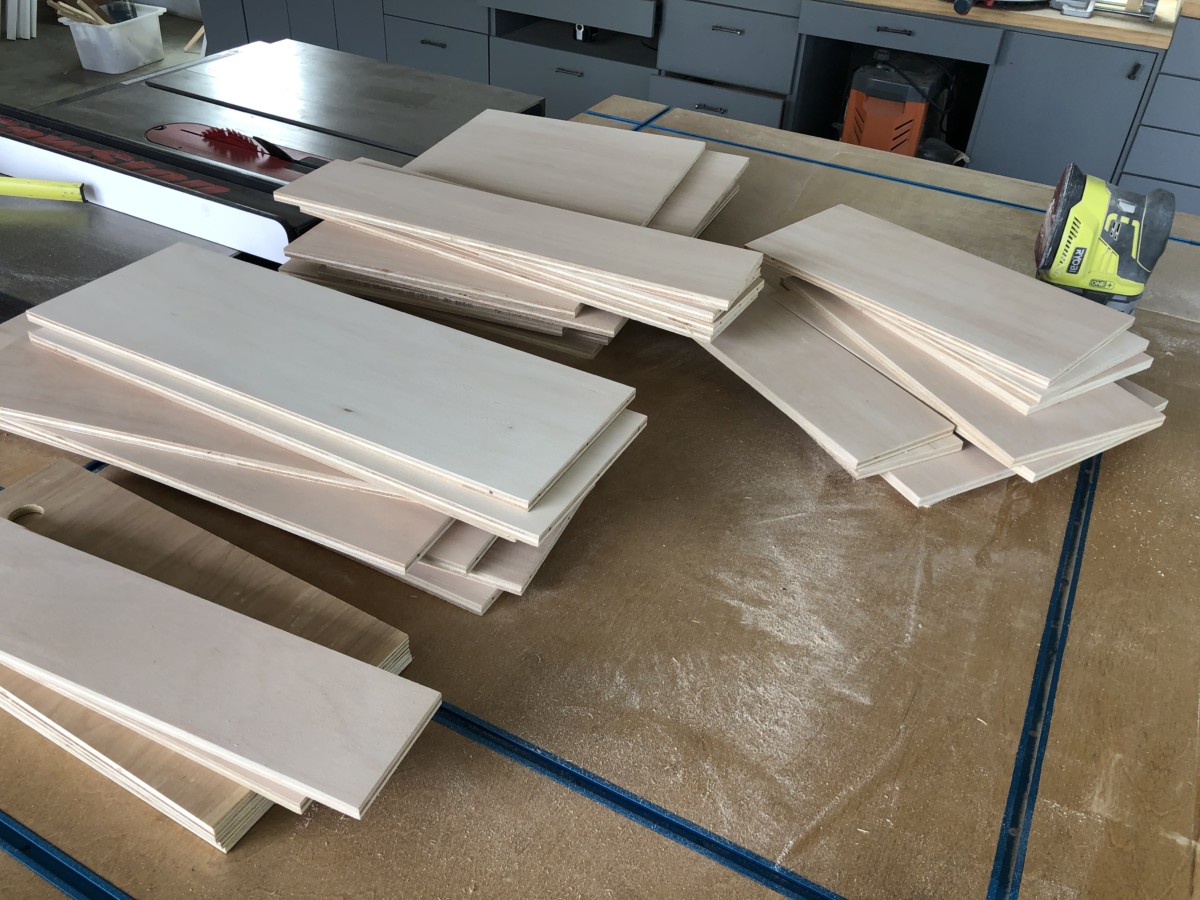 I utilize pocket holes on the bottom of the drawer boxes to attach them the drawer box sides.
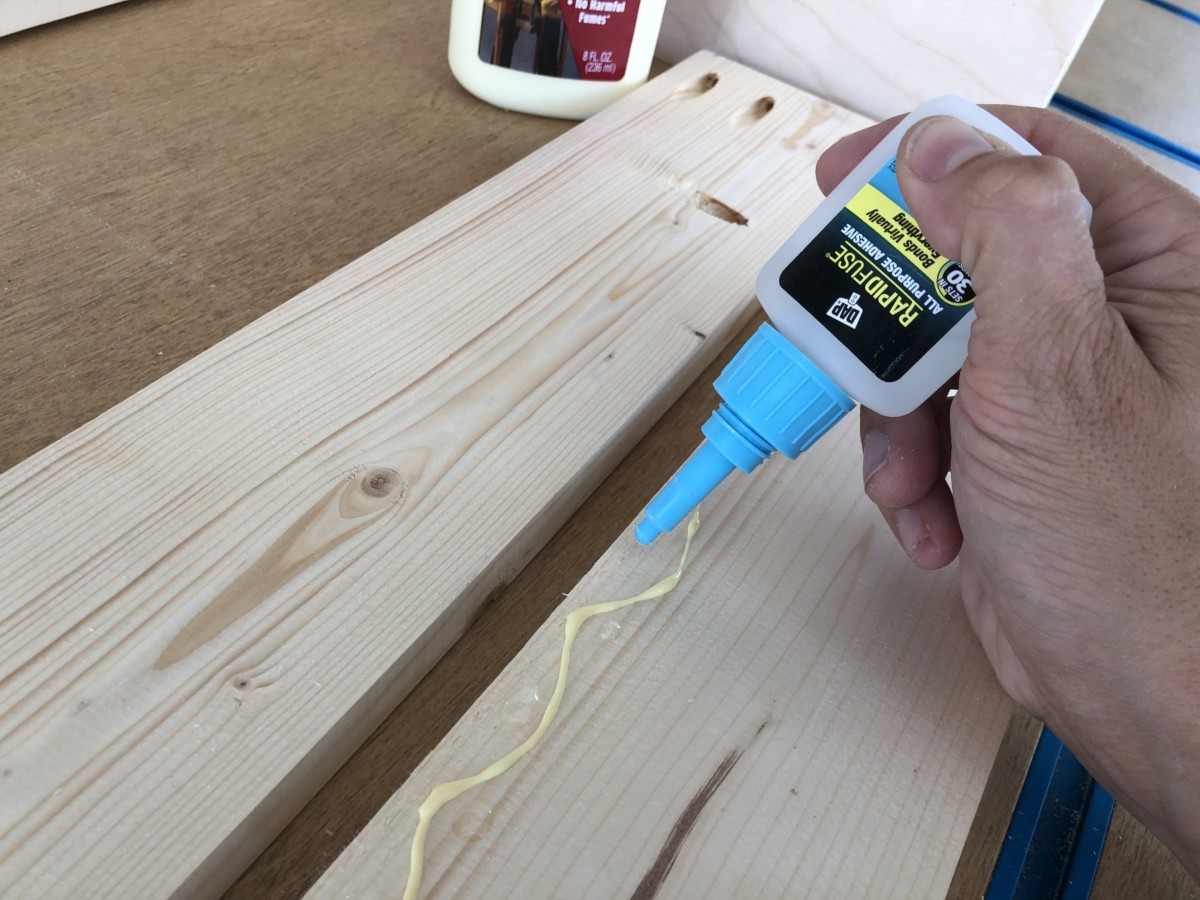
 I hate to admit it but I am really rough on our drawers, so I make sure to reinforce all my joints with wood glue. I have also found that to save myself clamping, I can use Rapid Fuse to glue up the entire drawer box and then come through and add pocket holes to reinforce. It’s awesome and I don’t have to use any form of right angle clamps!

When using plywood for drawer boxes you will have an exposed ply on the edges. Again, I like to just add a fine layer of DAP Plastic wood. Once it is dry, just smooth over it with a sponge sander. Voila, a nice smooth finish.
 Drawer glides are installed and ready to go! When installing drawer glides I always use Rockler Drawer Glide Jig. It makes the entire process go much smoother.
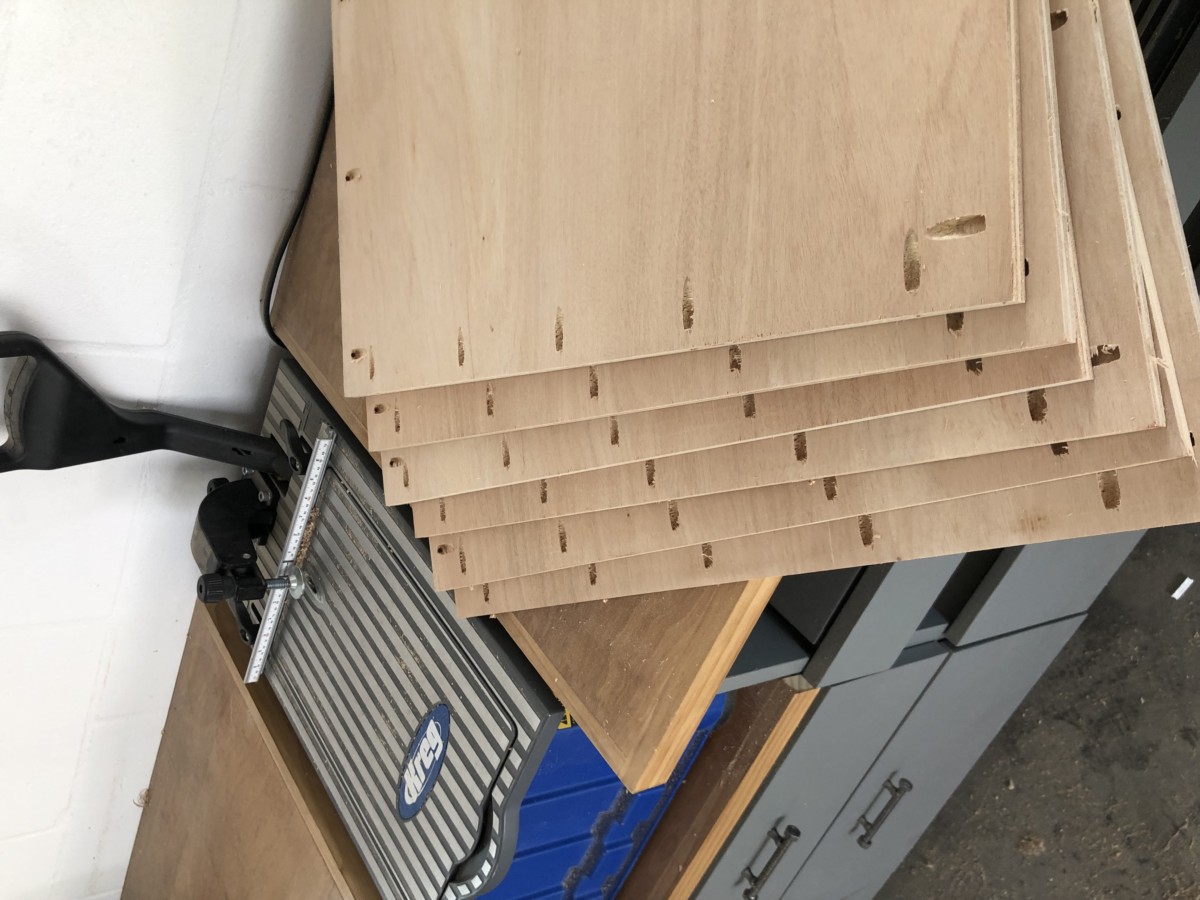
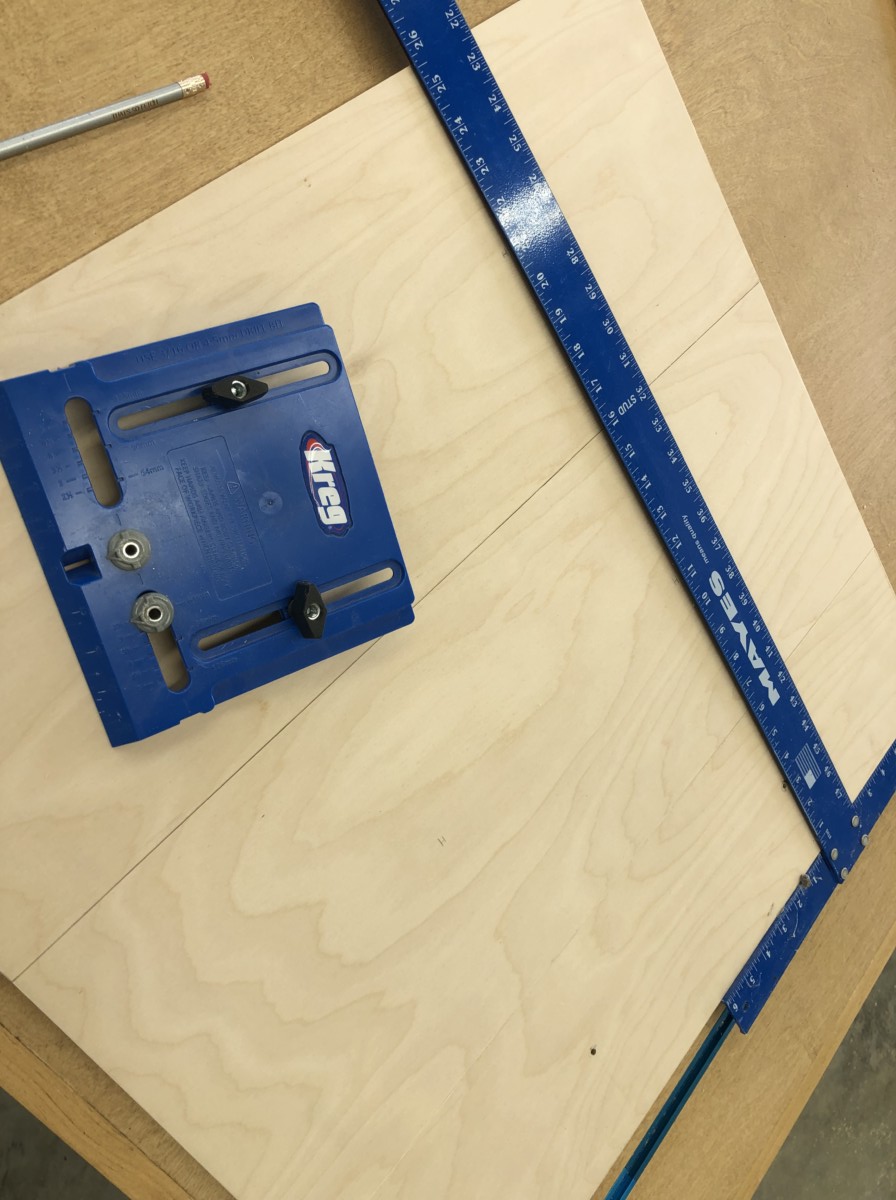
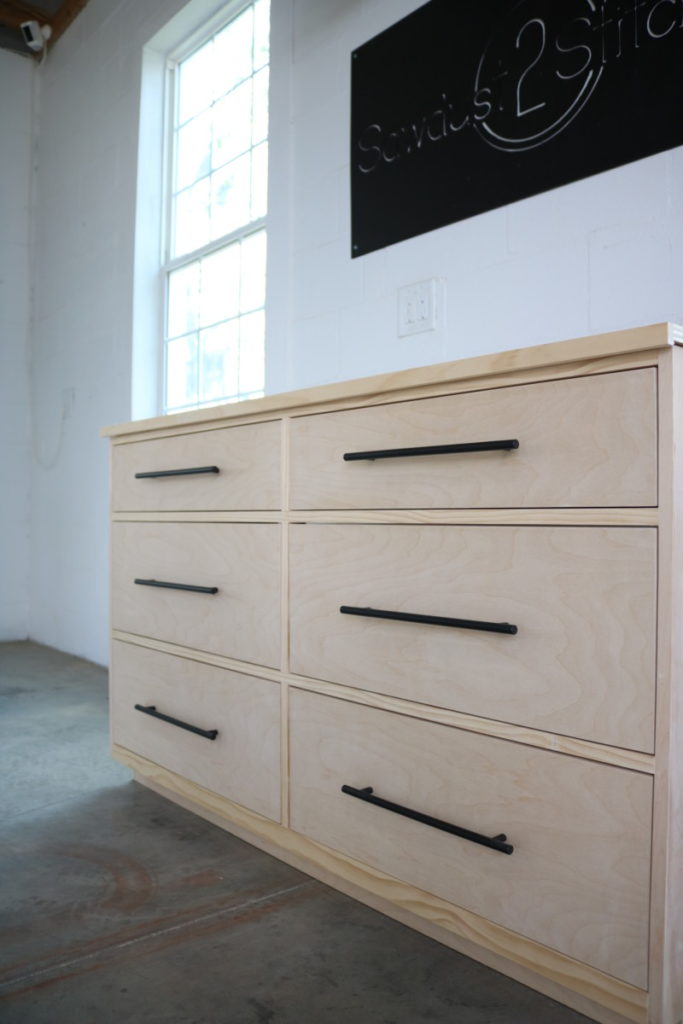
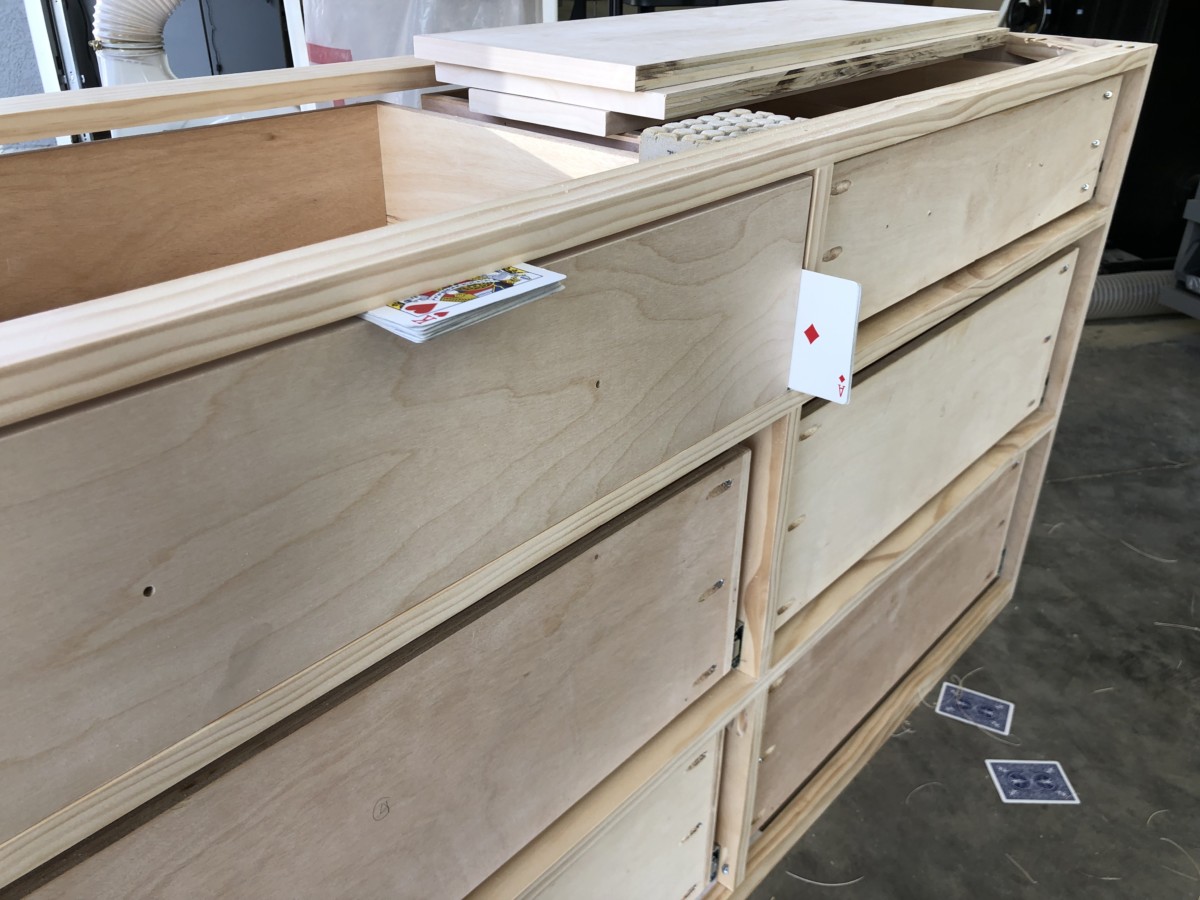
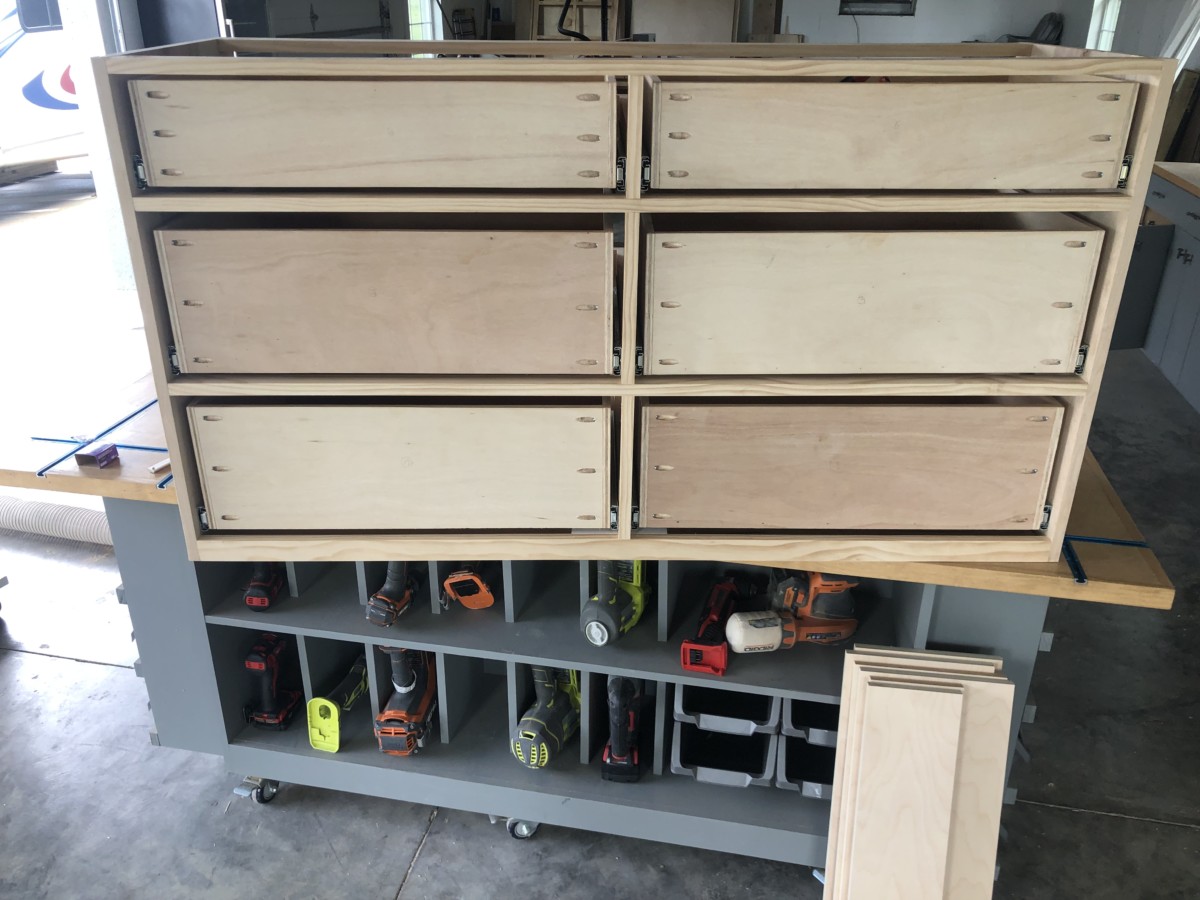 Now it’s time to add the drawer box fronts. Typically, I would use a Kreg Jig to drill the handle holes, but with these extra long handles that I selected, I needed a wider set jig. So I measured and carefully marked the placement and then used a jig to ensure that the holes were square.
G When installing drawers, I like to use the ol’ trusty card trick. It’s a quick way to get even spacing when installing an inset door. If you want to see how I do this, just watch this short clip on my InstaGram Stories.
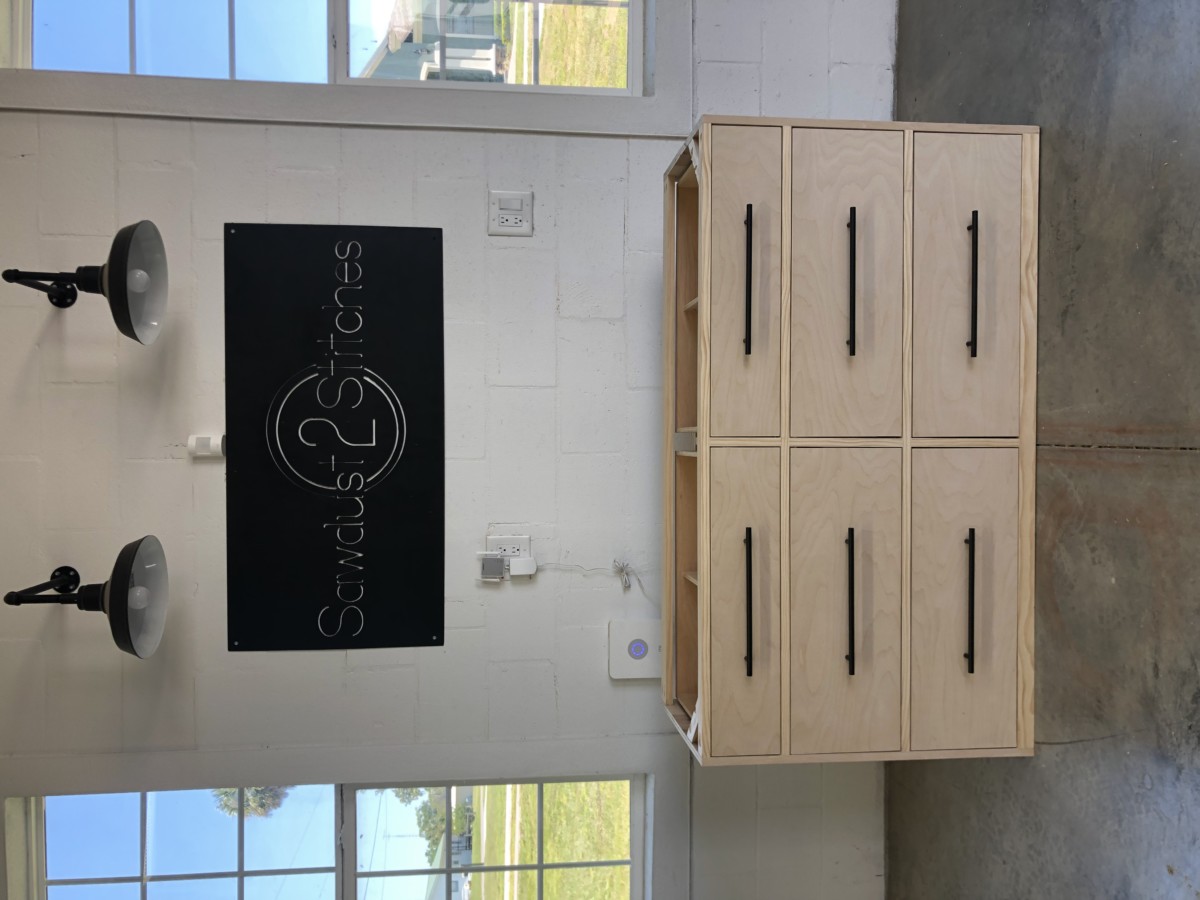
Once all the drawer fonts are attached, I then added hardware.
Here is where you can get creative! By making a few simple changes you can COMPLETELY change the look of this dresser! Seeing as I built this to go in my closet as part of a built-in series, I designed it to be cohesive with the rest of the closet. So instead of putting a foot on it, I put it on, a raised platform identical to the ones I plan on using for the rest of the closet.
That being said, you can easily add any number of different style legs to make this dresser fir your needs!
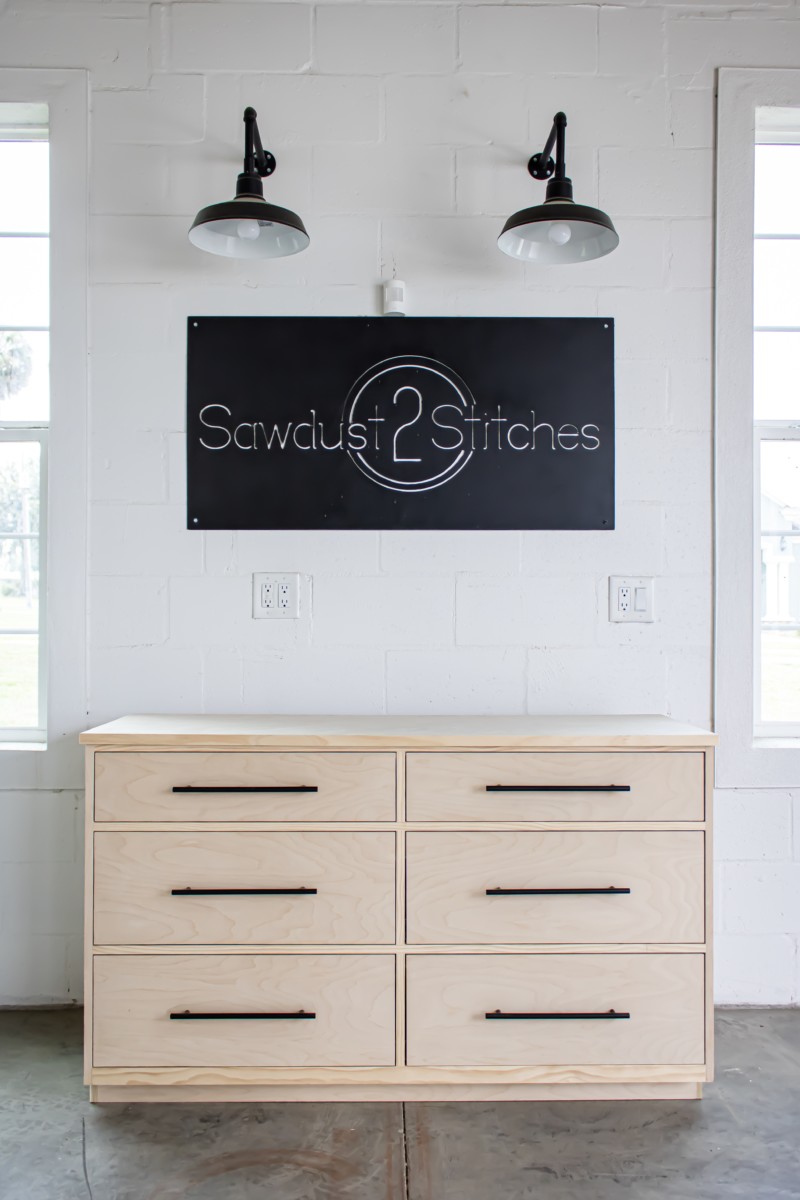
The last thing I needed to add before painting and staining, is the dresser top! I just used a piece of 3/4″ birch plywood for my top! I wanted to create just a LITTLE bit of visual weight to the top so I banded the edge with a strip of wood I ripped down on my table saw. Banding the edge with iron-on edging would have sufficed, but the strip of wood added the weight it needed and also by using wood glue, and some Rapid Fuse I can rest easy knowing this susceptible edge is secured!
 That pretty much sums it up! If you want to build one of your own, I can help you with that! The build plans will be up and available shortly. In the meantime make sure you follow along on Instagram Stories for more behind the scene sneak peaks of the master closet makeover!
 Copyright secured by Digiprove © 2019


[…] it was time to install. (It makes for a lot less walking.) So once main focal point was built (dresser), I began working on the remaining wardrobe style […]