*This “How to: Window Casing” is sponsored by DAP and includes affiliate links. *
REAL Window Casings
| Tools Suggested: | Materials Used: |
| Tape Measure | Primed Finger Boards |
| Miter Saw | DAP Weldwood Wood Glue |
| Table Saw | DAP Plastic Wood All Purpose Wood Filler |
| Drill | Alex Fast Dry Caulk |
| Pocket Hole Jig | Paint |
| Pin Nailer/ 16g or 18g Nailer | |
| Caulk Gun | |
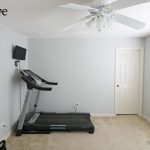
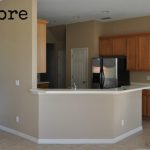
A few years back I was working on window casings in my Primary Bedroom. ( It has undergone two makeovers in the past few years. You can see the original makeover here, and the new moody design here.) My Dad happened to be visiting me when I was in the process of working on casing my windows. He walked in and watched as I proceeded to add a thin piece of MDF to the interior of the window frame in preparation to add actually trim to the front of the window… to which he says… “Punkin, (He calls me Punkin) what are you doing?”
The Solution:
I then proceeded to explain to him that I didn’t like seeing the wall texture on the interior of the casing so I cover it… he patiently listened to me explain my reasoning… he nodded as I explained… and then he said “thats a good way to do it… but tell me why you don’t just case the interior?” My Dad has been in the home building construction industry since he was 12… I learned how to use tools and worked rough construction along his side all through high school and college. He knows a thing or two about a thing or two… but I never did mill work with him. I never learned how to actually case a window!
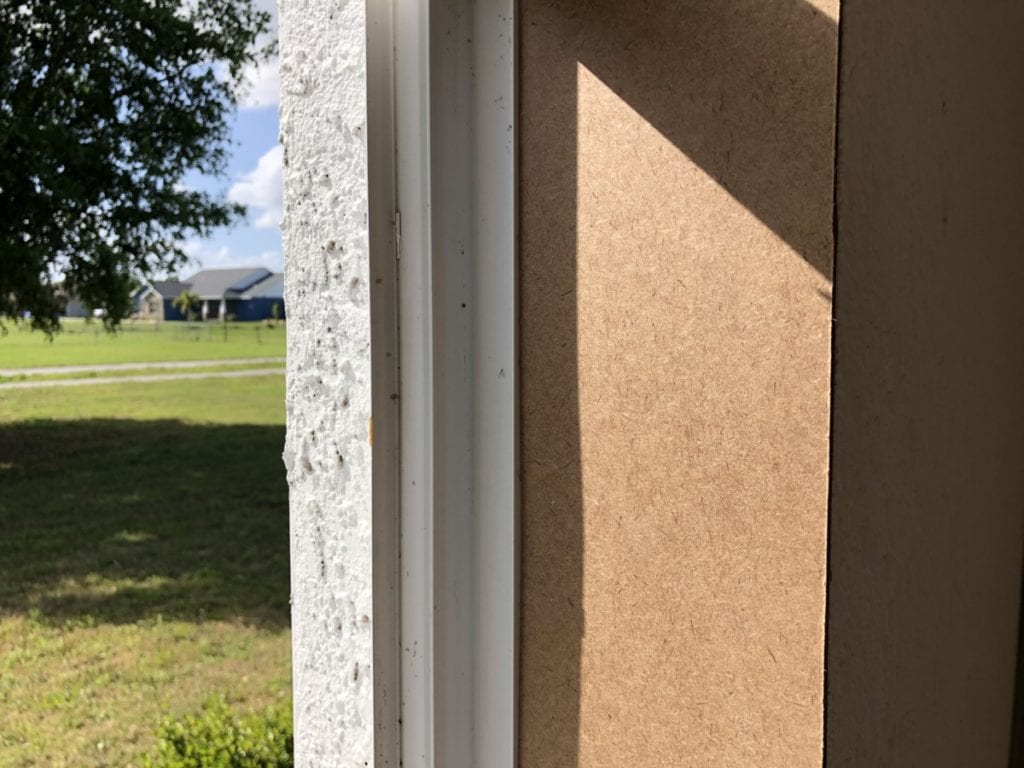
I had given all my windows the MDF makeover version because I was scared too! (It is still is a great option, but it’s more of a “window hack”.) Looking back “being scared” seems like a really dumb reason. I put it off for years… and now I wish I had leaned in sooner! Let me show you how I now add window casings using interior trim.
The “Scary Part”- Drywall Removal
The scariest part of this project is removing the drywall. It isn’t a hard job it’s just a little scary! I have never been great at drywall and I don’t love working with it. The idea of tearing it apart terrified me… “what if I have to fix it?”! Honestly, you guys, not scary… the reason removing the interior drywall is necessary is because you need to make room for the new board.
Average drywall is about 1/2″ thick. Once the drywall is removed from the interior of the window jamb in creates space for an actual board… not just flimsy MDF paneling.
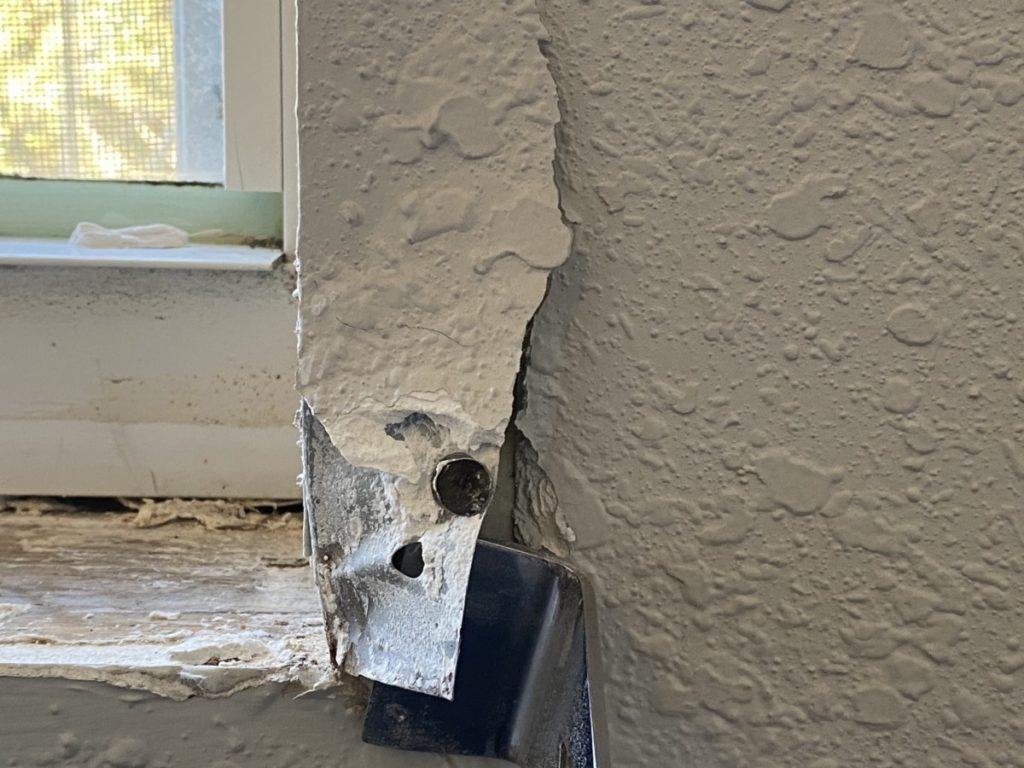
Let’s get started most outside corners are going to have a piece of thing metal (sometimes plastic) under the drywall where the joint meets, this is called “corner bead”. I just hit the corner with a hammer until I found where the “corner bead” started.
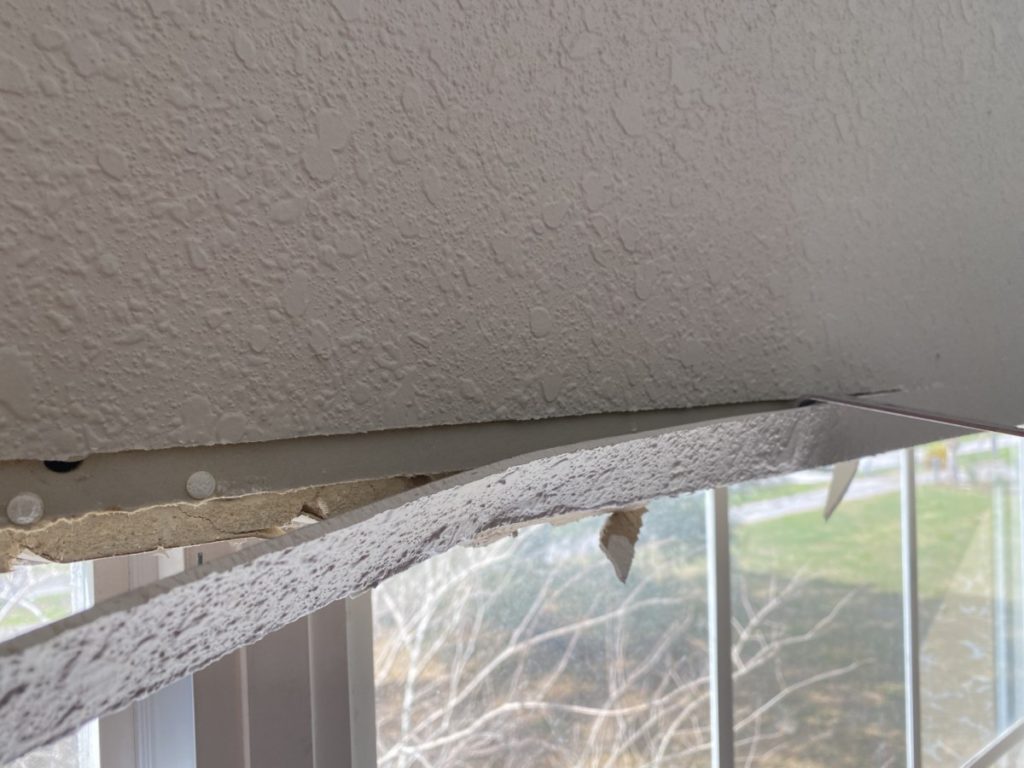
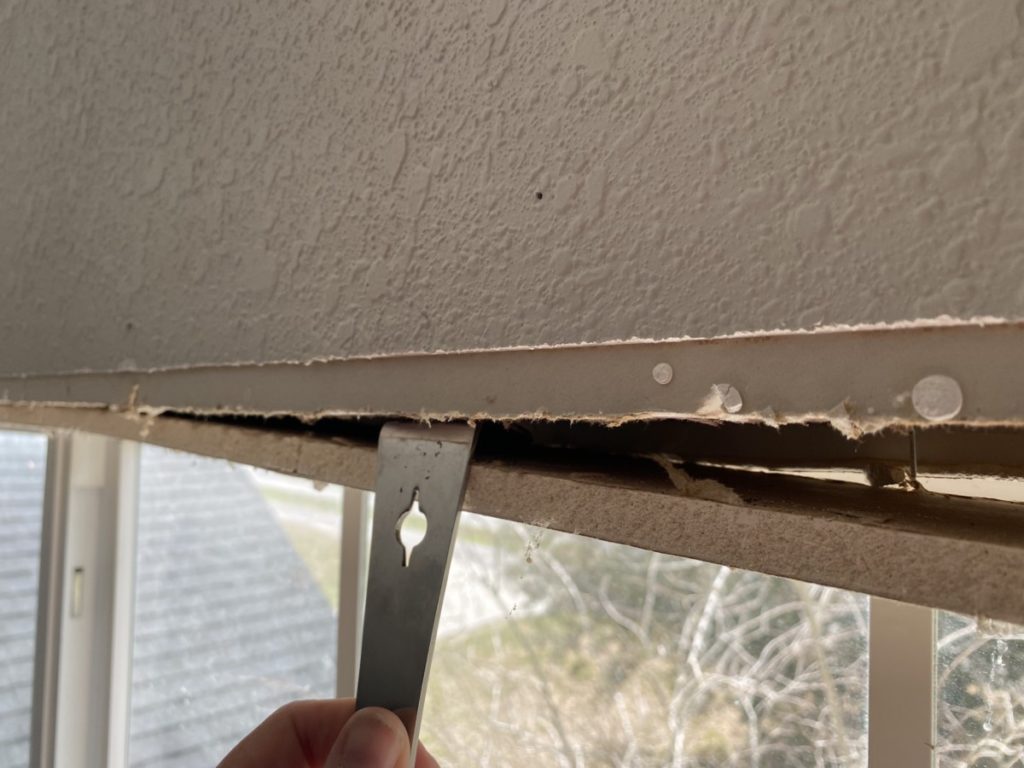
Once the corner is located, just start prying! Use a small pry-bar to slowly lift the corner bead, and it will bring the drywall with it. be aware that there will be quite a few nails that will need to be backed out as the corner bead is removed. It is not a hard process, just take s little patience.
After there corner bead is removed the side of the drywall should be exposed. (It may have some adhesive helping hold it in place. Use the prybar to slowly pull the drywall off of the door jamb.
Once the drywall is removed from the sides 2×4’s (Construction differs base on location, my first floor is comprised of cinderblock and the window were cased in the PT fir stripping.)
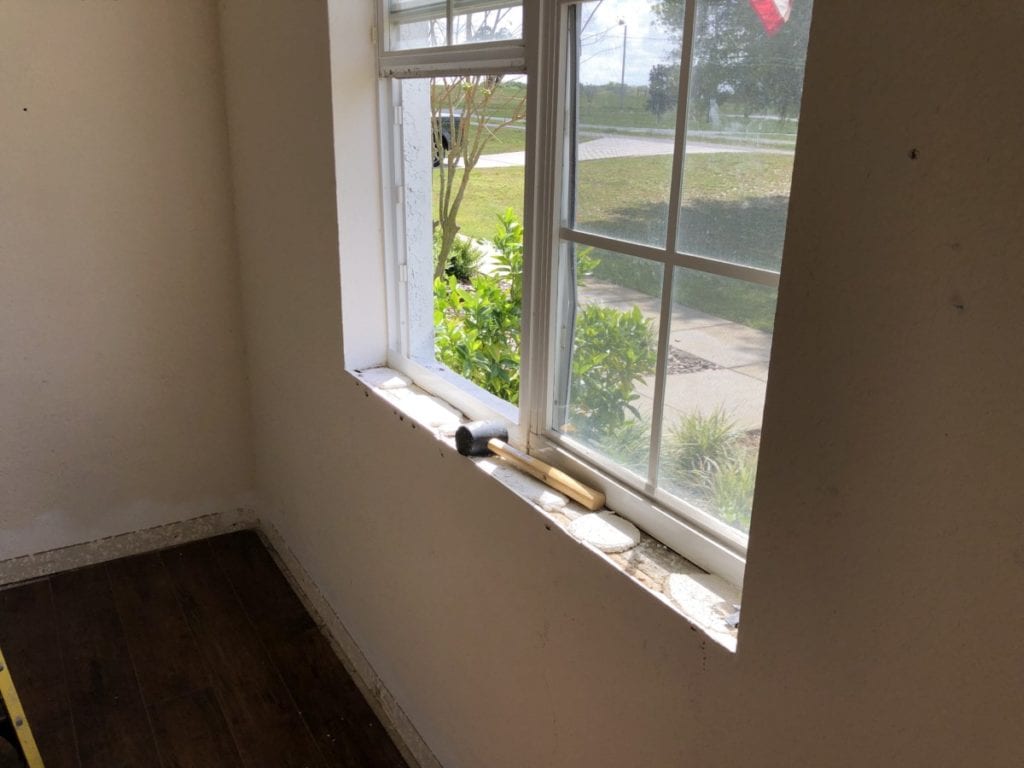
The last piece that needs to be removed is the “sill”. In our home they builder added a marble sill. These are easy to remove… they may break in the process but that is not a big deal. I use a rubber mallet to loosen the sill and then use a pry bar to lift and remove.
Mark and Measure Window Casing
One of the things that I LOVE most about this way of window casing, is that it allows me to correct errors the builder made. In the past when I was doing the MDF version of a window casing I was always surprised that the dimensions from one side of the window to another were always so different! I figured… the window is a square/rectangle. Why aren’t the opposing sides the same dimensions… the answer? Most generally the discrepancy is in the drywall and builder error. I have found that drywall mud is the magic eraser for a builder. If they mess up or need to make something flush, they just add more mud. Once the texture is added it is hard to see the original problem. SO… when you removed the drywall you can access the windows TRUE dimensions, which SHOULD be perfectly square. When building my casings I base them off of the window dimensions, not the opening. This will ensure that the casing will be square, and the way that I construct these actually HIDES builder errors. Win/Win.
Construct Window Casing
The goal when taking dimensions is to cover the tiniest bit of the window frame, and still have enough to have the board AND still be able to open and lose the window. The great thing about this form of construction is you can hide a lot of discrepancies. The interior depth of my window varied based on where you took the measurement. Instead of scribing and custom cutting the interior board I used the deepest measurement and call all of my interior casing boards to the depth. (For example, my sill depth was 3 3/4″ at one point but then 4 1/8″ at another. So I used the 4 1/8″ as the width for my interior boards.)
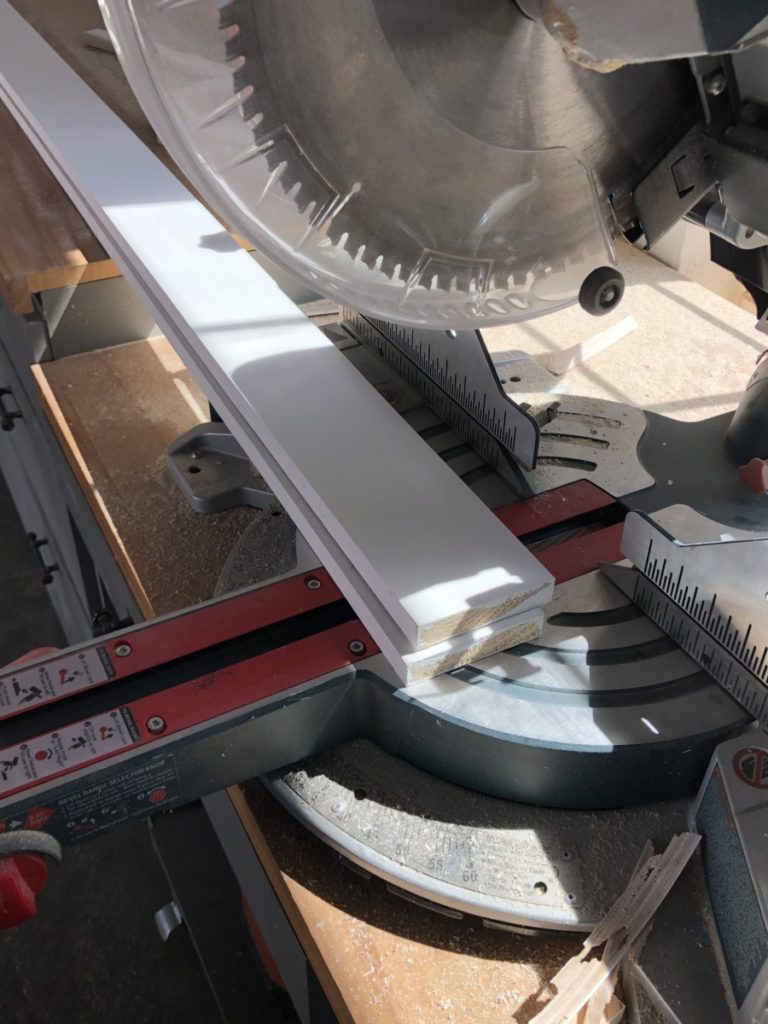
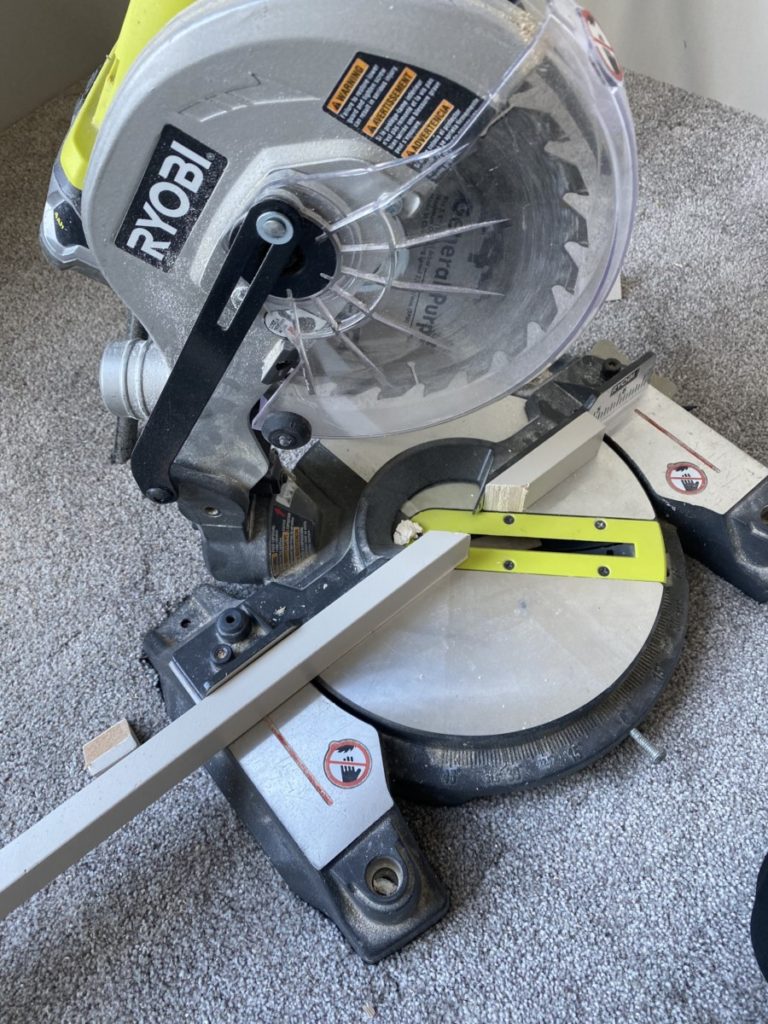
I cut my sill (bottom board) and my top board first. I quickly did a dry fit to make they would fit. Next measure the side dimensions, including the depth of the bottom and top casing pieces. Again, there is a good chance that the dimensions will not be exactly the same. In this case cut both the side casing pieces to the the shorter dimension. The goal is to create a “square” window…(Meaning that the corners are square 90 degree… not an actual 4 equal sides geometry square.) I would suggest dry fitting all four boards into the window opening before beginning the install process.
Assembling Interior Window Casing
Time to start assembling… using a pocket hole jig drill holes on the back side/ ends off the side casing boards.
Using 1 1/4″ pocket hole screws secure the side casings to the top and bottom boards. ( The pocket holes should be on the outside of the casing, so they will not be visible once installed.) Once assembled I suggest doing another dry fit in the window opening to ensure that it fits properly and that the window can open and close. ( There are bound to be uneven gaps around the perimeter. DO NOT WORRY! This will be a non issue in the next step.)
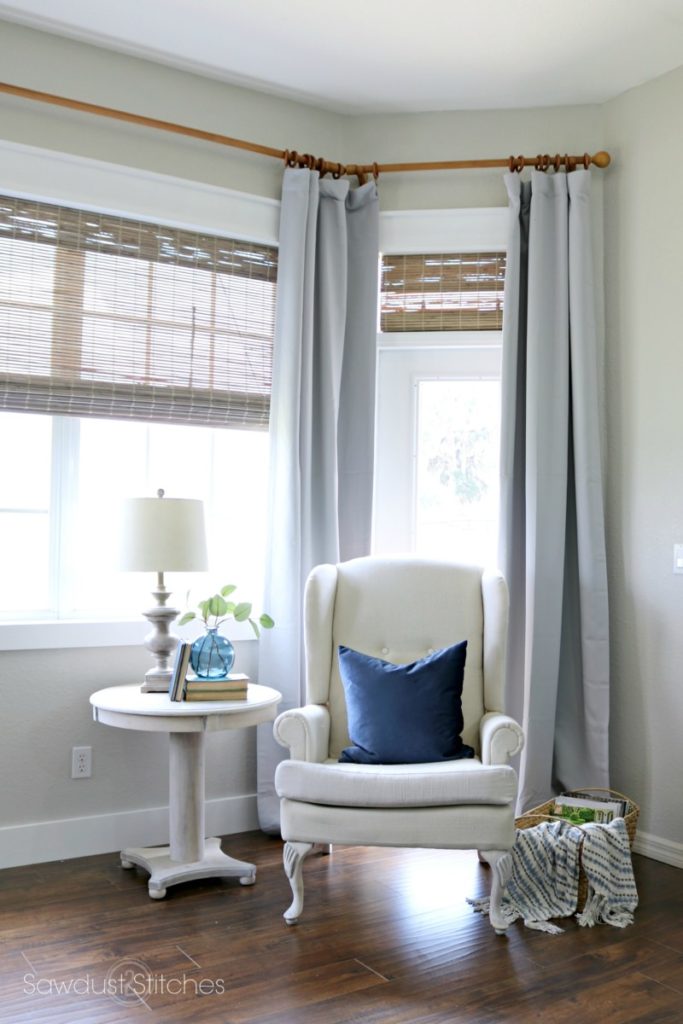
Front Window Casing
Next it is time to add the front window casing. This will be the board that sits on wall, and will hid any weird gaps around the perimeter of the window. I used 1×4″ primed finger board for this step. When calculating dimensions I used the following formulas:
Top /Bottom Casing: Take the dimension of the top/bottom INTERIOR of the newly constructed window casing and ADD .5″ This will create a .25″ reveal on both sides.
Side Casing: Take the dimension of the sides INTERIOR of the newly constructed window casing and ADD 7.5″. (3.5″primed board width+ 3.5″ primed board width + .25″ reveal+ 2.5″ reveal= 7.5″)
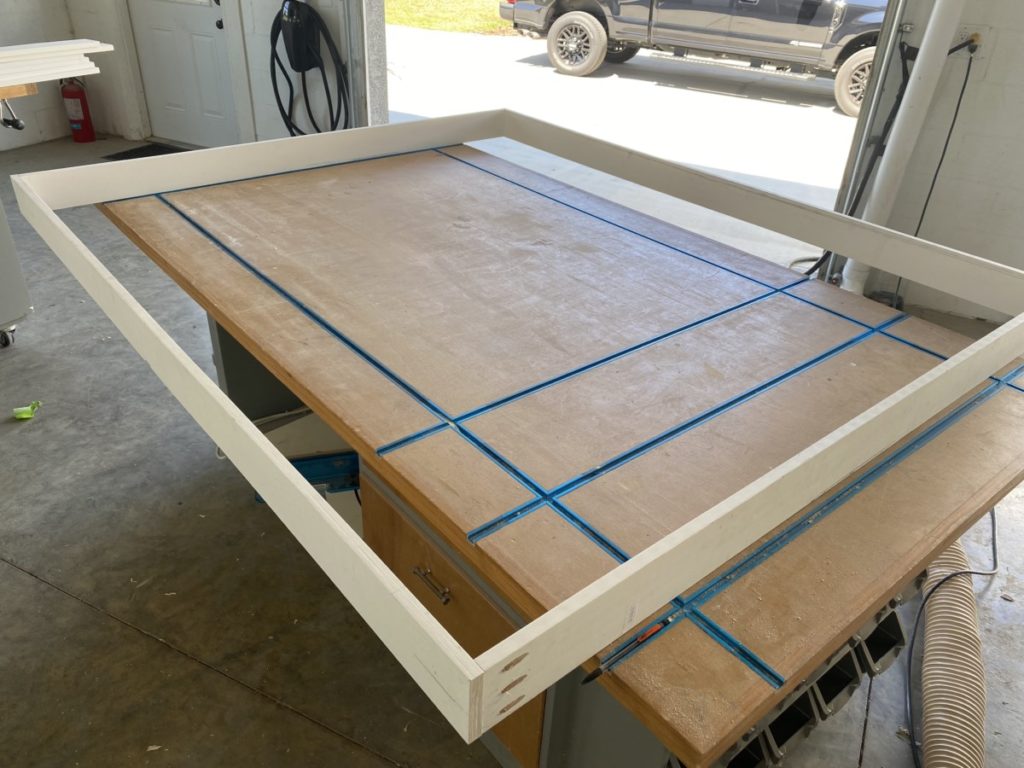
The assembly process of the front window casing is similar to that of the interior casing. Using a pocket hole jig drill pocket holes on the back sides boards. Using pocket hole screws secure the sides to the top and bottom pieces. This will again create another he rectangle/square, only this one will be flat.

Attach Front Window Casing to Interior Window Casing
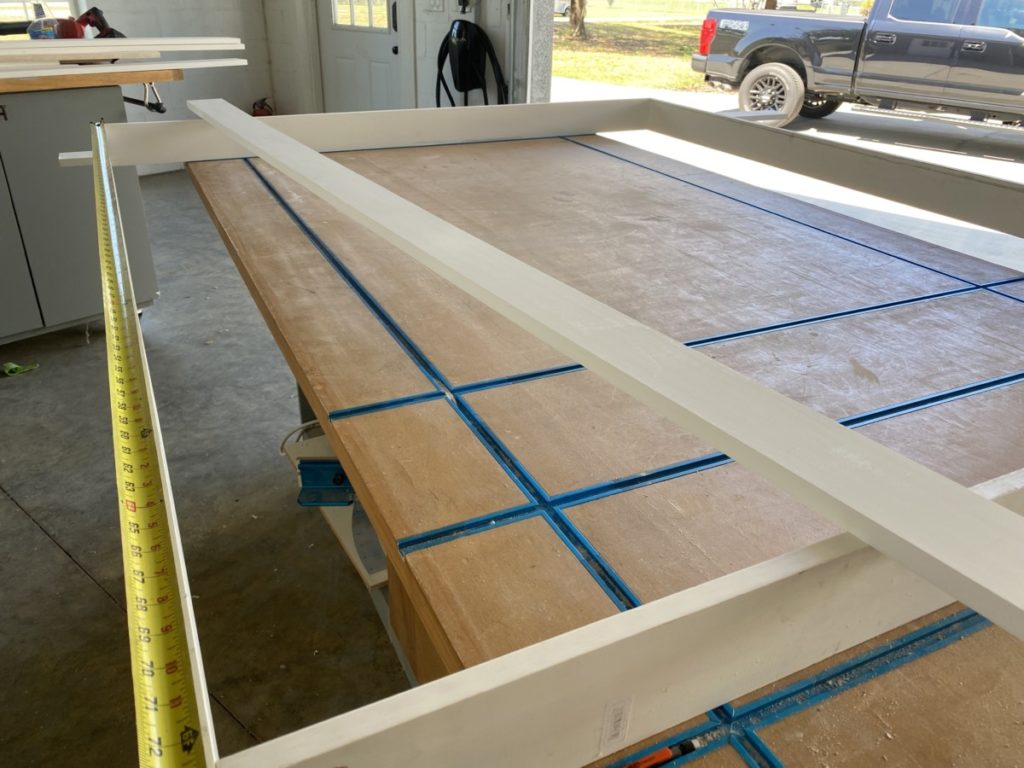
BEFORE starting the assembly process I would suggest another quick fit test. Lay the front window casing ON TOP of the interior casing. The goal is to have an even 1/4″ reveal about the perimeter of the interior casing.
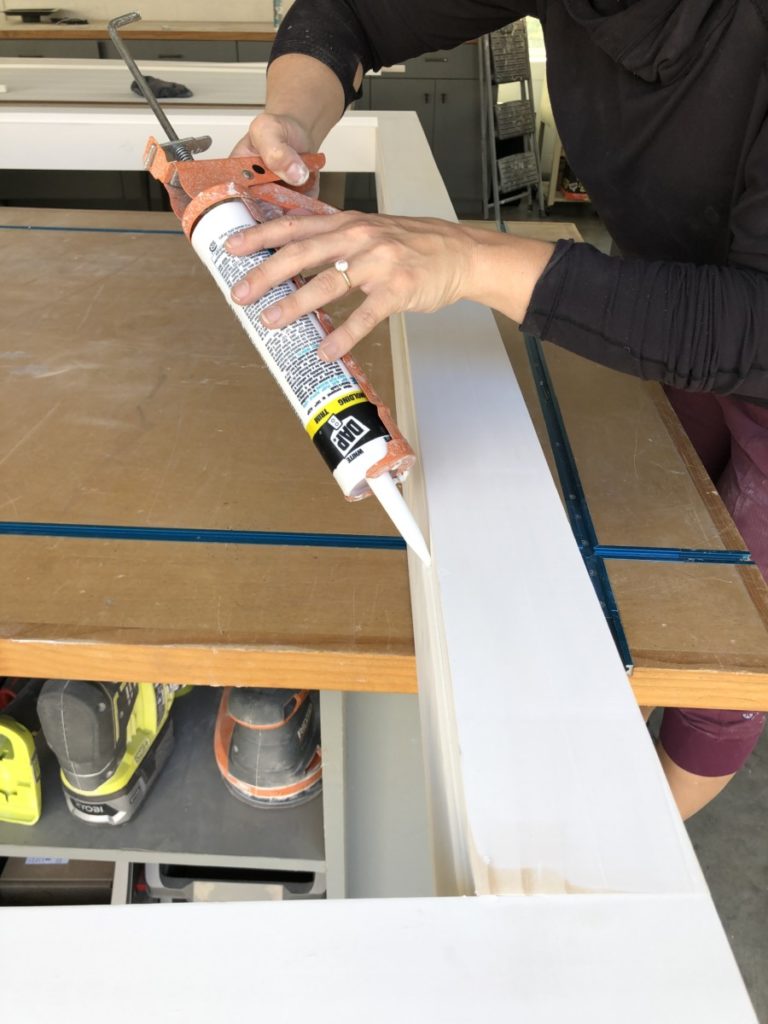
After double checking the reveal dimensions it’s time tom assemble! To do that I will rely heavily on my go-to wood glue. I always use Weldwood Wood Glue by DAP. The hold is always strong and does not require an excessive amount. Run a small bead of wood glue along the top edge of the interior window casing. (Keep in mind there will be an 1/4″ reveal and try to avoid adding excessive amounts of glue to the 1/4″ that will be exposed.)
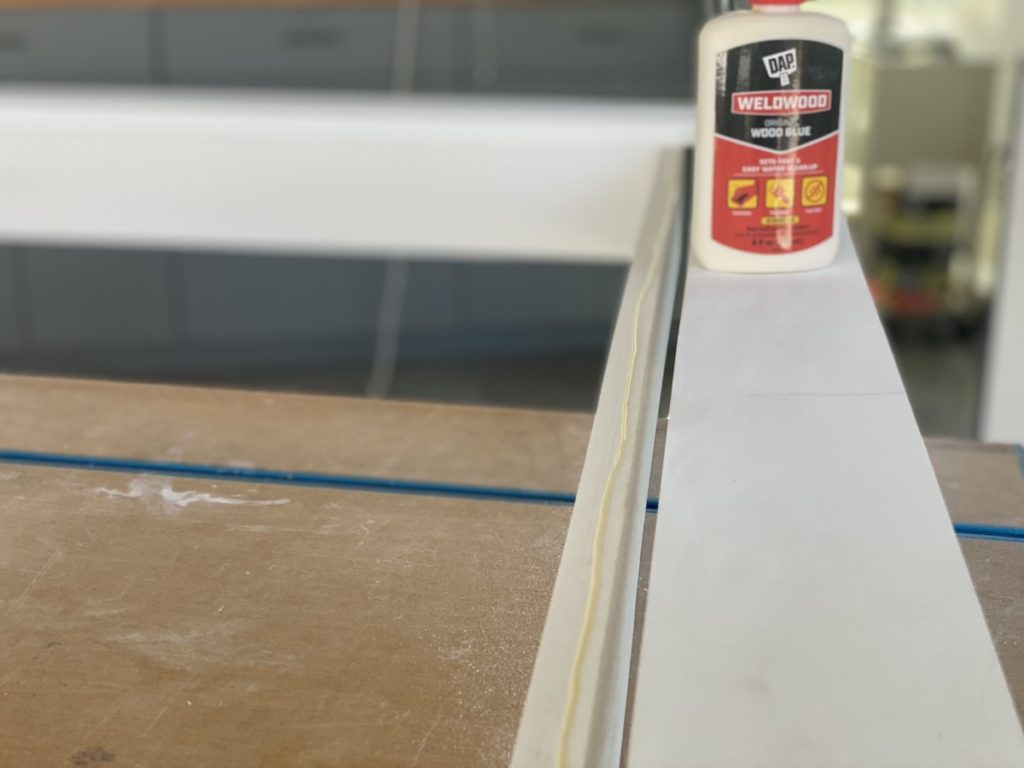
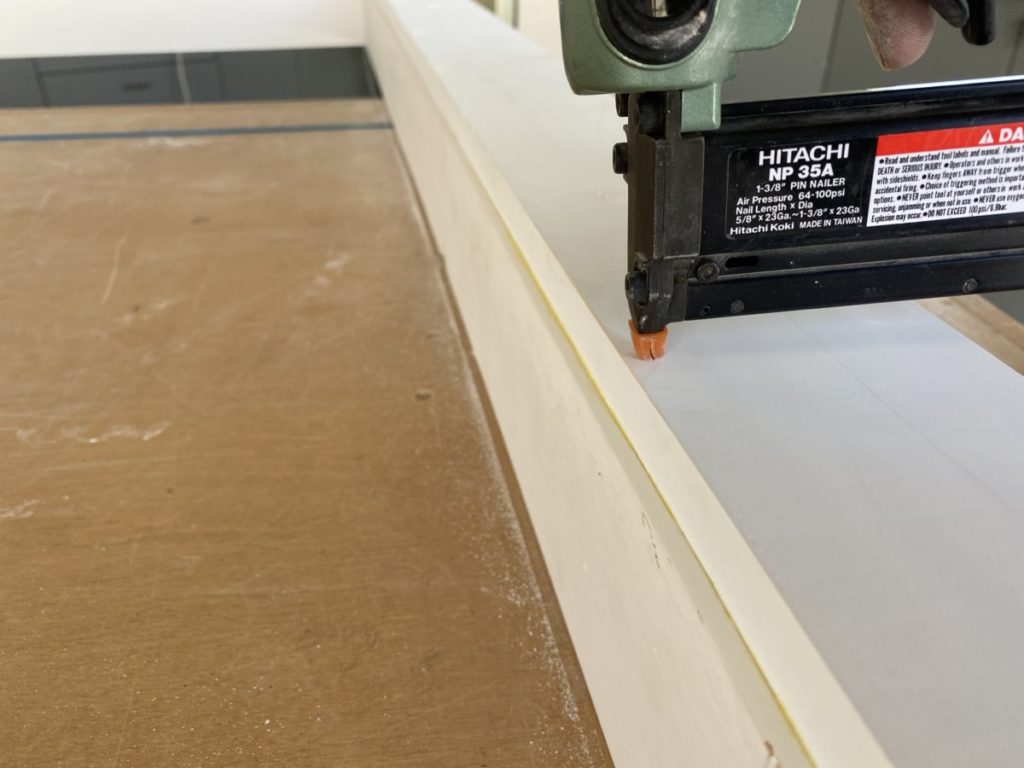
When you use a GOOD wood glue like Weldwood by DAP you really don’t NEED to use fasteners. However, if you are impatient like me and want to hurry the process along you can add a few pin nails. Like I said, this doesn’t really need fasteners, but a pin nail is strong enough to hold it in place as the glue cures and acts like a clamp while making minimal holes to fill later.
While the holes are minimal, there are holes nonetheless that will need filled. Which is not a big deal, I like to fill all of my butt joints with DAP Plastic Wood All Purpose Filler anyways. This stuff is amazing. It dries quick, doesn’t shrink and can easily be sanded for a a PERFECT smooth finish.
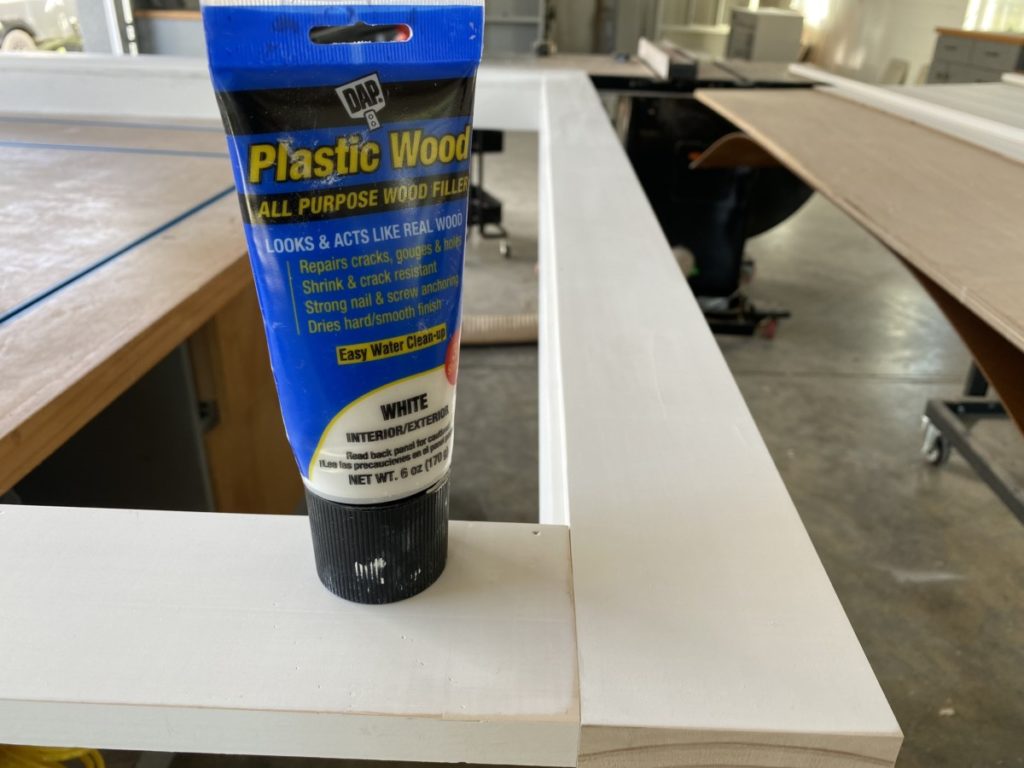
After the Plastic Wood has completely dried, sand the entire frame with a finish sander and a fine grit sand paper.

Finish sanding, wipe the window casing down with a damp cloth. Once the casing is dry, make this casing look like a solid unit by adding a small bead of DAP Alex Trim Caulk to the interior seam. Caulk can magically make your trim projects look 100%!
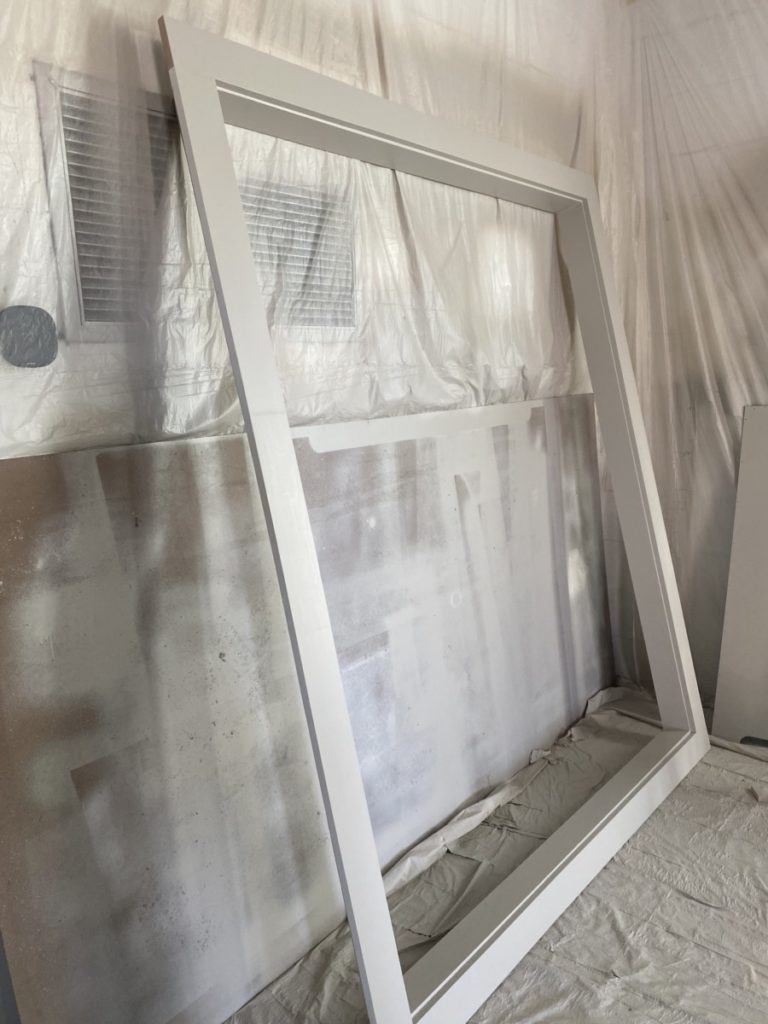
At this point the window interior and front casing are complete. (There is still layer of trim that will be added, but that will not be added until the casing is in place.) Instead of waiting and painting the entire unit in place, I opted to spray it before installing.
Install Window Casing
After the casing was completely dry it was time to install! This is when all of those dry test fits pay off. Instead of installing the window casing piece-by-piece I simply sliced the entire unite into place! If the window casing is sitting wonky use wood shims level out any in discrepancies. (. You can also use a construction adhesive like DAP Dynagrip on the interior of the window rough casing before inserting the finished casing.
At this point the window casing should have a nice snug fit ( As mentioned earlier, use shims if the casing is not snugly fit.) Once you are happy with the fit, fasteners to secure. My casing had a very snug fit and did not require excessive amounts of fasteners. I was able to use 2″ 16g nails to finish the job.
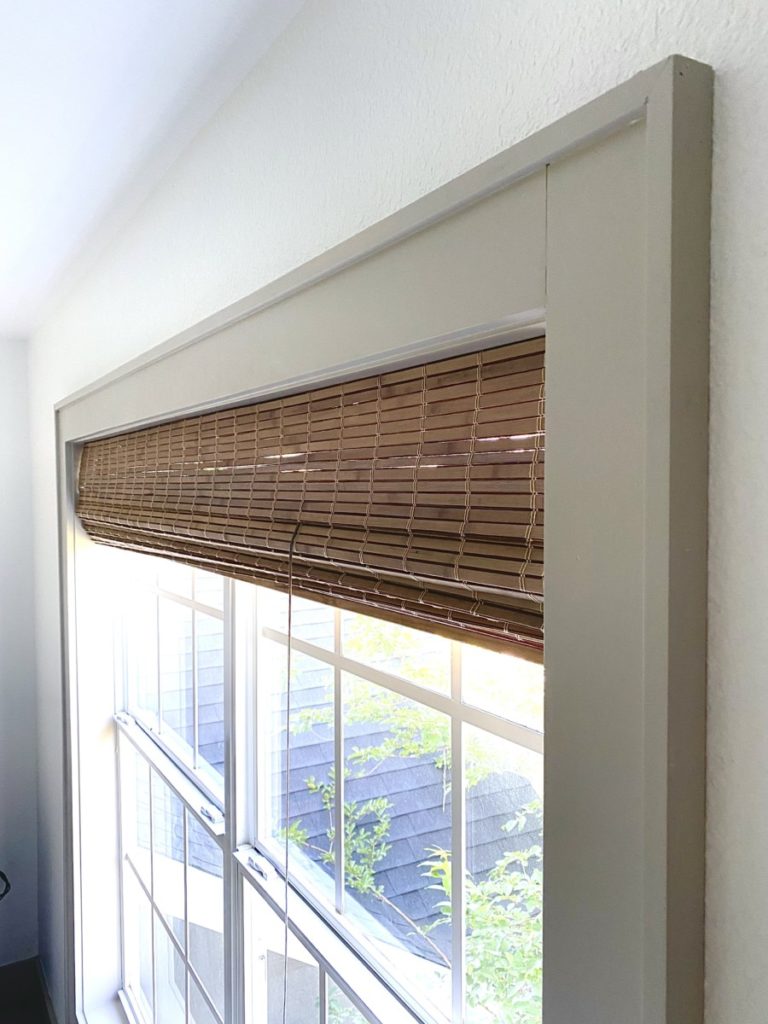
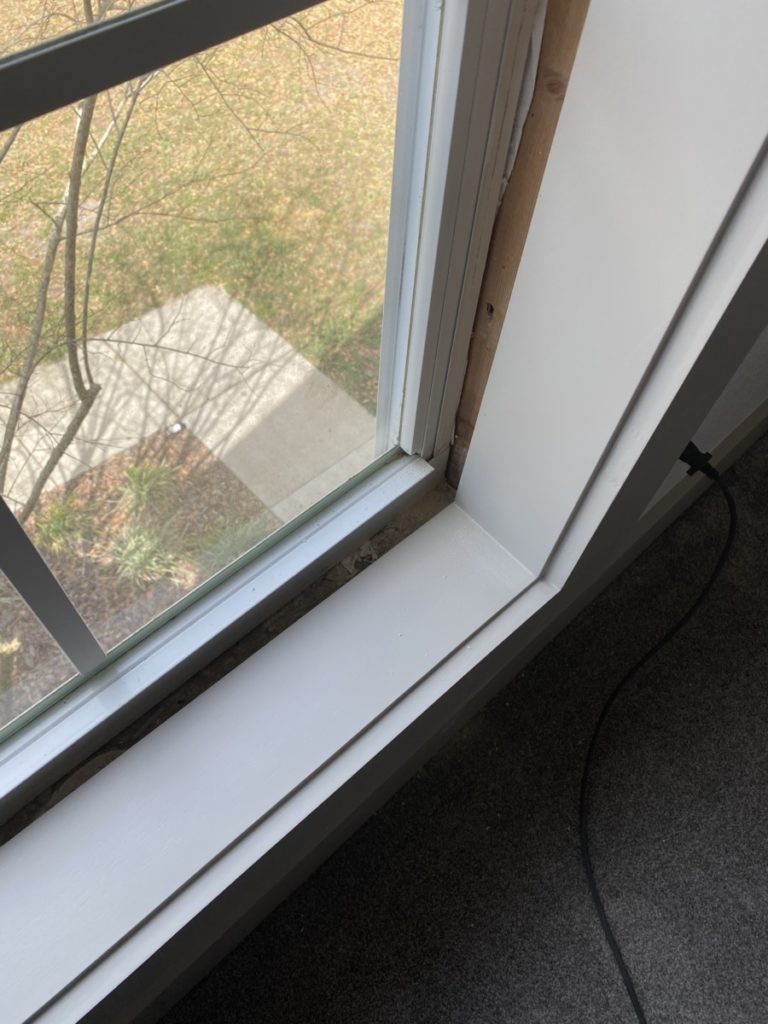
Add Window Casing Perimeter Trim
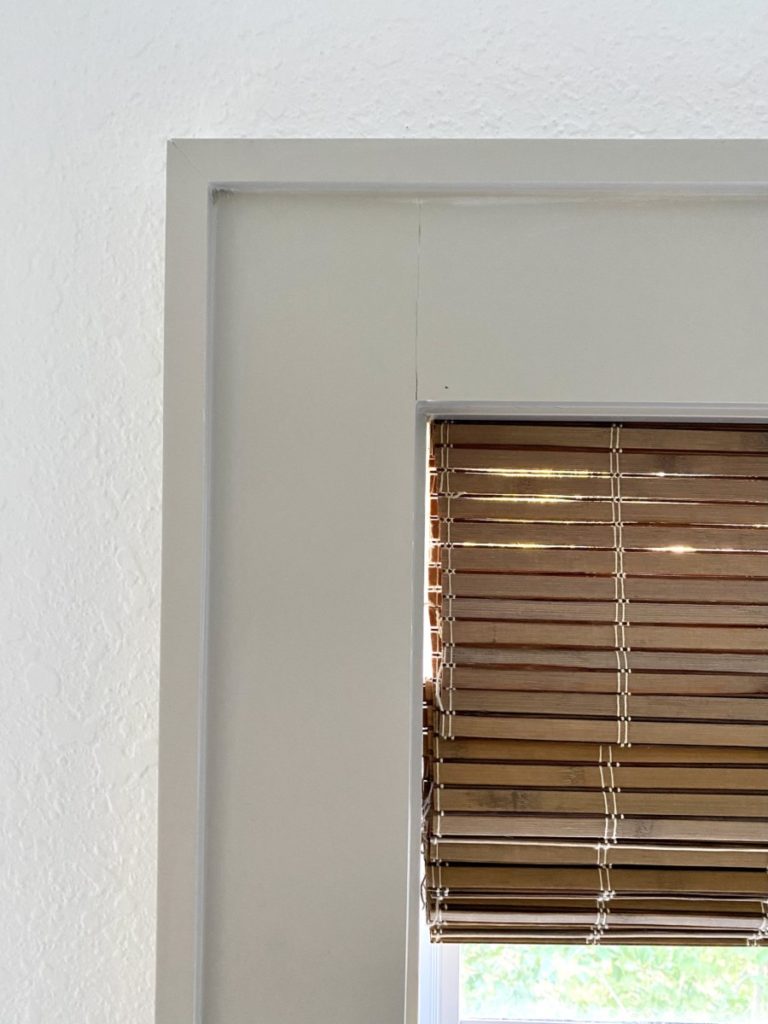
Now that the window casing is set in place, there is one last piece of trim to add. This final piece will go around the perimeter of the new casing. The point of this trim is two-fold. First, it will add a bulkier look to the casing. Secondly, and more importantly it will hide any noticeable gaps where the new trim meets the drywall. Drywall is notoriously inconsistent, especially around windows. ( Drywall installers will add additional mud and texture to hide variances, while creates an uneven surface.)
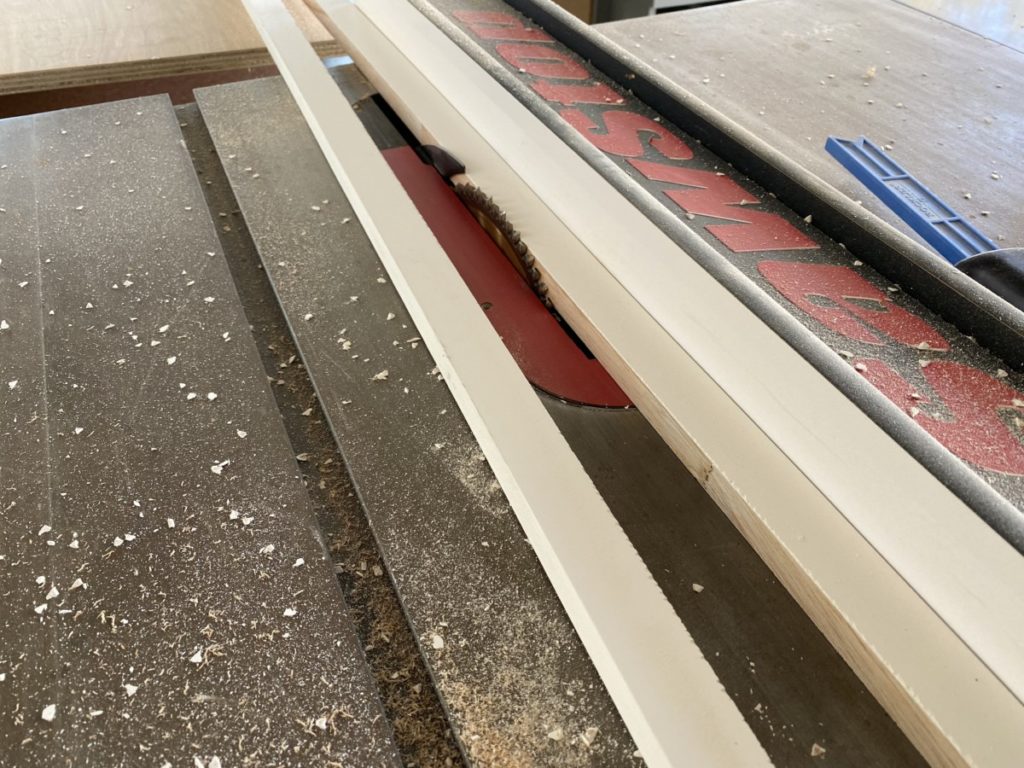
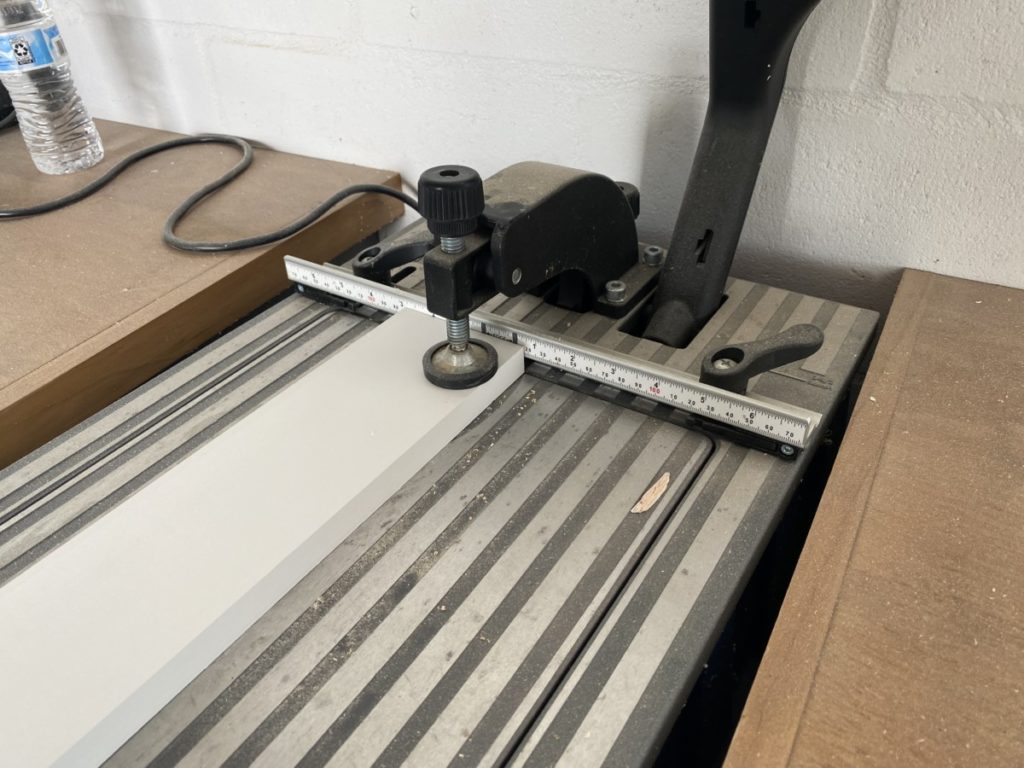
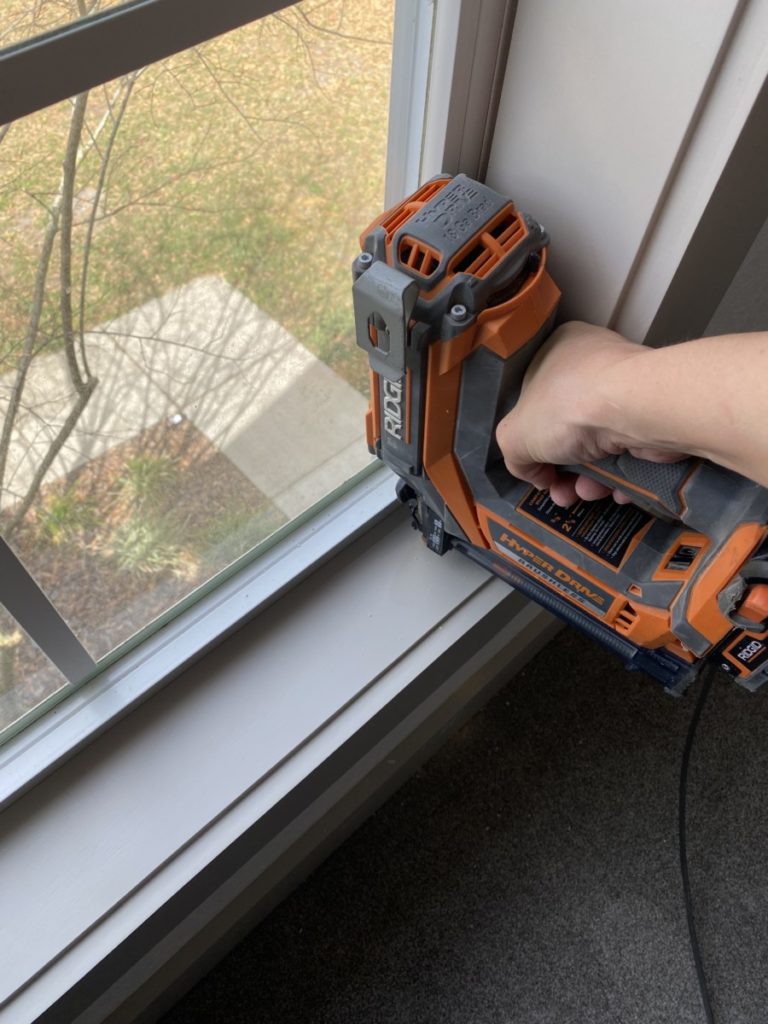
To create this trim I ripped several pieces of primed 1×3″ boards in half. Making them approximately 3/4″ x 1 1/4″ strips. I then cut them to fit using 45degree cuts to create mitered corners.
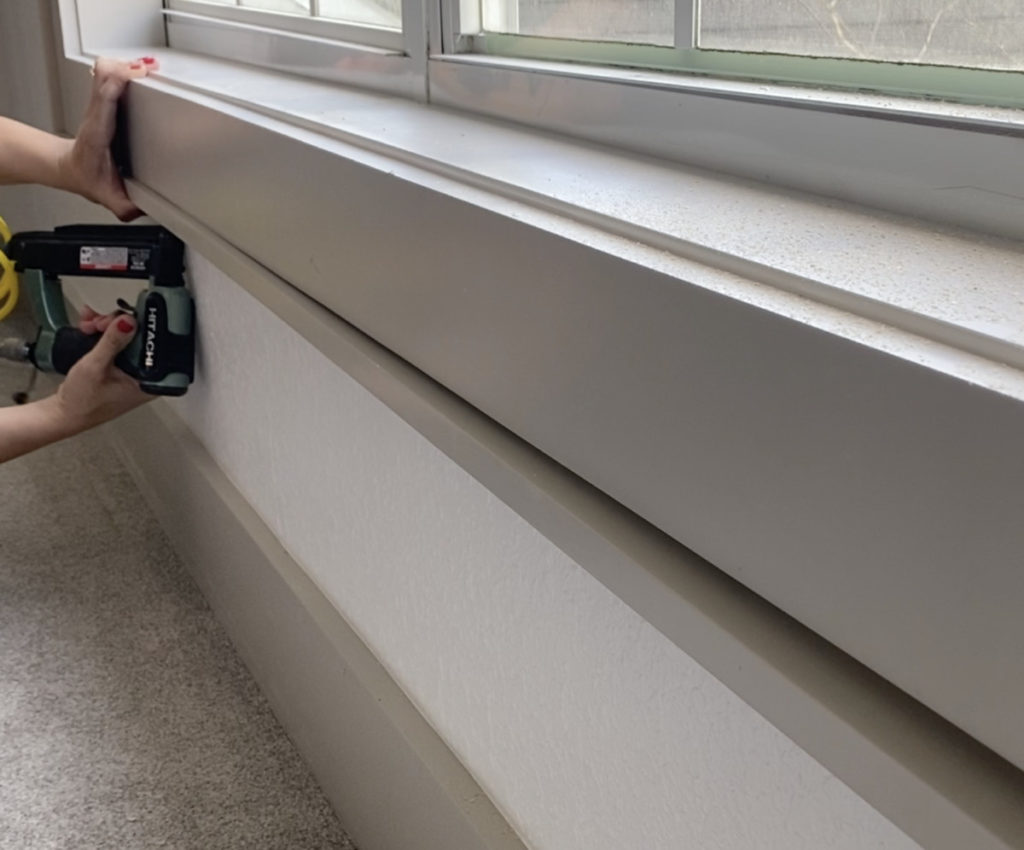
These boards are very lightweight and can easily be installed using a bead of DAP Weldwood and reinforced with pin nails. ( I am newly converted to using pin nails when working with small trim. Does the job perfectly with minimal holes!)
Caulk Window Casing Seams
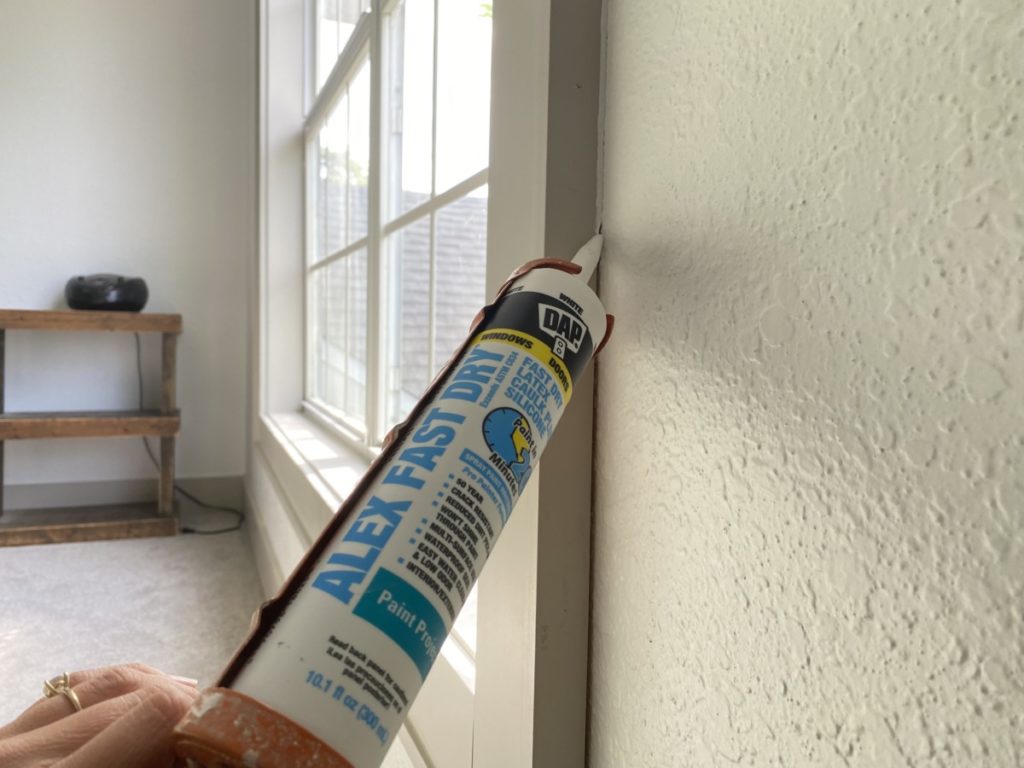
After the perimeter trim is installed it is time to add the final touches. The last thing we need to do is melt away any visible seams! To do that I use my trusty DAP Alex Fast Dry caulk!
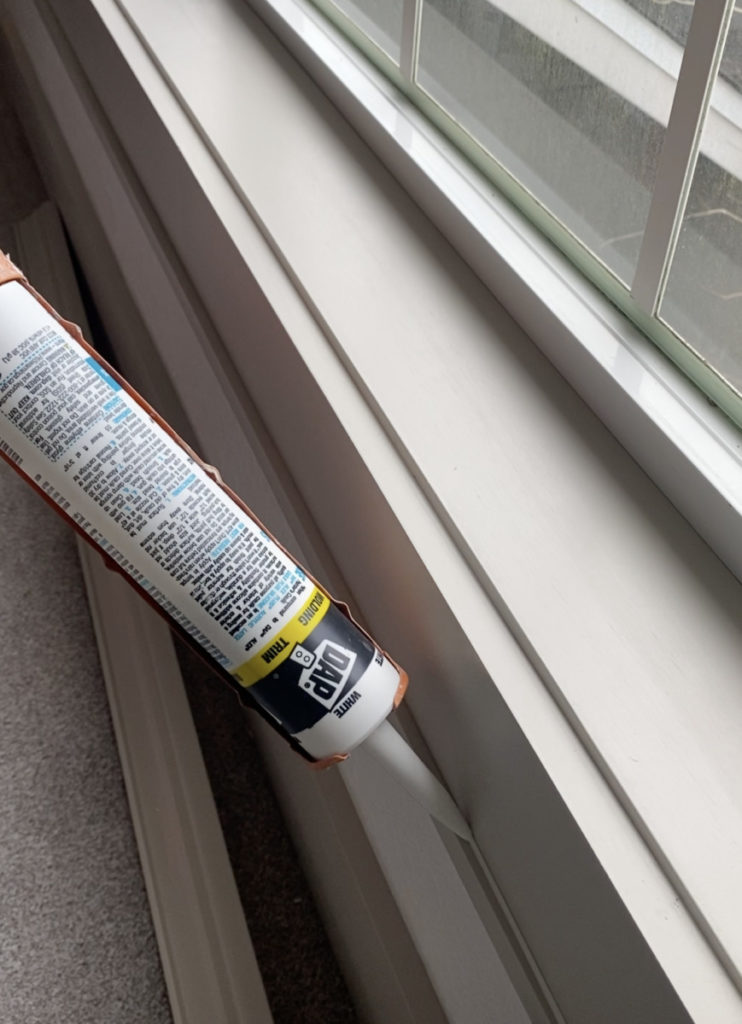
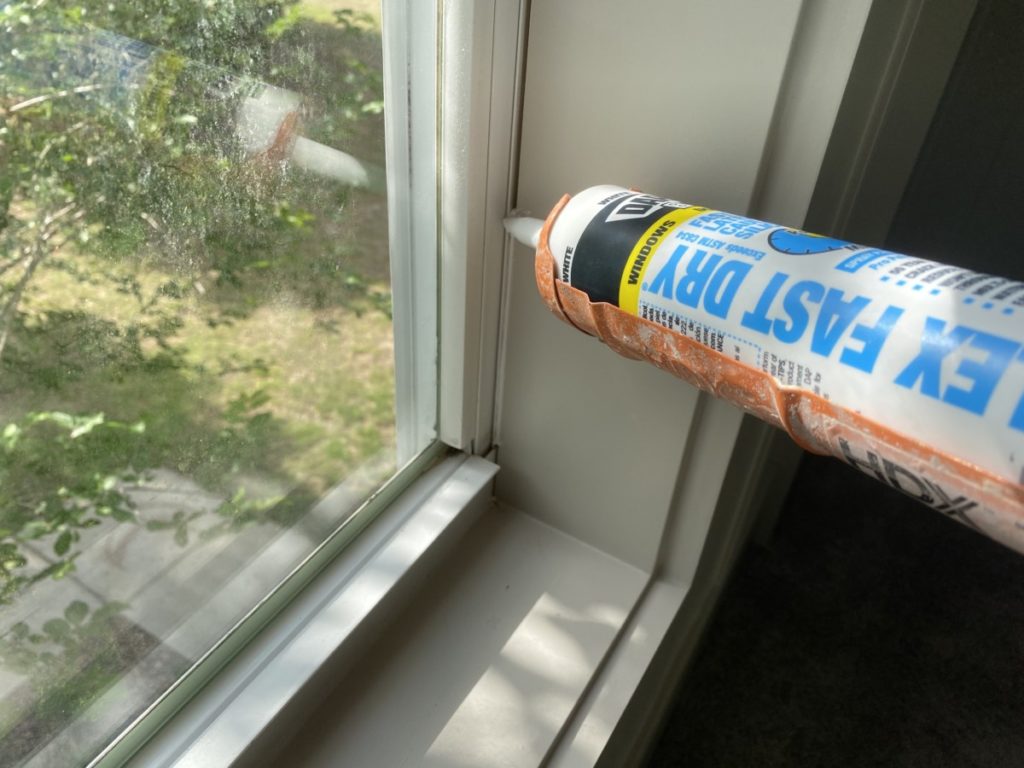
I add/ smooth out a small bead of DAP Alex Fast Dry caulk along the seam where the new trim meets the window casing, where casing meets the wall.
Lastly, I fill any visible gaps where my trim meets my window.
DAP Alex Fast Dry caulk is ready to paint in as little as 20 minutes! By the time I finished caulking everything and gathered my paint supplies I was ready to paint!
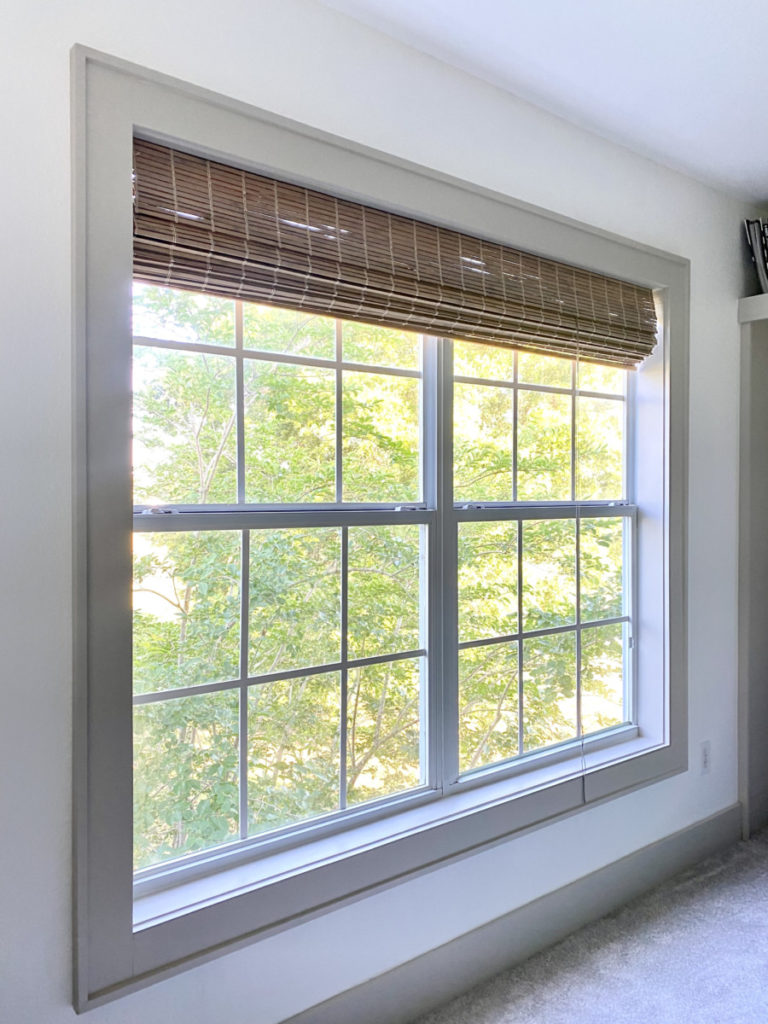
There you have it folks! This simple and plain window is not a beautiful statement in my boys room.