Looking back at these pictures of the Toy Hauler makes me realize I barely remember what it use to look like! The toy hauler bedroom had such a drastic makeover in such a short amount of time that I barely even recognize it! If you have been following along with the process on Instagram stories (Don’t worry if you have questions I have a lot more details saved to my story “highlights.)
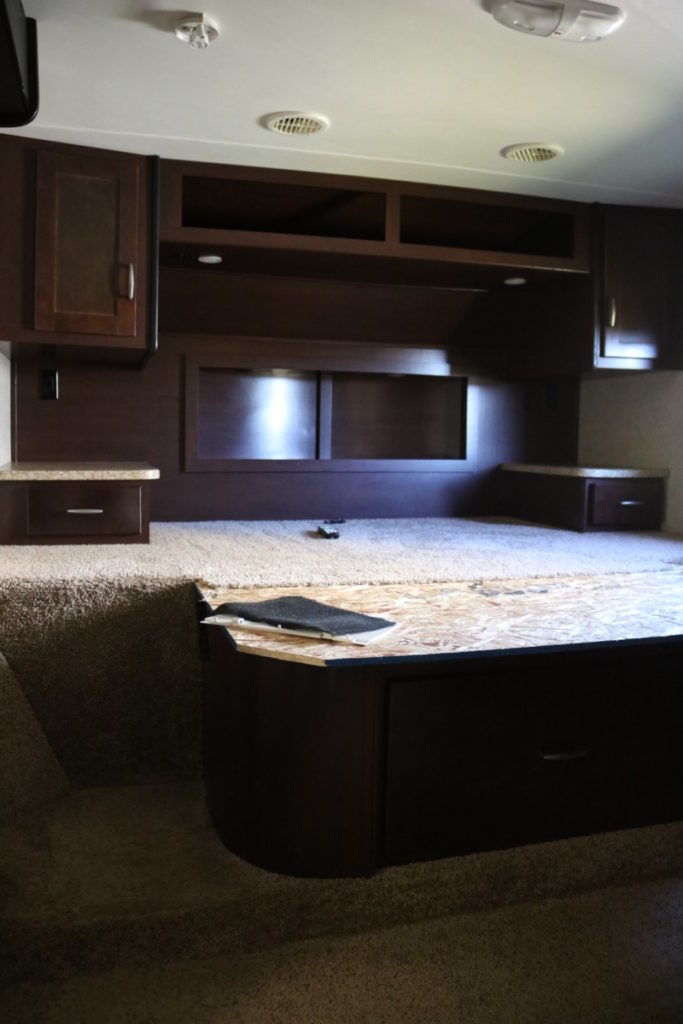
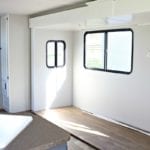
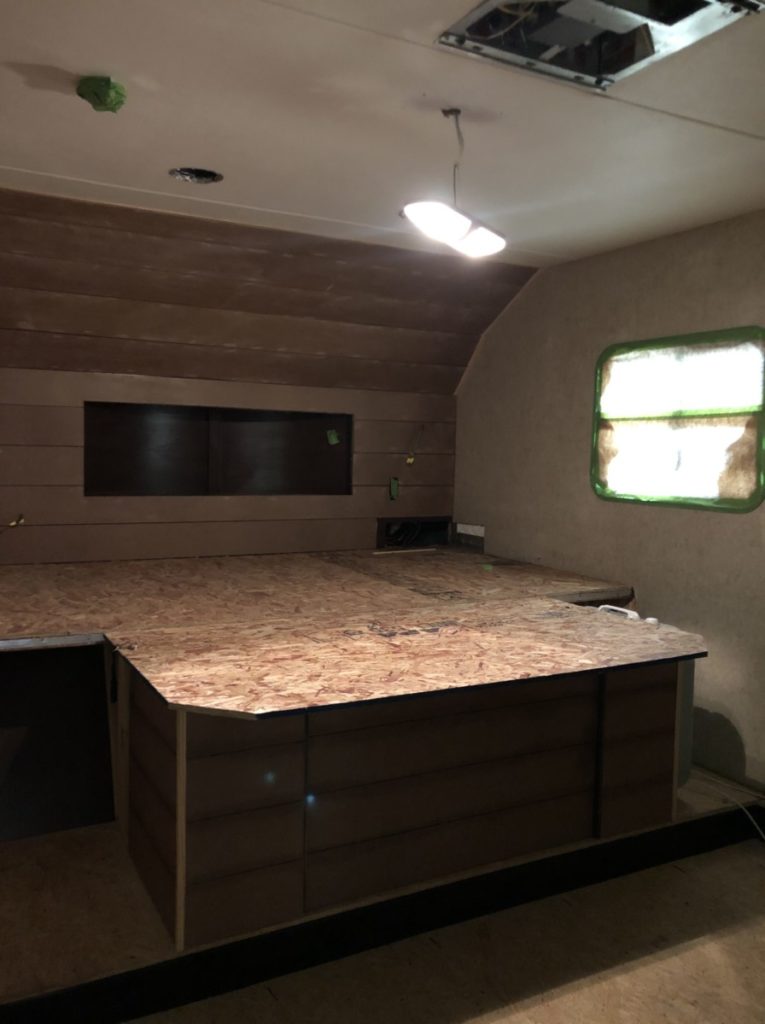
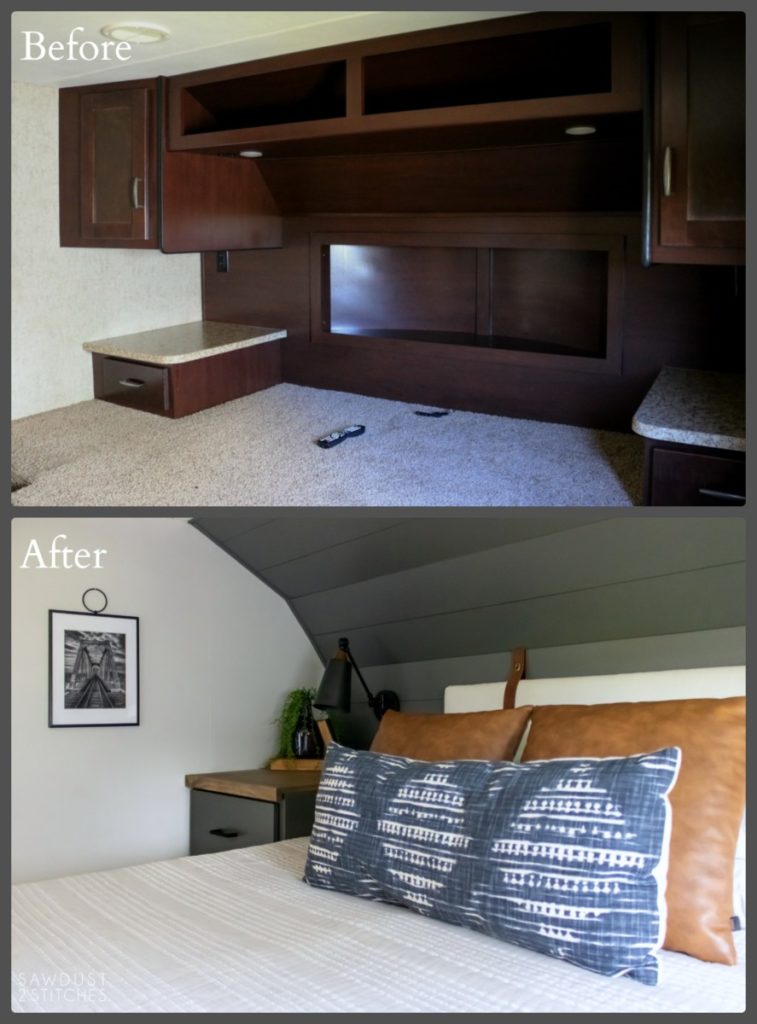
Here it is in all of it’s original glory. If you have been following along, you are well aware of the smell that came with the new (to us) R.V. There was a serious odor that seemed to permeate into every fiber of this toy hauler. While it appears to be in fairly good condition, I knew I would need to give everything a fresh coat of paint and anything porous would need to be replaced. So I “leaned in” and determined to “Go big, or go home!”
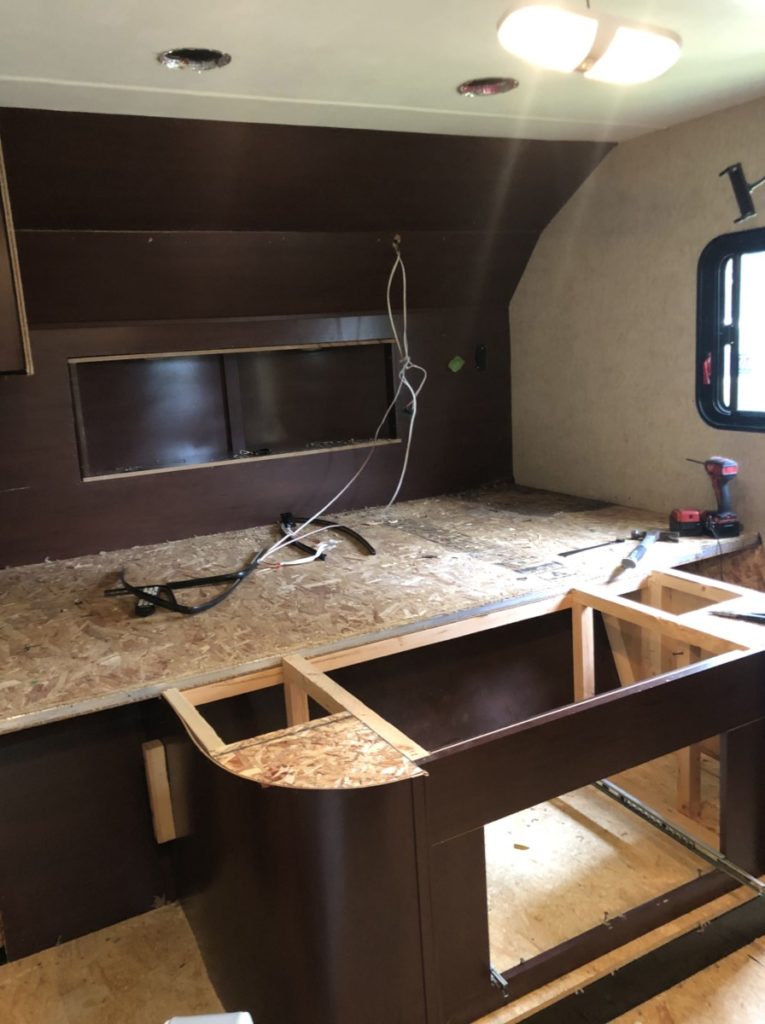
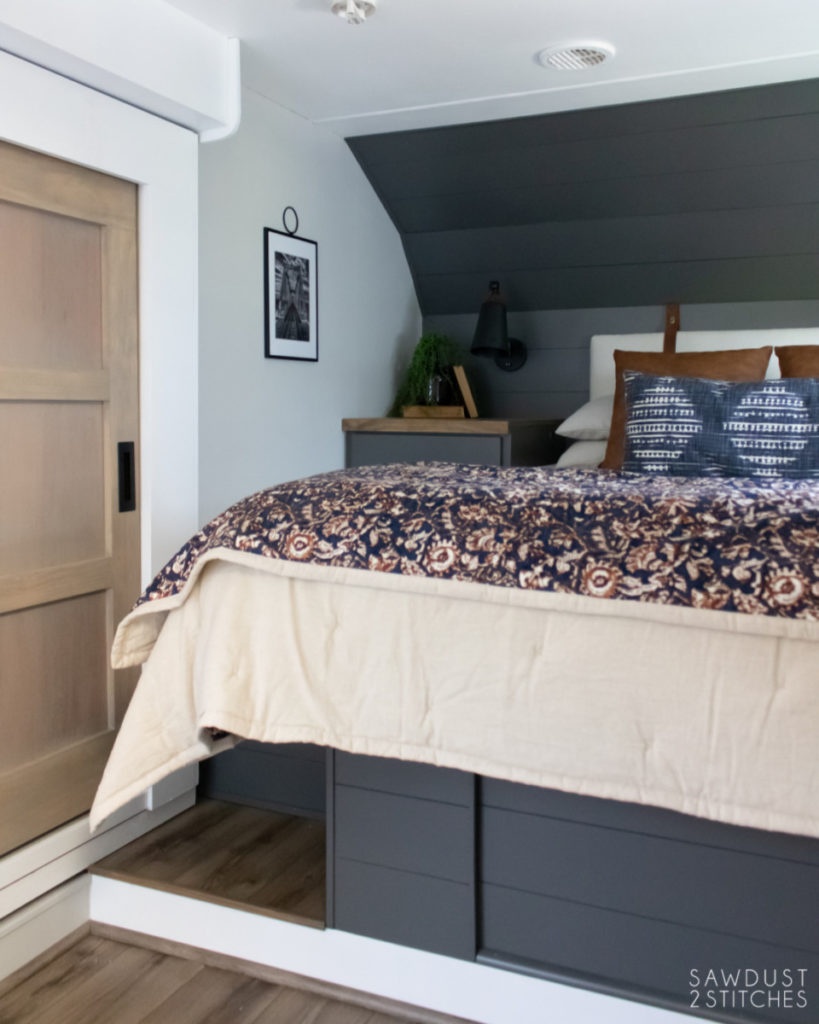
I was already gutting most of camper due to the smell, so while I was at it I made this space EXACTLY what I wanted. I removed the upper cabinets above the bed. While I was at it, I gave the bed bas a new look. I was not loving the rounded base, so I gave it a bit of a facelift before reinstalling.

I had a vision of planking the back wall so that it would carry the style of the bed base up the back wall. Not only would this be my statement wall it also did a great job of hiding all the unsightly nail and screw holes from the preexisting upper cabinets.
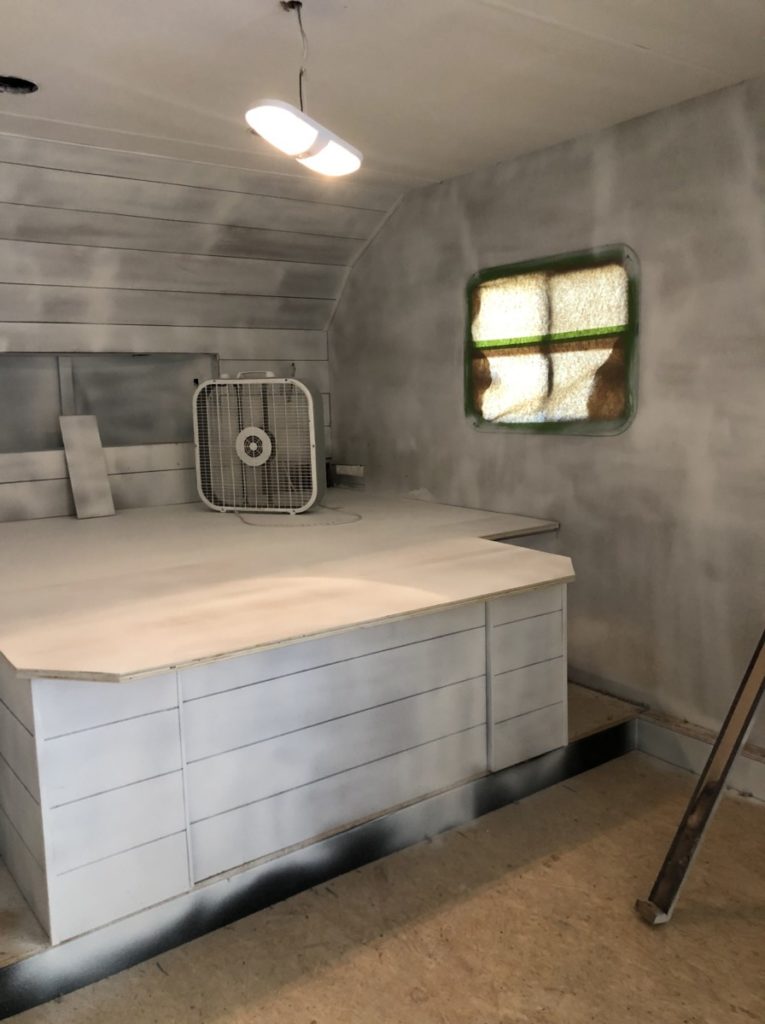
Once all my updates were made I primed every square inch of this space. Not only is this a vital part of the painting process, it can also help block odors! If you would like to learn more about the process I use when painting an R.V. you can get all the details here.
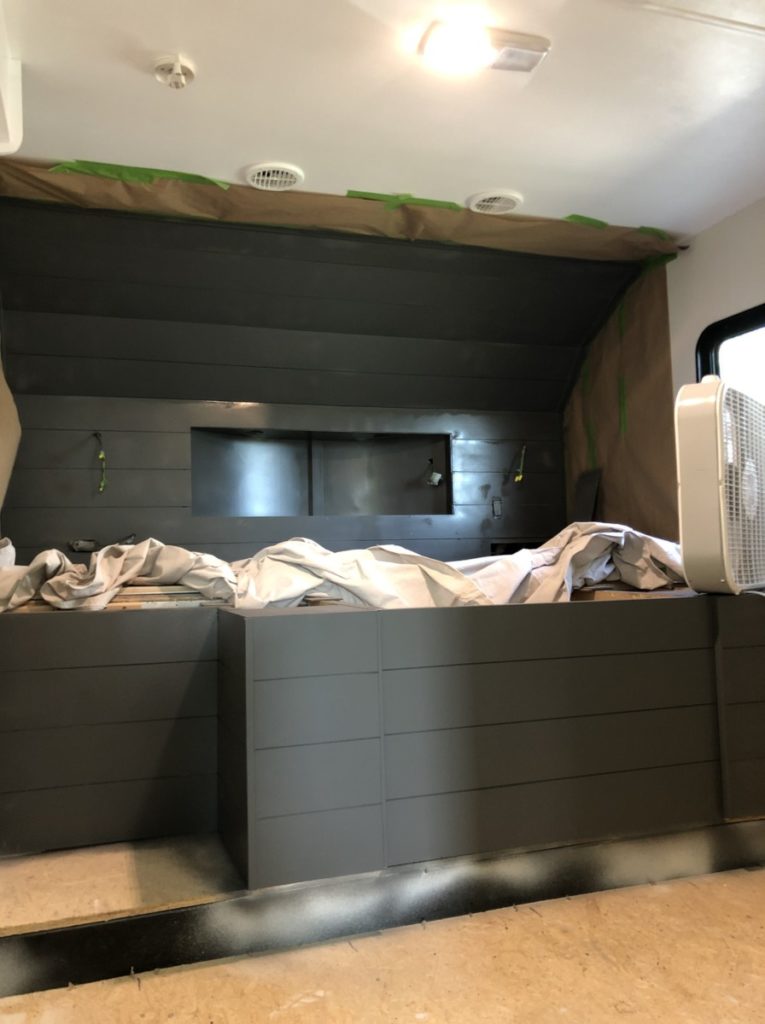
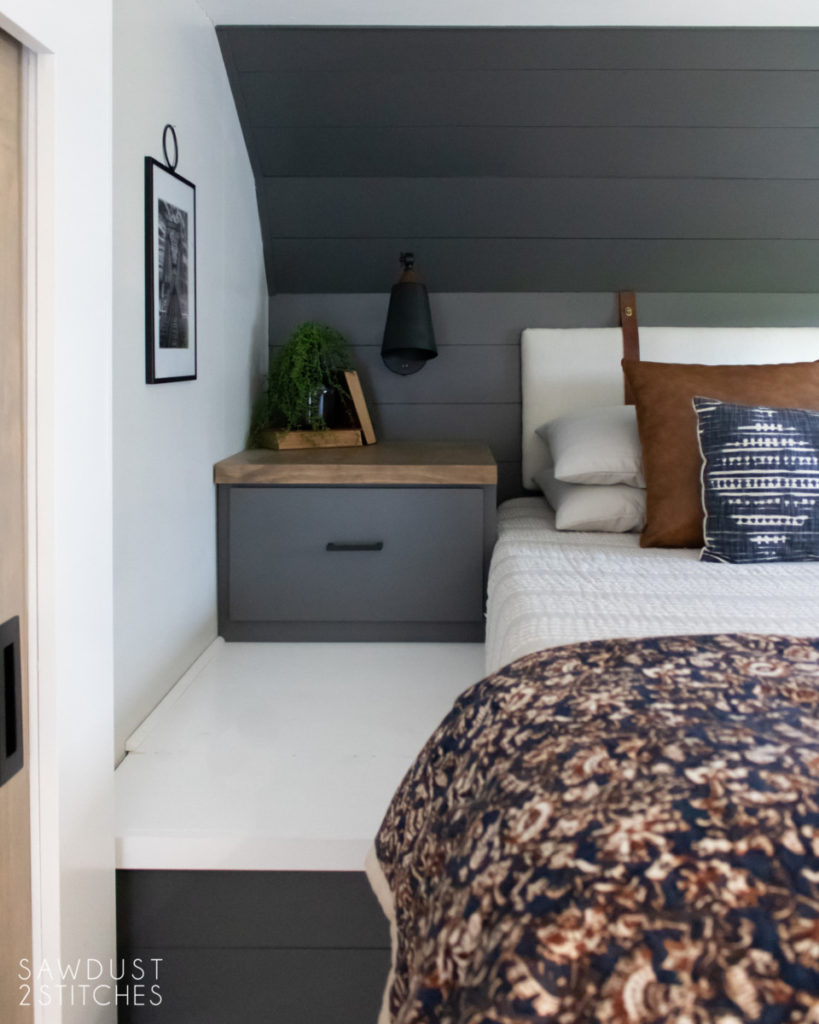
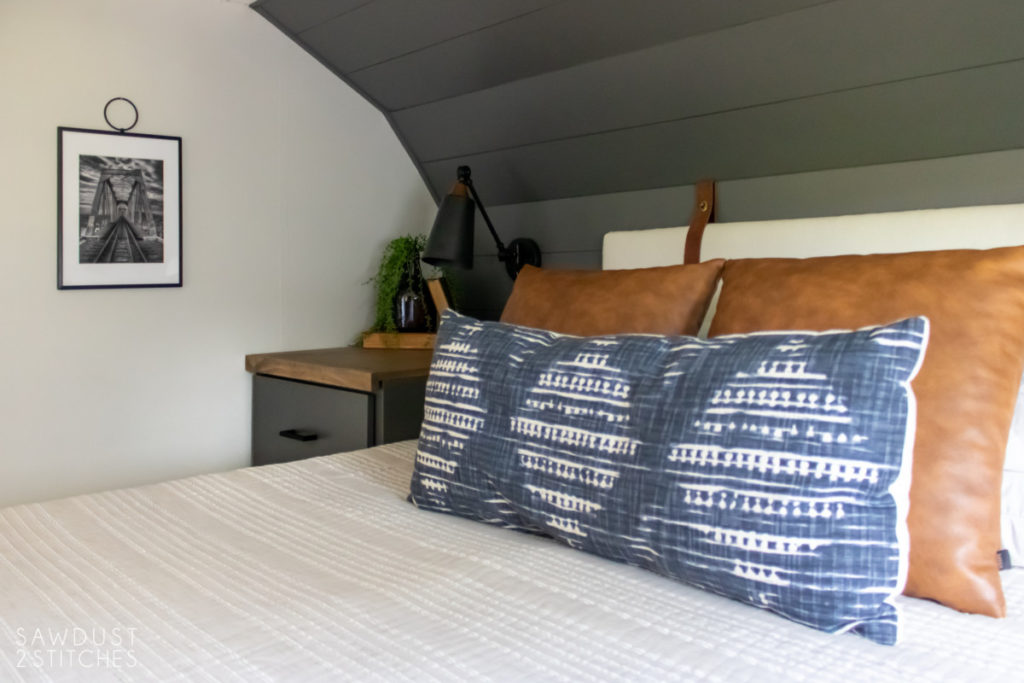
I painted the walls with “Repose Gray” by Sherwin Williams (lightened 50%). Once all the walls were painted I painted the bed base and the accent wall.
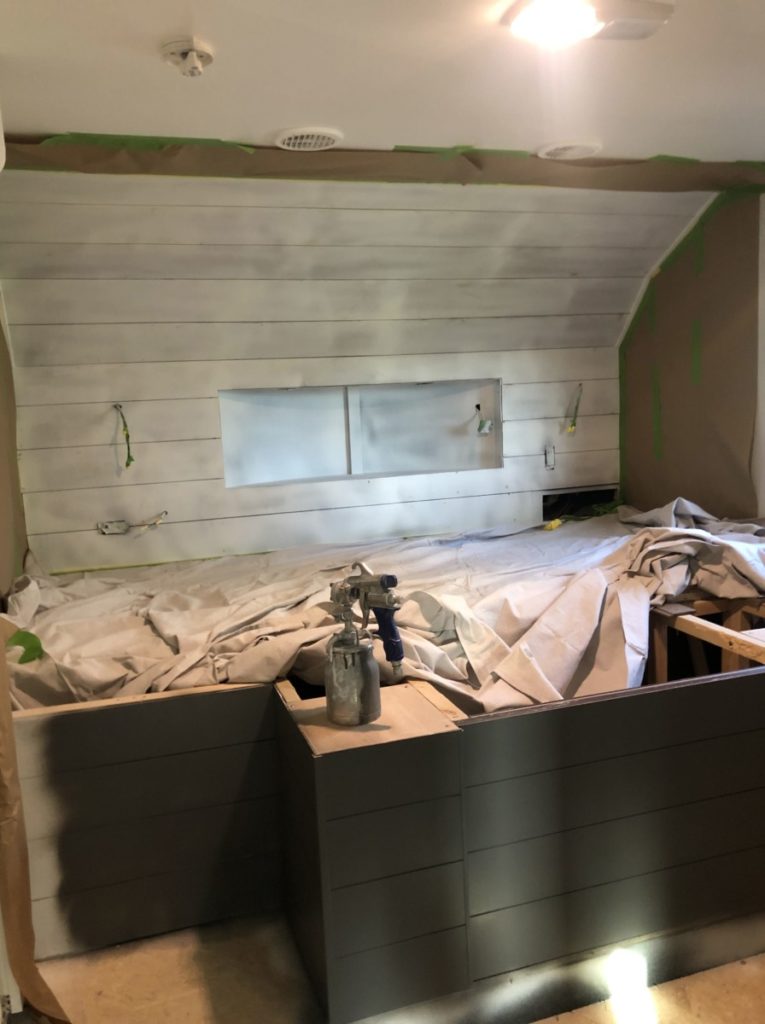
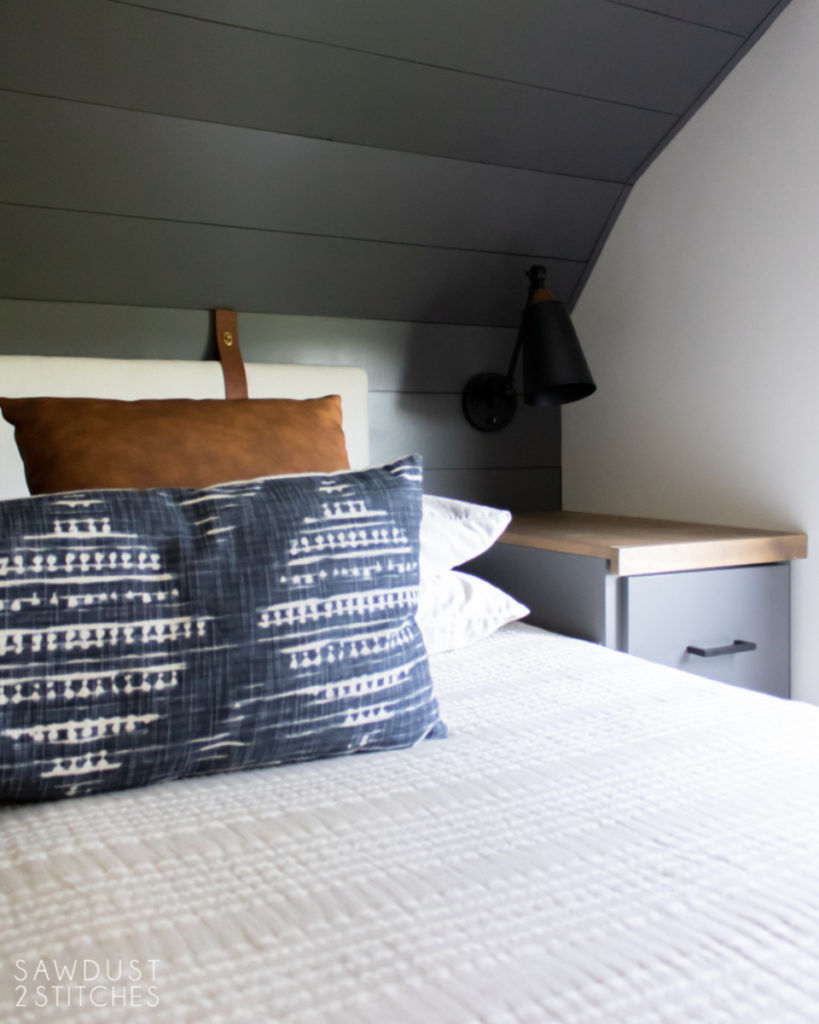
The planked wall and the bed base were both painted “Peppercorn” by Sherwin Williams.
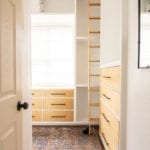
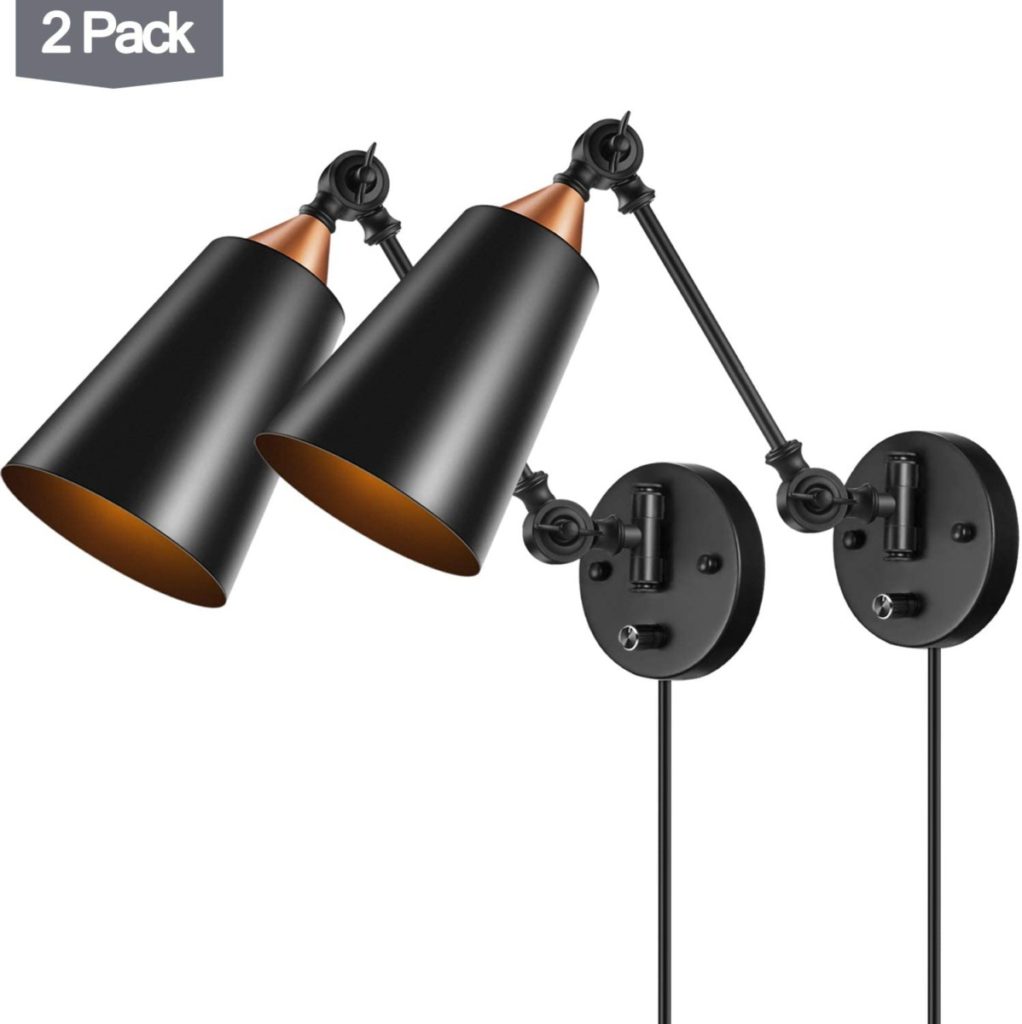
This space still needed a few things… I built my own custom nightstands and added fun inexpensive sconce lighting to add some character.
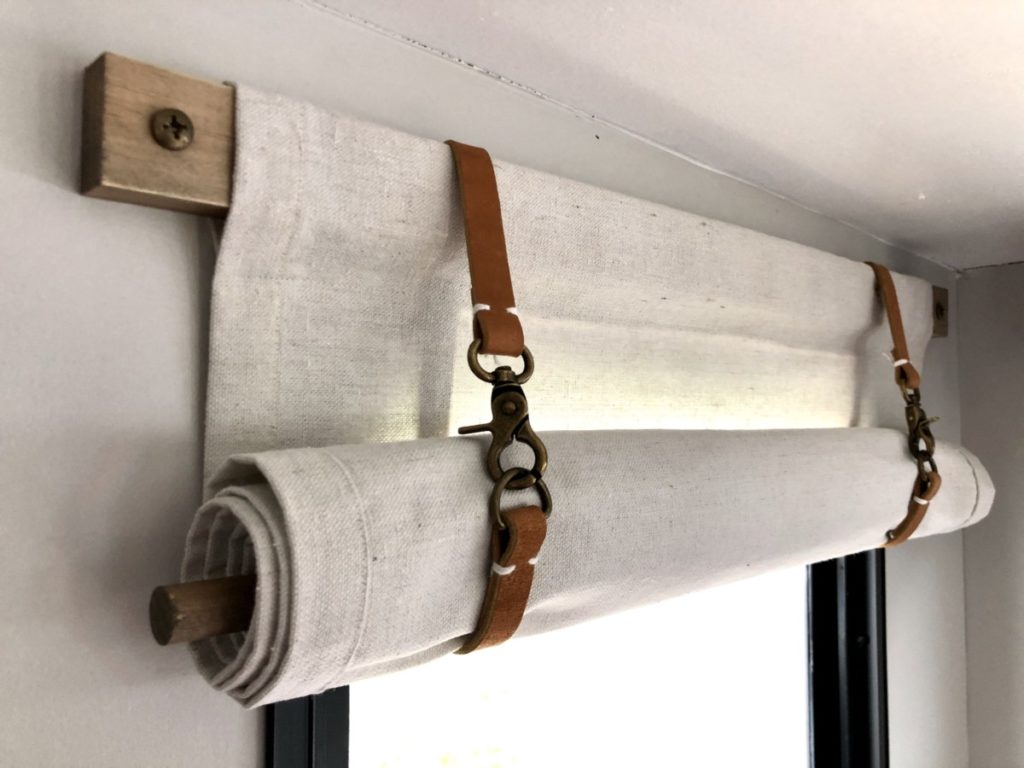
I whipped together some curtains that were not only practical but added to the ambiance of the space! You can read all about them here.
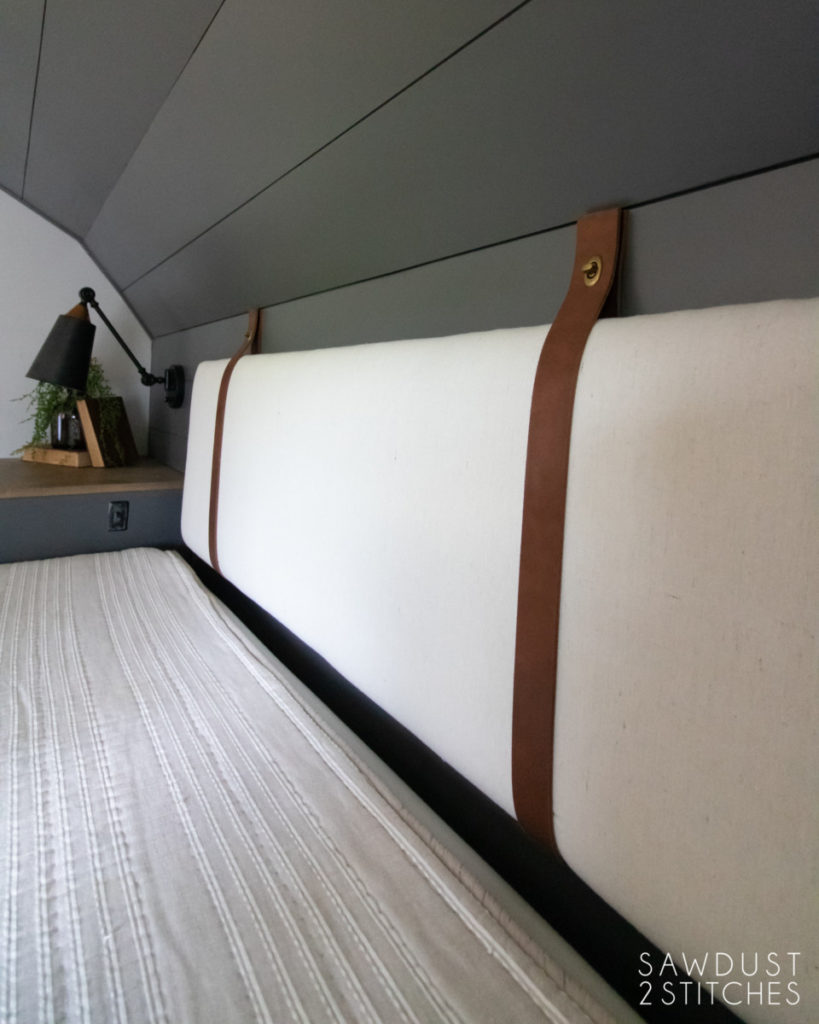
Last but certainly not least. I finished this space by creating a cheap headboard that would tie the whole space together. You can read all about it here.
That about bring us up to speed on all the major items in the space. So are you ready to see what it looks like when you bring them all together? Yeah you are!
Drum roll please…
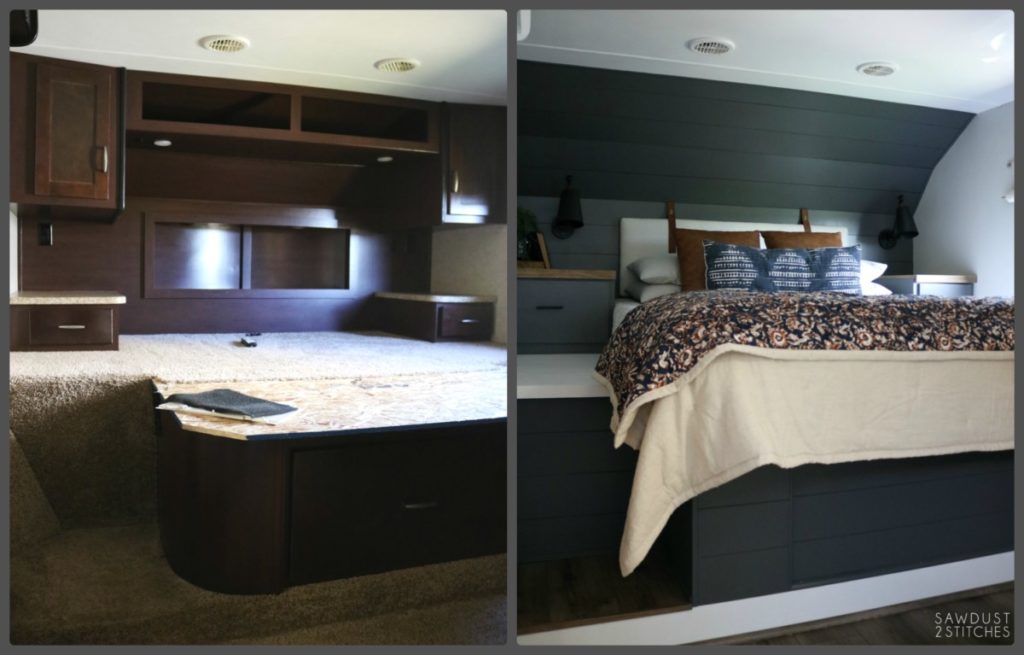
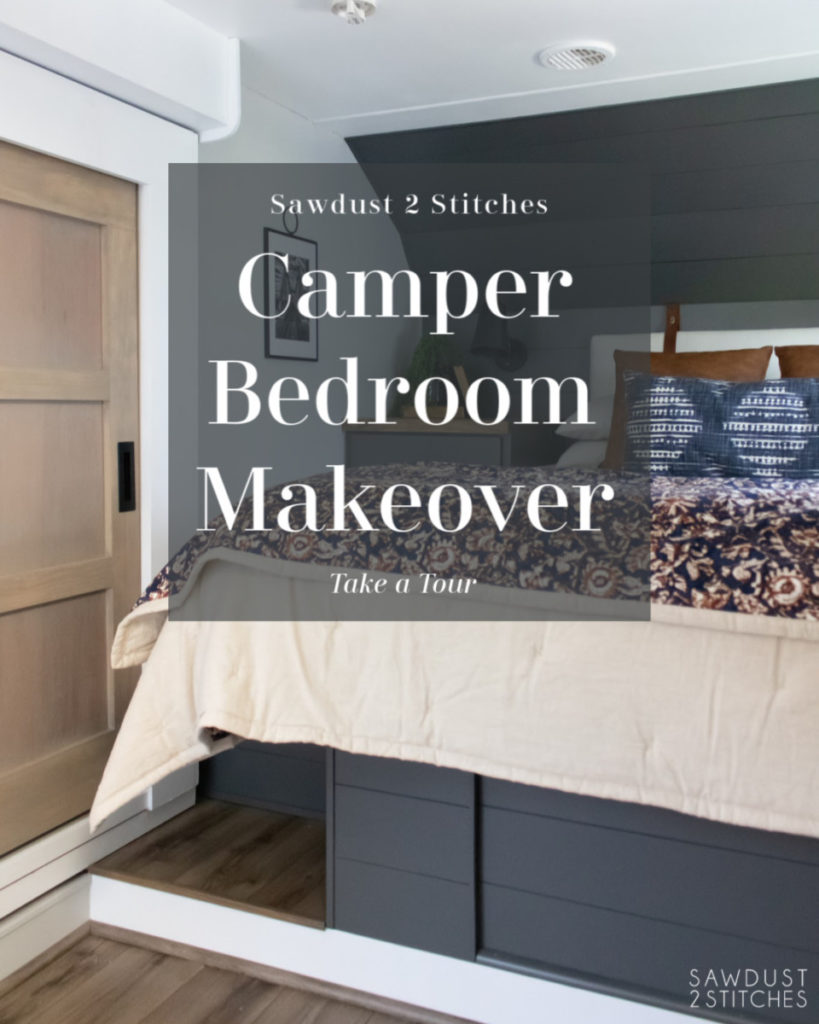
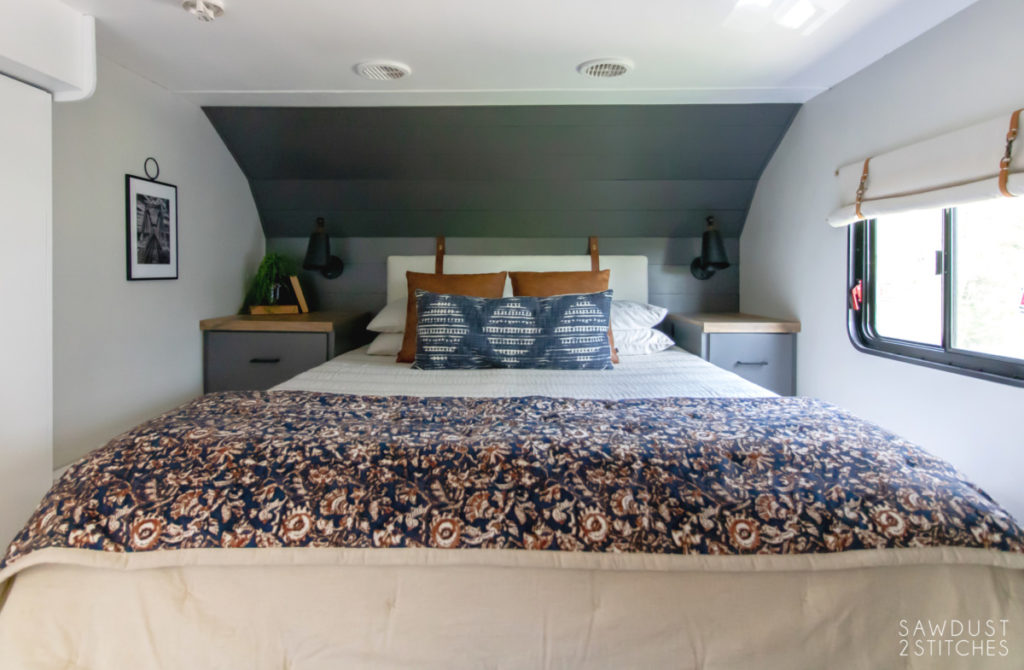
Ta-da! Do you even recognize it? Is it a little hard to remember what it even looked like before?

I will admit I was a little nervous to paint such a large wall such a dark color in this small space, but it totally paid off! I was terrified it would feel like a cave, but it actually feels so light and airy in there.
This toy hauler bedroom makeover is hands down my favorite part of the camper. My husband and I have deemed the Toy Hauler the best investment we can make in our family. It allows us to easily escape to our own little paradise without a lot of planning. We love our time away as a family and it is such an added bonus to love being in the space. It is our own private getaway.
If you are looking for more great camper renovation ideas, make sure you check out the rest of the toy hauler makeover, as well as our first camper makeover below.
- Toy Hauler Kitchen Makeover
- R.V. Curtains Tutorial
- Toy Hauler Living Area Makeover
- R.V. Reveal
- R.V. Bathroom Makeover
That about wraps up this part of the toy hauler bedroom makeover. If you are wanting to see more of the process make sure you check out all the “Toy Hauler” stories saved to my Instagram Highlights.
Thanks so much for following along!
Take Luck,
Corey
- Leather Throw Pillows- Amazon
- Blue Lumbar Pillow- Target (no longer available)
- Light Sconces- Amazon
- Khaki Comforter- Target
- Blue and Gold Blanket- Target (no longer available)
- Headboard (Tutorial Here)
- Picture Frame- Target
- Wall Color- Repose Gray by Sherwin Williams (Lightened 50%)
- Shiplap/Nightstands Color- Peppercorn by Sherwin Williams
- Flooring- NuCore “Morel”